While I love detailed projects, and even projects that take a lot of time (I’m weird like that), sometimes I just want something fast and easy. Especially when that project is something that I end up using all the time.
That is definitely the case with these Simple DIY Lace Headbands I have for you today!
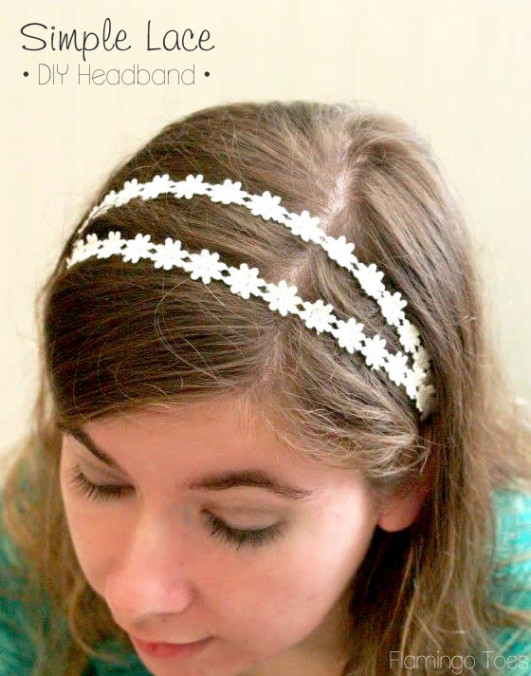
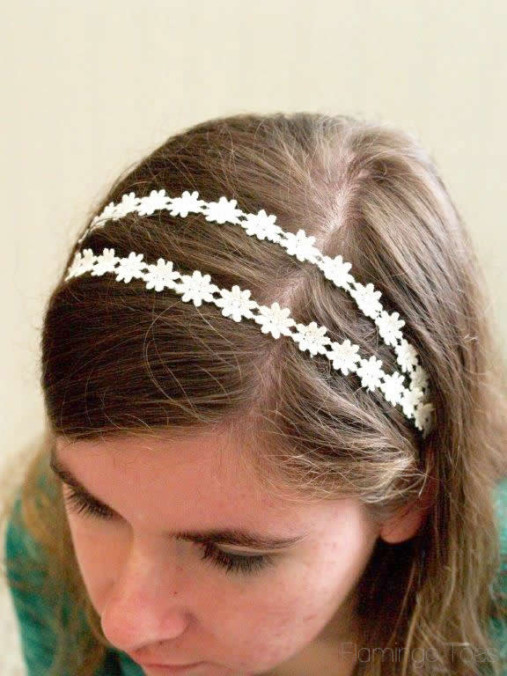
These simple, pretty headbands are super easy to make! I love the classic look they have too. They can take a semi-bad hair day (sorry – these are cute but they can’t fix a completely bad hair day, trust me) and take it to something sweet and stylish! Needless to say, I wear them a. lot.
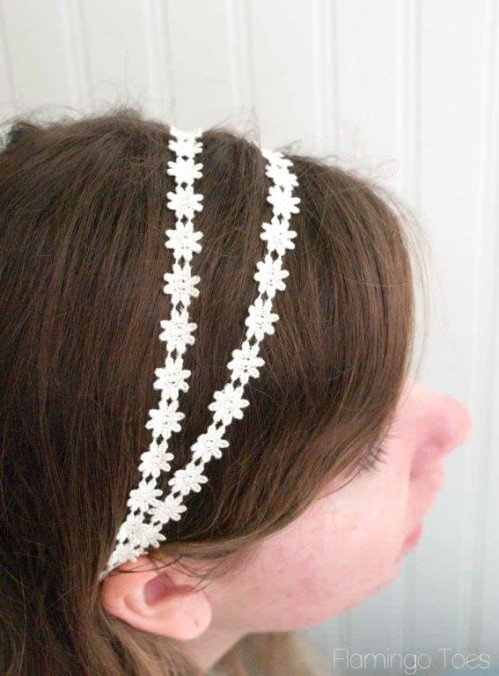
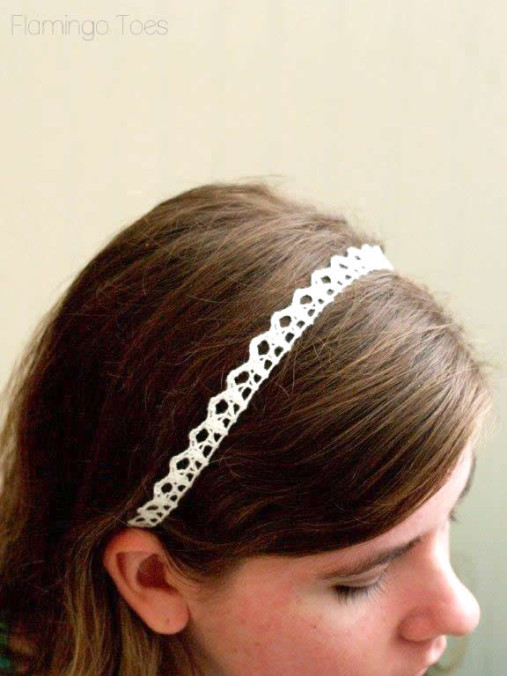
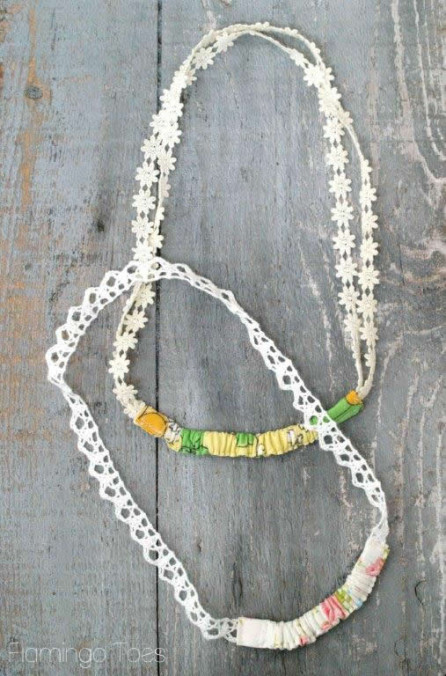
You can make this in the double lace or single lace version – both are just as easy!
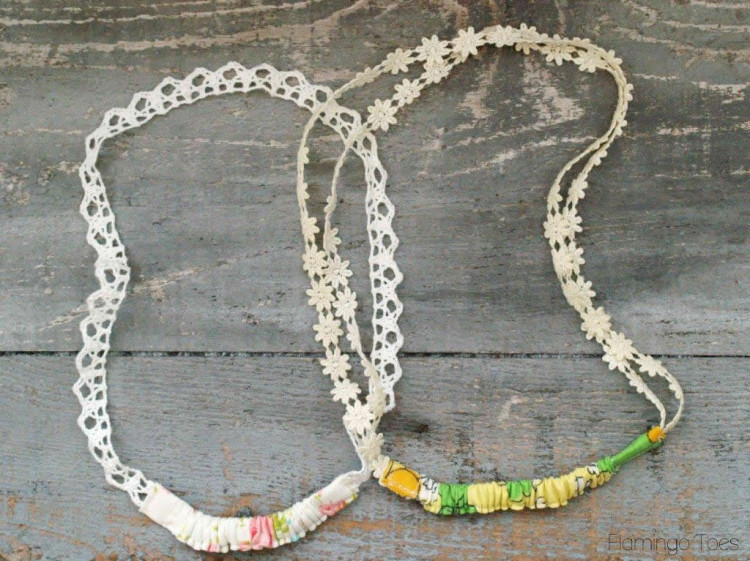
The headbands have a piece of fabric-covered elastic at the base to give them a comfortable fit. Shocker of shockers, I used vintage fabric for mine. Which doesn’t matter a ton, because no one sees them under your hair. But I just like knowing it’s there.
Here’s what you’ll need to make your own:
(This is for the double lace headband, just use half the lace if you want to make the single version)
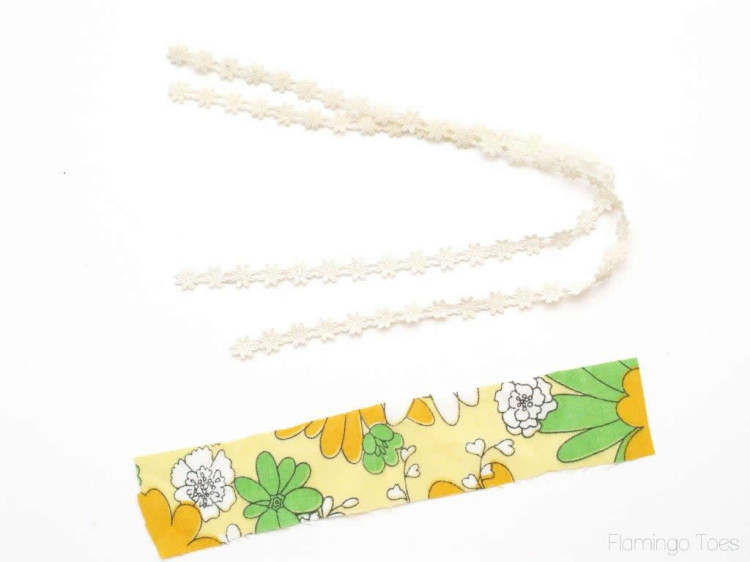
• 2 pieces of lace – 19″ long each – my lace is about 3/8″ wide. If you use wider lace you’ll need to make your fabric piece wider as well.
• 1 piece of fabric – 18″ x 2″
• 3/8″ elastic – about 7″
• safety pin
Start by cutting out your fabric and lace.
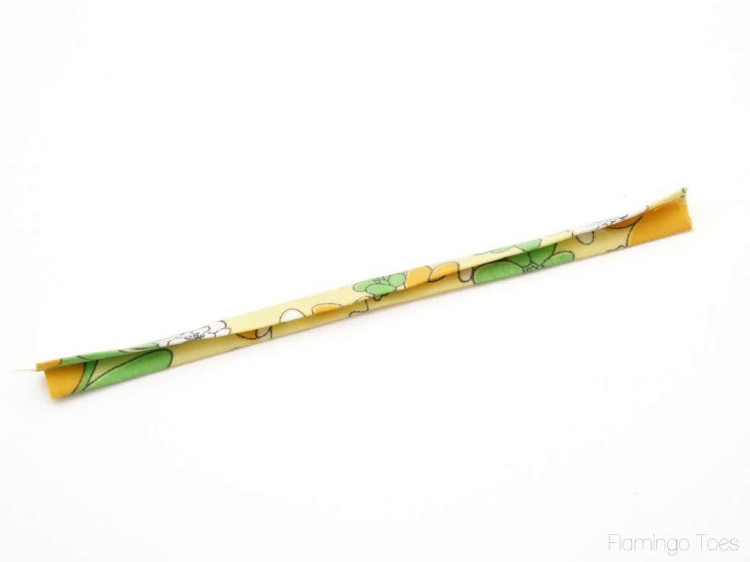
Begin by pressing your fabric piece like bias tape. You will press each of the long sides in to meet in the center, then press the center piece in half long ways.
Open out one end of the fabric strip and fold the end in about half and inch. Tuck the two ends of your lace and your piece of elastic on one side of the fabric casing.
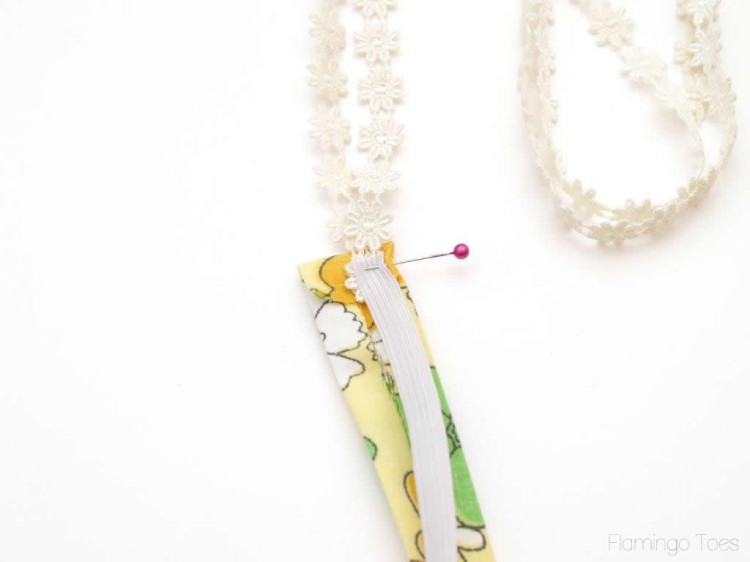
Fold the casing back closed and sew over the top edge, down about a half an inch and then across the casing again. This will make sure the lace and elastic are sewn in good and tight.
Pin a safety pin to the other end of your elastic. This will make your elastic easier to pull through the casing.
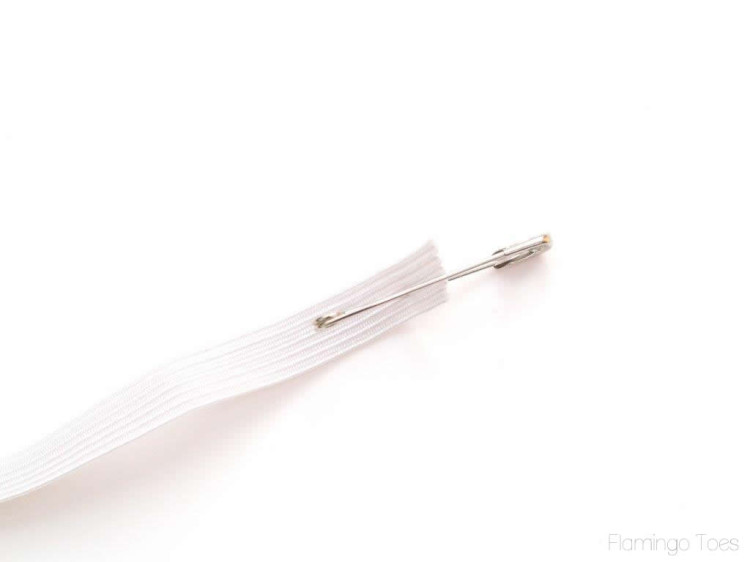
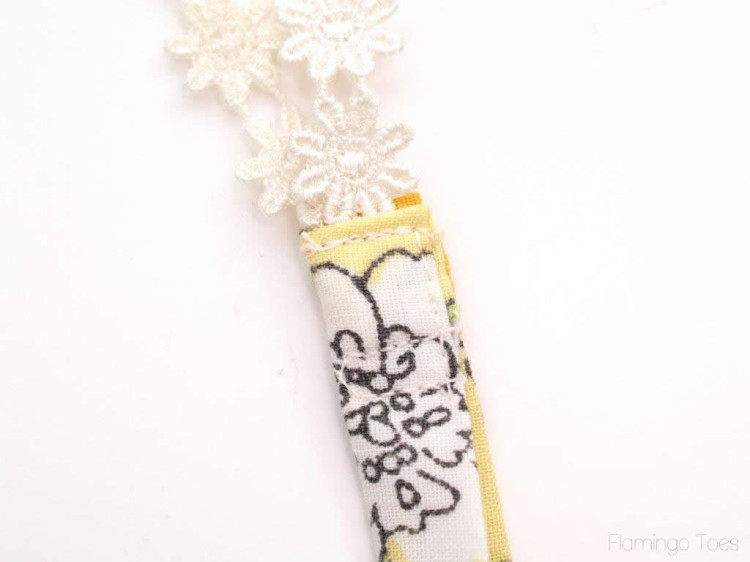
Tuck the elastic in the casing and sew down casing right inside the folded edge. Leave the bottom open about 1 inch.
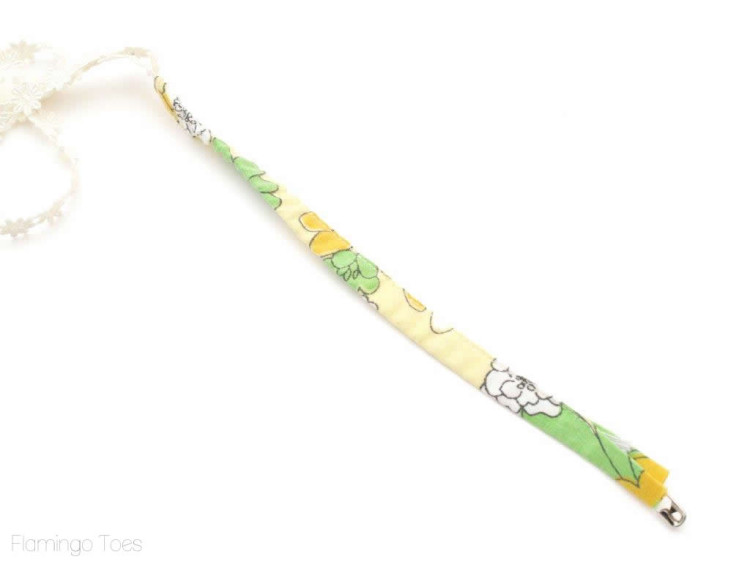
Pull the elastic through the casing to gather the fabric. Try the headband on and bring the lace and fabric ends together. Pull the elastic up until the headband fits the way you’d like.
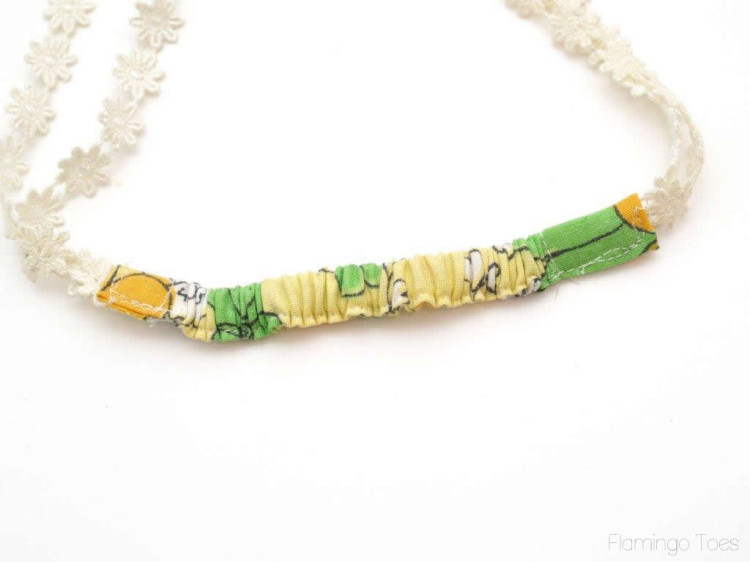
Sew across the casing about 1″ from the end to hold the elastic in place where you’d like it. Trim the rest of the elastic off.
Fold the short end of the casing in like you did the other end, then tuck the loose end of the lace pieces into the casing. Make sure the lace isn’t twisted. Sew the remainder of the side and top of the casing closed, sewing the lace inside.
That finishes off your super cute new headband!
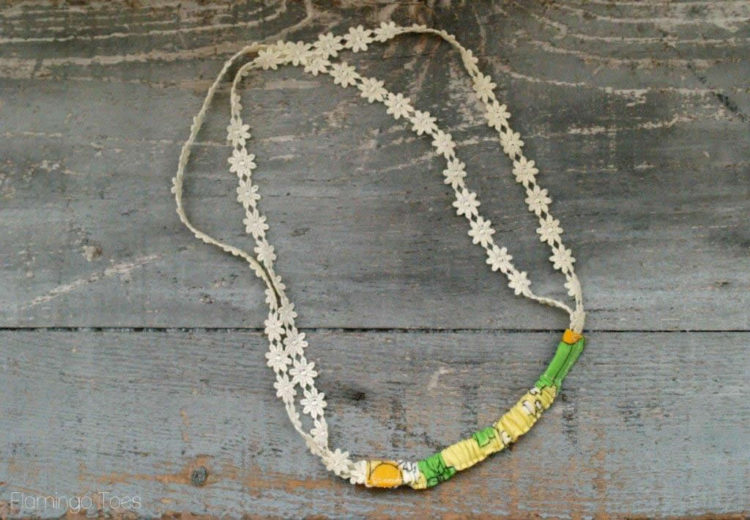
These are so fast and easy – you can make up a bunch in different lace styles or colors!
I hope you like them!


So pretty!!! And a fun project for all those trims you can’t help but bring home from the store… I’ve linked to your tutorial on Craft Gossip:
http://sewing.craftgossip.com/tutorial-simple-lace-trim-headband/2014/03/25/
–Anne
Adorable! I love the doubled up version. I need to make some of these!
I’ve seen some DIY headbands that use hair ties to get a snug fit. What is the advantage to using fabric covered elastic? A more secure connection between the lace and elastic?
Thanks for the tutorial, I’m defiantly pinning this one!
These are super cute Bev! I’m pinning them for later when Rachel is a little older and doesn’t pull them out! :)
So cute! I recently had my hair cut really short and I think something like these will look great in my new do
Thanks Lisa! I’m so glad you like them!