Back in the beginning with Flamingo Toes was a baby blog and there were 11 of you reading along I made these cute little Fabric Decor Balls.

Not that I think the blog’s all grown up now. Maybe we’re in those awkward pre-teen years. ha.
One of the things that I loved about them was that they were easy to change out for different seasons. And guess what – it’s time to change them out!!
Yes. I’m fickle.
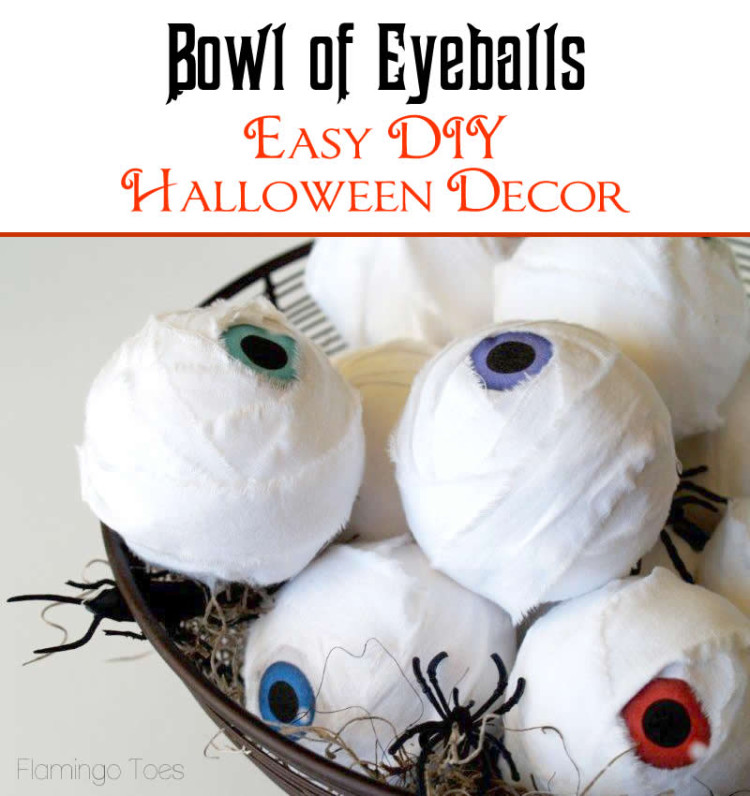
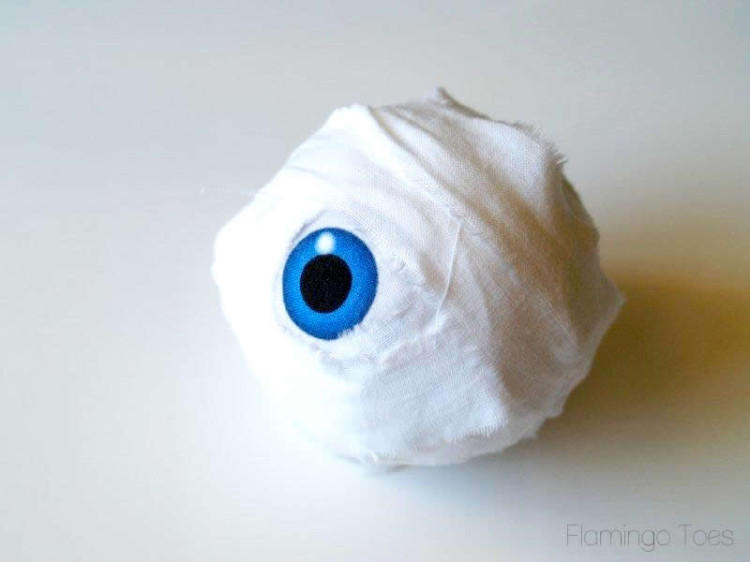
So today I’m showing off my tutorial for these super easy Eye-Balls.
Here’s what you’ll need to make your own spooky set:
(Yes. I know they’re not really spooky. This is about as Halloween/spooky as we get over here.)
- plastic balls (I bought 2 packages of whiffle balls from the Dollar Store)
- white fabric for the strips (I used 108″ wide muslin I had, 24″ of it.
So if you use regular 45″ fabric you’ll need about 1 2/3 yards) - more white fabric – 8 1/2″ x 11″ piece
- freezer paper
- printer
I originally tried printing out the eyeballs on paper, and then wrapping them, but the paper wouldn’t lay flat and kept creasing. Not cute. And slightly frustrating.
I have been wanting to try printing on fabric for a long time – and decided this would be a perfect project to give it a go with. I had seen it done somewhere but I don’t remember where now.
I was nervous about it but it was so simple!
Start by cutting a 8 1/2″ x 11″ piece of both fabric and freezer paper.
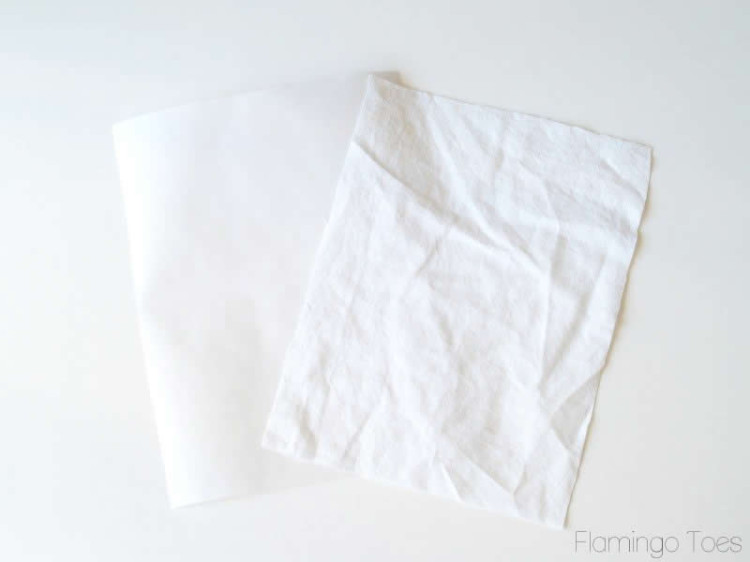
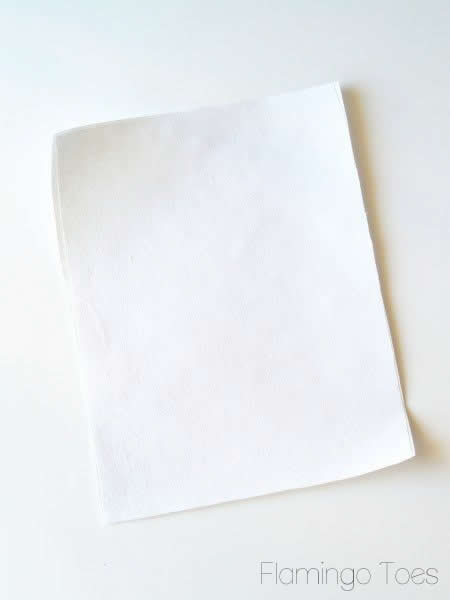
Iron the fabric onto the shiny side of the freezer paper. Press it down as flat as you can, so you don’t have any wrinkles or bubbles.
Find some eyeballs that you like. You can use my pattern, or you can find some online.
Click here to open the PDF
Place the paper in your printer so that the fabric side will print as it runs through.
Mine went through really easily. I had a few bubbles so you can see a couple small lines in the eyes – but that was it.
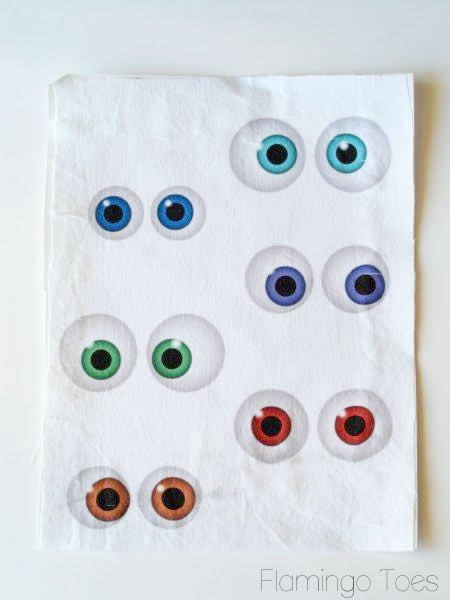
Peel off your freezer paper and cut out your eyes.
You can see that it printed out pretty clearly!

For the strips to wrap the balls with, make a small slit in the bottom selvage edge of the fabric, about 1″ away from the cut edge.
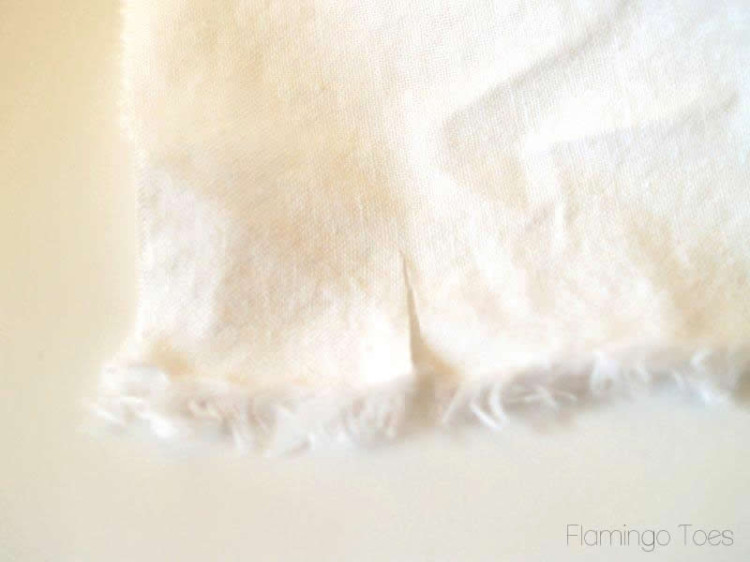
Grab both sides of the slit and tear the fabric. This will give you a nice even strip and the ends will be a little frayed. Perfect for that “mummy” look.
(Your first strip might not be even if the cut edge wasn’t even. Which it probably wasn’t. Does it seem to anyone else like fabric stores don’t cut in straight lines anymore??)
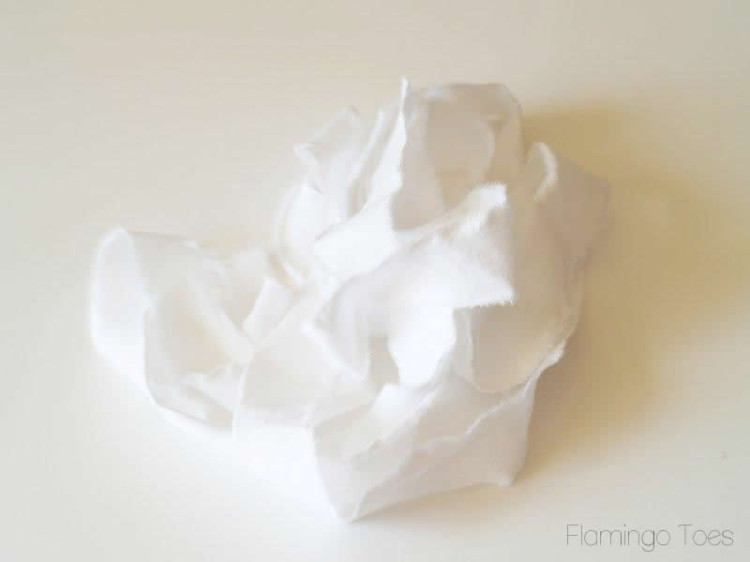
Tear enough strips of your fabric to cover each ball well. I used 2 – 1″ x 108″ strips for each. So if you have 45″ fabric you’ll want 2 1/2 – 1″ x 45″ strips.
Ack. Enough with the math.
Start wrapping the ball, criss-crossing the fabric for coverage. I wrapped one strip completely before adding in the eyeball.
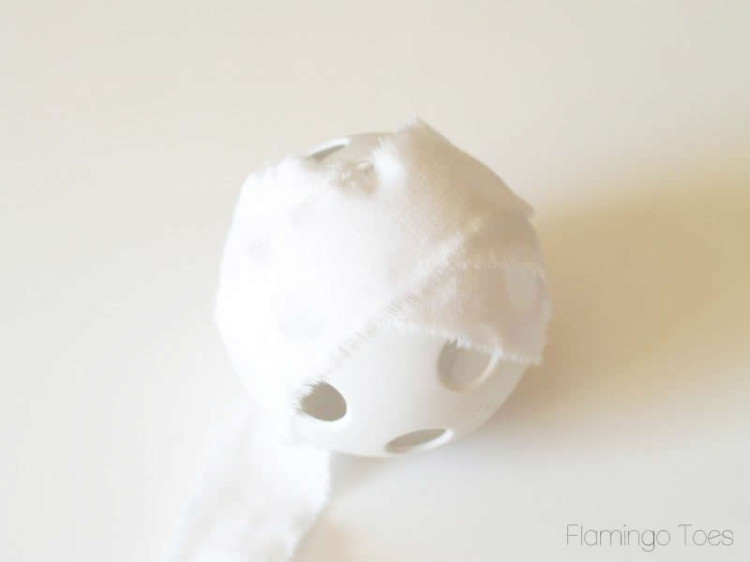
Lay the eye on the ball (does that make anyone else think of Runaway Bride? No? Just me then.)
Wrap the remain strip around the ball so that it covers the edge of the circle but not the pupil.

Tuck the end of the strip under one of the wrapped pieces so it holds. I did not use glue – because I’ll do something else with these for Christmas.
But if your kids (or husband) are going to chuck them around – add a spot of glue. I’ll probably regret the no-glue thing.
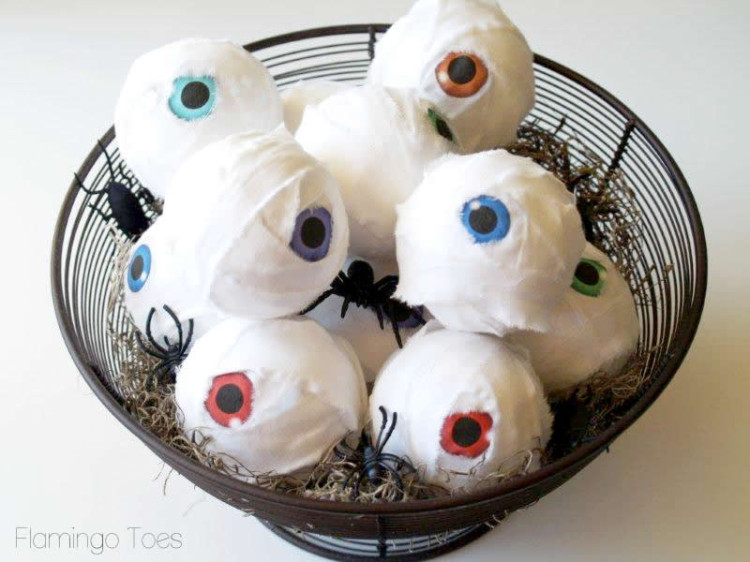
Wrap all your little eye-balls. I did 12.
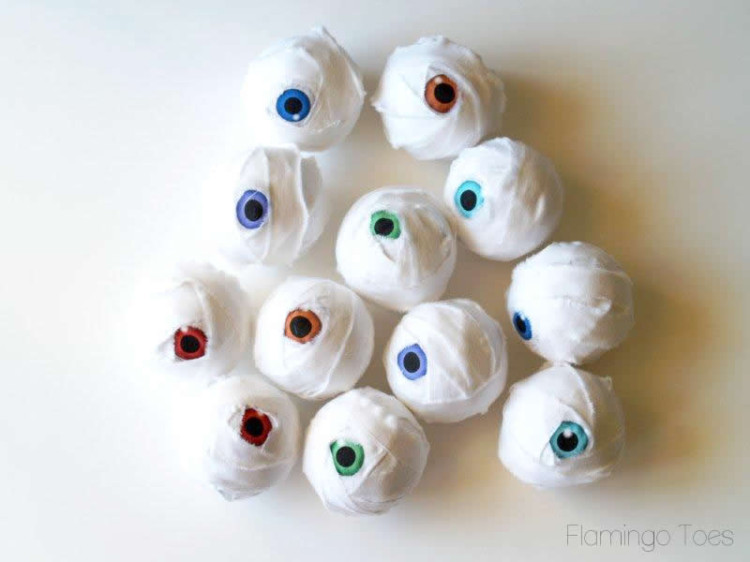
And you’re done! Really – you can’t get much easier. No Sew. No glue. I love it!
I put all the little eyes in my bowl with some gray moss and some spiders and roaches I picked up at the Dollar Store. Just to try and up the spooky factor.
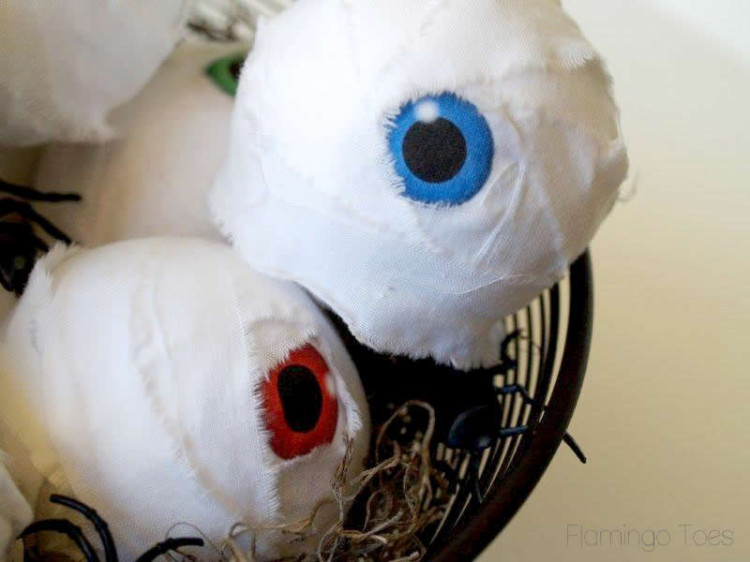
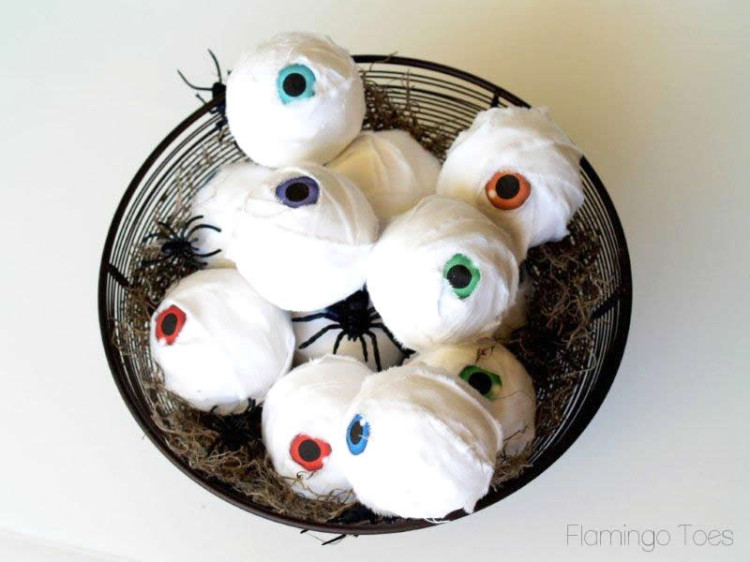
I think they’re so cute. If you can say that a bowl of eyeballs and spiders is cute. Which I totally can.


Super cute, Bev!
I agree,way too creepy cute
they are so creepy that they are actually cute! if that makes any sense….LOL! Love them!
Kara
These are adorable! I’ve got to make some and I love the freezer paper printing technique.
thanks for commenting on my post and leaving your thoughts, i really appreciate it. i’m hoping everything works out and ill have some success with my ideas :) thanks again!!
These are SO much fun! I love that you used something you already had on hand. Gotta say, I never thought eyeballs could be so cute!
Ha- these are hideously cute! I love your creativity! :]
Wow! I’ve never seen the freezer paper method of printing on fabric before! Still pretty scared to try it. lol
This is super adorable…I mean scary. Cute…we need decor like this at our house…Halloweeny but not scary icky!
a) these are adorable and EASY. I love how you make clever and impressive really easy on me.
b) I think you need to incorporate tulle. I’m not over the tutu to match the front door… clearly
Super cute! :D
OMG! I LOVE THESE!!! Great job! Found you via BCD link party.
eye c! those are creepy cool! fabric printing is now a must-since u made it look soooo easy!
I LOVE this. How totally cute!!!
http://www.makingmemorieswithyourkids.blogspot.com
I came rushing over as soon as I saw the title…how do you think of these things…excellent!!
Cuuuuute! DH and DS are both golfers so i have PLENTY of those balls hiding around the house. next craft project possibly…?
Kimra
crafty-cove.blogspot.com
Huh. Printing on fabric. Who knew? I think they turned out adorable! We also don’t do a lot of the really creepy Halloween stuff, but this one seems just entertaining enough. Thanks for the idea!
So cool! I love how easy some things are to make :)
These are just adorable!!!
How will I find time to make all these cute things I am seeing???
& I’mma have to figure out how to make the original fabric balls- I think they are so pretty too!
Very cool!
This is way too cute. I’m doing it!
Lindy
LOL! Love them! Though what does it say about us as a species that were entertained by a bowlful of eyeballs… Thanks for sharing … I’ve posted a link.
Those are too cute! A little creepy, but cute! :)
come hop on over to our blog if you would ever like to be featured or just need new recipes
Love this idea! I am having a Halloween Party for my son’s bday and this would be perfect. Thanks for sharing!
I already have this project on my To DO list! Really cute idea!
These are so cute and easy! I really appreciate the tip about the freezer paper, I have that on hand so can give fabric printing a try without buying anything. You are so smart :).
Dang! These are really cute! I definitely want to try the “printing on fabric” thing now.
Are you going to break my printer, Bev??
ooohh! Printing on fabric? I am so intrigued by this!
I’d love it if you linked this up to my Thursday Theme Party. :)
I love coming over for inspiration, these are perfect for making with the children! Thanks for the suggestion, are you linking up on the 4th for the graduation party? Thank you again for coming over and delighting us with your pillow skills.
They look fantastic!! What a great idea – and all those spiders and webby bits too – eugh!! Brilliant!
I love what you did…good to know how to print of fabric. Thanks for sharing!
I would totally say it’s cute! I love that you can use the same technique to create totally different looks for different times of the year. You did a fantastic job!
I love both sets!!! However, these are sooo creep-ily FUN!! You’re just so creative, girly! Love it! These are perfect to add to some spooky decor!
Thank you so much for sharing them at my party!! Have a wonderful weekend!
Hugs,
~Terrell @ FrouFrou Decor~
They are too cute! Thanks for linking up to Make It Fantabulous! I remember your fabric balls too! They are still on my to-do list!
OMG these are so awesome! I’m not very into Halloween, but this might be a fun one to try. I’m heading to the Dollar Store tomorrow anyways, so I’ll be on the lookout for balls.
Thanks for sharing!
My kiddos would LOVE this idea! Thanks SO much for joining in on Thrilling Thursdays @ Paisley Passions. I love to see the creative talent of other fellow bloggers. Hope you will stop by again soon :)
~Lori S.
Thrilling Thursdays @Paisley Passions
These are really cute… in a creepy-crawly kind of way! I love that you printed the eyes on fabric. I’ve been seeing this a lot lately, and I have to try this technique. Visiting from NFF… I’m a new follower!
Cute!!! I love them! I’m your newest follower! I can’t wait to see what else you have on your blog. I’m following you via Google Friend connect and Facebook!
Susieqtpies
Stop in and link up and get my Brain Jello recipe!
I love these. What a cool idea to print on freezer paper/fabric. You should market that as a new invention! If I could only find some freezer paper. I looked at Walmart. Where did you find yours.
the eyeballs in a basket are so creepy! perfect for halloween decor. blog hopping from NewFriendFridays!
How cute are these?! What a fun idea and thanks for the printing tips. :)
CUTE! Thanks for sharing, I will definitely be adding these to my list of things to do for Halloween.
Love this idea! And, so easy! I can’t wait to try it out myself!
Absolutely a bowl of eyeballs is cute! These are great- although I do have to say, glue would be required at my house- otherwise I’d be rewrapping them to high heaven!
This is really clever!
My boys will LOVE this! Just had to tweet it out.
I think they are perfect!
I just wanted to stop by and let you know that I linked to this post today from the Home & Garden channel at Craft Gossip. :)
Your feature will appear in the main Craft Gossip RSS feed, on the main home page and can be found directly here
http://homeandgarden.craftgossip.com/fun-halloween-crafts/
If you would like a “featured by” button, you can grab one here!
http://homeandgarden.craftgossip.com/grab-a-craft-gossip-button/
Very cute! I love them! Thanks for sharing!
Very clever…and just the right amount of spook:)
Cheers!
Theresa
I’m visiting from Frou Frou Decor.
Those are awesome looking. Super easy and super fun. Thanks for sharing :).
OMG these are fabulous! Love them!
Corinna
Thanks for the tips on how to print on cloth! I would never have thought of freezer paper, though I use it all the time for stencils and it’s original purpose: wrapping food! LOVE the cheap and easy option to use what I’ve already got!
Sigh–just discovered I’m out of printer ink tho. :-/
These are great!
Melissa
http://www.burstsofcreativity.blogspot.com/
Eeeck! Now these are creepy. I like “sitting” next to you at parties! ;)
Very cute. I’m surprised that printing on fabric was so easy. I would be afraid things would ball up inside the printer.
This is great! Oddly enough I have been looking for some eyeballs to put in a vintage jar as a creepy decoration. Your eyeballs are pefect for it!! Thanks!
Super cute and I love the tutorial on printing on fabric. I haven’t tried that. These look so great. What a fun idea.
and i thought you were amazing when i only knew about the anthropologie mirror! love the fabric balls & your twist on them for halloween :)
That is totally funky. Love the mummified look.
These are sooooo cool! And easy! Thanks so much for putting the eyeballs together for us! I so want to make these and easy enough for my boys to help! Cute!
Hi There!
These are great! The eyes are so realistic!
I’m visiting from Just Something I Whipped Up Monday. Have a great week!
those are cute, they look like mummy eyes.
Haha so cute! I love them!! Sooo creative!
-Michelle @ Bunch of Craft
These are a riot! Love ’em!
Love the eyeballs! So fun and easy!
What a cute and creepy idea! I love how you did it in a bowl with the spiders and everything. A great Halloween idea!
So CUTE. I love this idea. Genius!!!
They turned out so cute. Thanks for the tutorial.
Oh my goodness…these are CUTE….I mean SCARY! heheh Thanks for linking them up to Anything Related! ~Bridgette
Love! What a great craft! Thanks for linking up to quiltstory!
I absolutely love them! I’ll be featuring this on Monday! Thanks for linking up to Topsy Turvy Tuesday’s.
These are fantastic! Wonder what would happen if you passed them out for Halloween?!? Thanks for the great tutorial. :)
featured these today on my blog.
kimboscrafts.blogspot.com
Thank you for submitting this project to Dollar Store Crafts – they are fabulous! I will be featuring them on the blog sometime in the next week or two – keep an eye out for the post! :)
What a fun idea! my grandkids would love them. Thanks for sharing.
These are awesome! What a great project to try with kids! Putting this on our list of decorating “to-do”… thanks for sharing!
So cool. Gotta try it.
Nothing says “halloween” quite like eyeballs! So cute!
These are great and thanks for the tips on the fabric printing!
Wow, I had no idea it was so easy to print on fabric! I can think of a million ways to use this. THANKS SO MUCH! I can’t wait to share it with my readers.
I wish I would have see this tutorial a few weeks ago..boo! I am going to have to try these next year, they are way cute! I found you via Be Diff Act Normal.
What a great project! I’d be thrilled if you shared these over at my halloween link party at http://igottacreate.blogspot.com !
Those are really fun!