Those of you who have been visiting for a while (bless you ;)) know that I have a wee obsession with entering contests. Not sure what that’s about – but there it is.
So when I heard that on the last day of the San Diego County Fair there was an Apron contest – what was I to do? Get sewing of course! Nevermind that I just got back from a long vacation and we have family in town. There’s always time for sewing right? Hmmm?
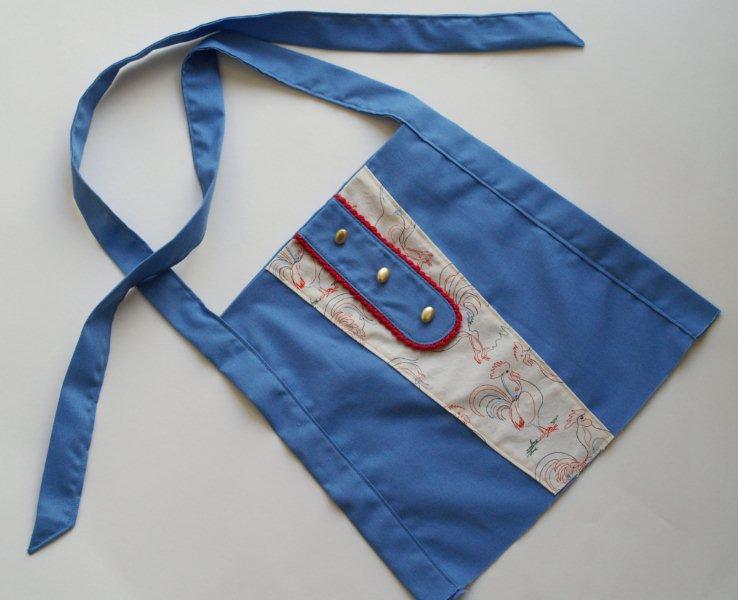
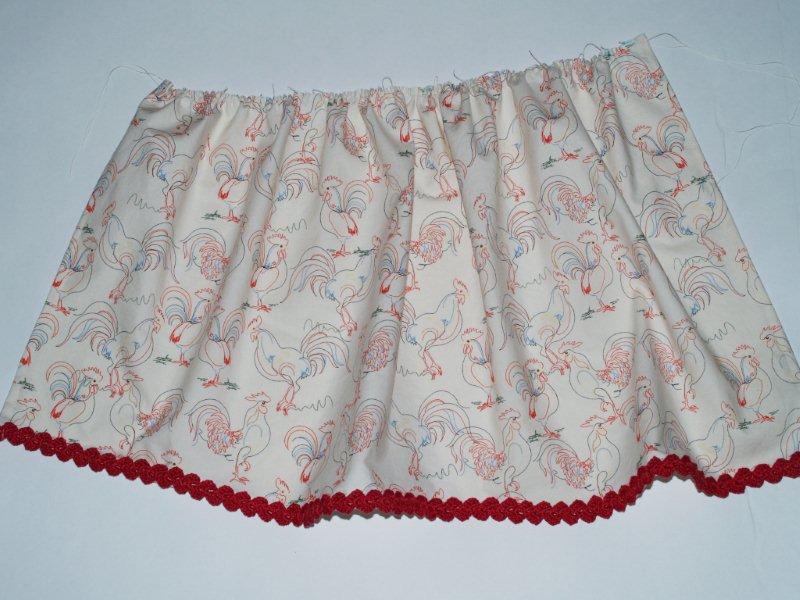
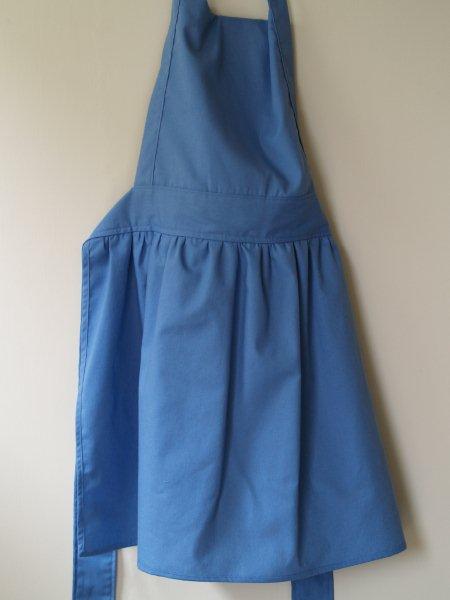
Here’s what I came up with.
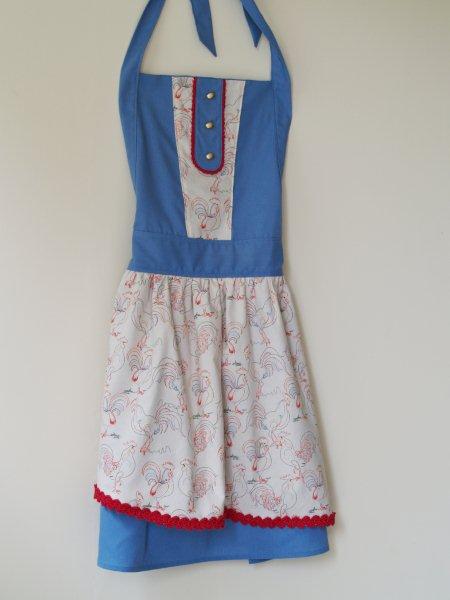
I used that darling rooster fabric that I found a month or so ago at the quilt fair and I crocheted the trim at the bottom and around the button placket. I also did a Anthropologie-ish swoop on the front skirt – so it’s an uneven hem. Do you love it? I confess I do.
I have a quick tutorial for you if you’d like to make your own.
Here are the materials you’ll need:
- For the underskirt, top, and ties, (blue fabric) – 2 yards of fabric if you don’t want to piece the waistband.
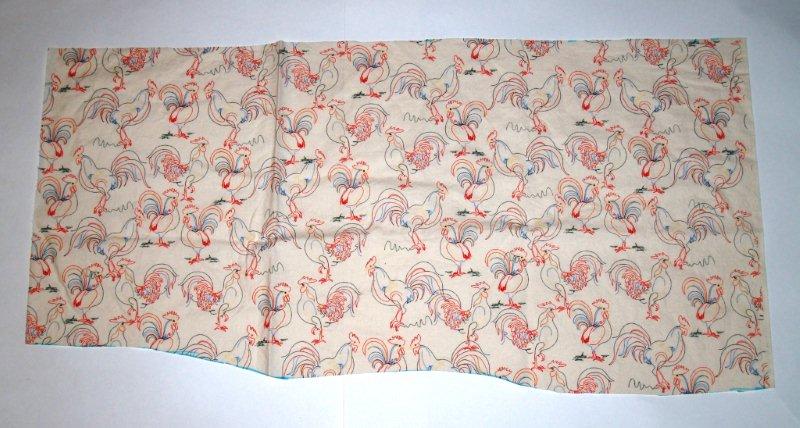
- For the over-skirt and detail fabric on the top (rooster fabric) – 1/2 yard
- Crochet thread for trim – I used a ball I already had, but I didn’t use much of it (or purchased trim – 1 yard for over-skirt, 1/2 yd for placket trim)
- 3 buttons, coordinating thread
Out of your underskirt fabric cut the following:
- 2 pieces 72″ x 3″ for the waistband ties
- 2 pieces 36″ x 2″ for the neck ties
- 1 piece 17″ x 29″ for the underskirt
- 2 pieces 11″ tall and 10″ wide at the top, 12″ wide at the bottom. (A rectangle smaller at the top than the bottom) for the apron top
- 2 pieces 2 1/2″ x 6″ for the top placket
Out of the over-skirt fabric cut the following:
- 1 piece 11″ tall, 5″ wide at the top and 3″ wide at the bottom
- 1 piece 15″ x 32″ for the over-skirt
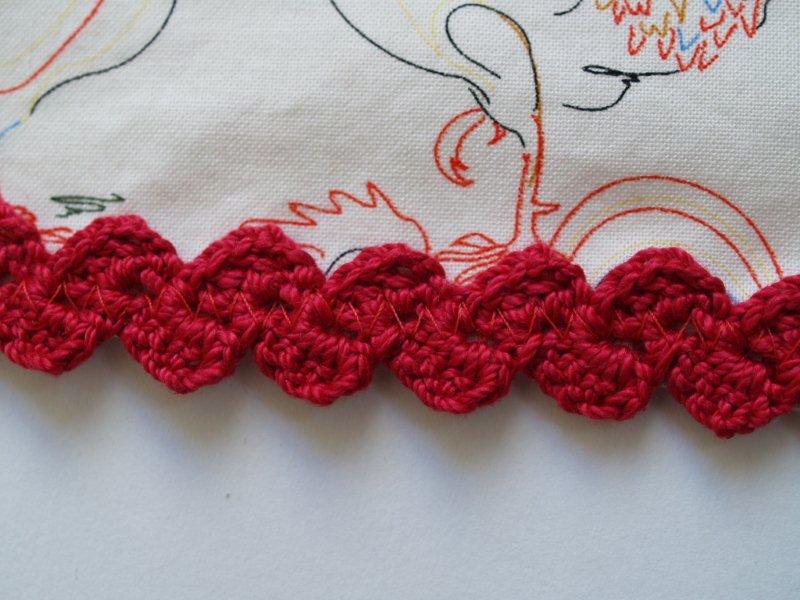
If you’re going to crochet the trim, I recommend you do that first. For the bottom of the over-skirt I did a crocheted ric rac:
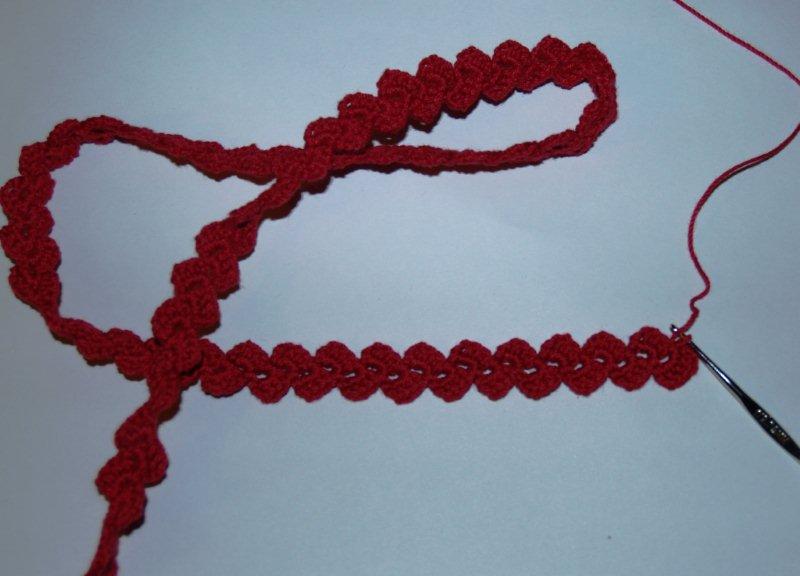
and for the top I did a tiny scallop.
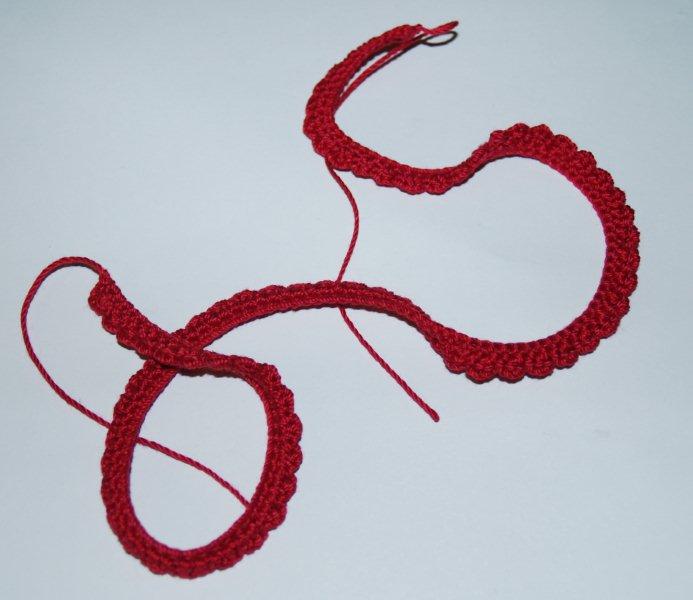
Both of the patterns for these came for the book, Crochet Adorned, by Linda Permann. But if you don’t have that book, there are a ton of free trimming patterns out there. Crochet Pattern Central has a great list. Or you can always use purchased trim. That would be just as cute.
Let’s start with the top of the apron first.
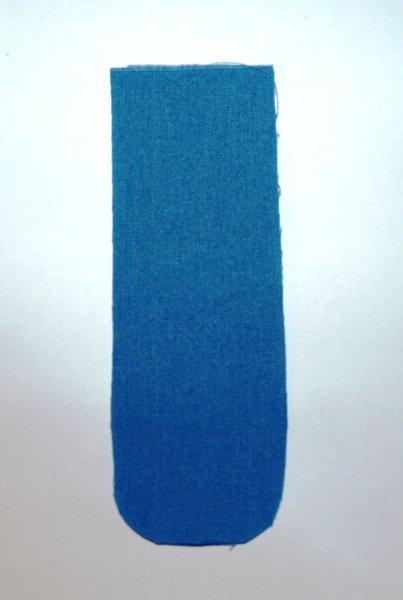
Take the small 6″ x 3″ rectangles and round off the corners on the bottom of both pieces. It helps to fold them in half so the two sides are the same.
Sew your smaller trim around the two sides and the bottom of one of the rectangles. Then sew the two rectangles together, with right sides together and the trim between. Clip your corners, turn right side out, and press.

Sew on the three small buttons, spaced evenly down the placket.
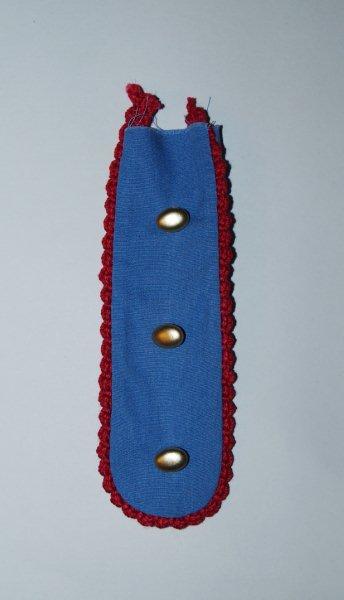
Awww. That’s so cute already.
Now sew the uneven rectangle you cut out of the over-skirt fabric:
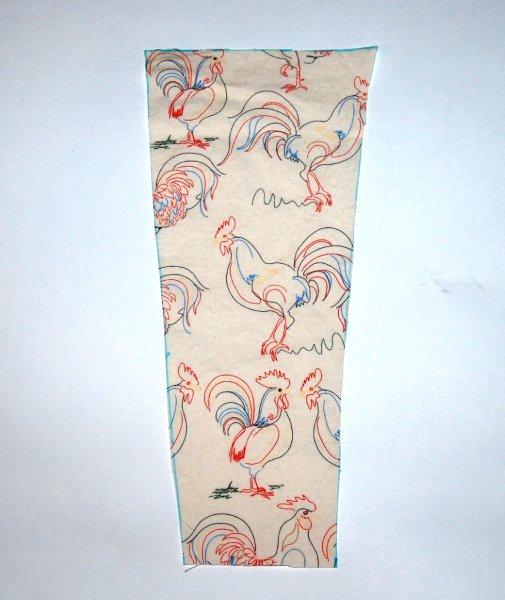
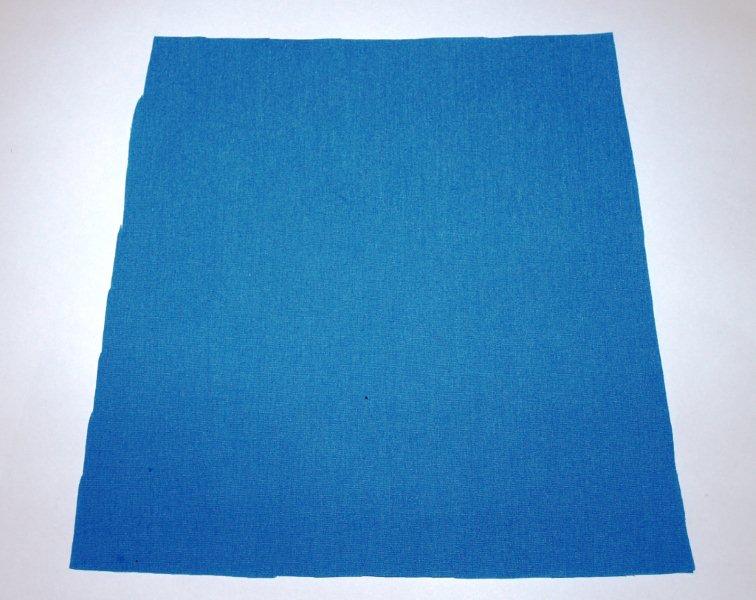
to one of the uneven rectangles cut out of the underskirt fabric.
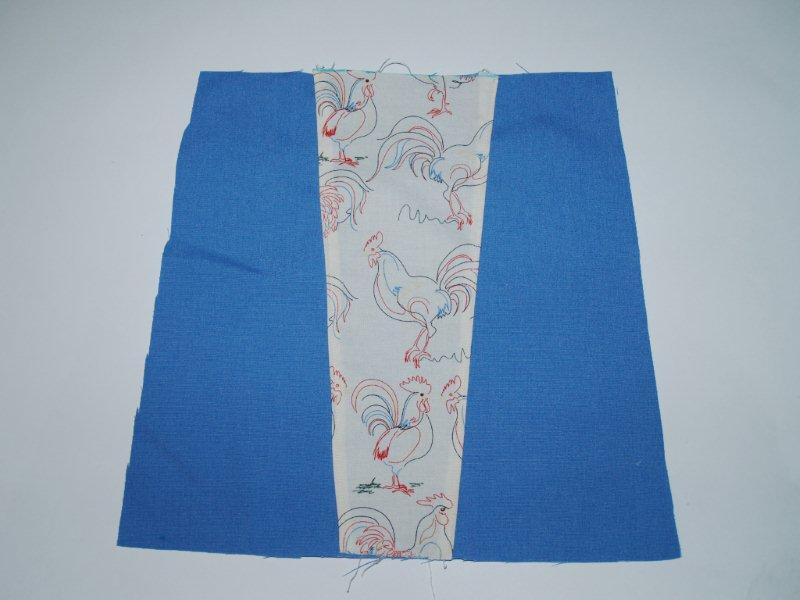
Press the sides of the rooster fabric under about 3/8″. Lay the rooster piece on the blue piece. The wide part of the rooster rectangle and the narrow part of the blue rectangle should be together.
Sew the sides of the rooster fabric down.
Lay your button placket at the top of the rectangle and center it in the rooster fabric. Sew it down close to the edge.

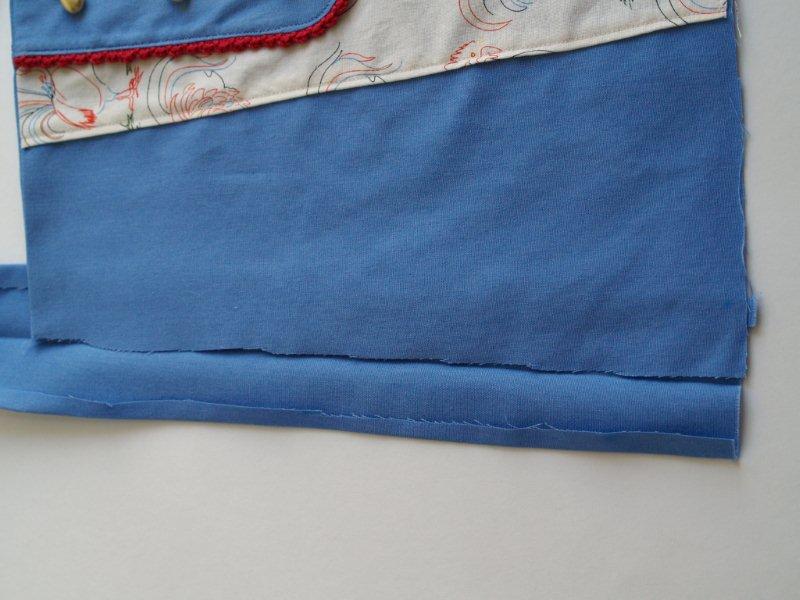
Lay the other rectangle your cut from the underskirt fabric over this one, right sides together and sew along the top seam only. Turn and press.
For the neck ties, fold the long sides in 1/2″ and press, then fold in half and press. Do this for both ties. Lay the top between the folds, like a bias tape, with the bottom edges meeting.
Pin and stitch these down on both sides, sewing the apron top between the folds, and continuing down the length of the tie.
If you want, angle the ends of the tie by folding the end under, then folding the sides in a triangle, then sewing together.
Now the apron top is finished. Woohoo!
On to the skirt!
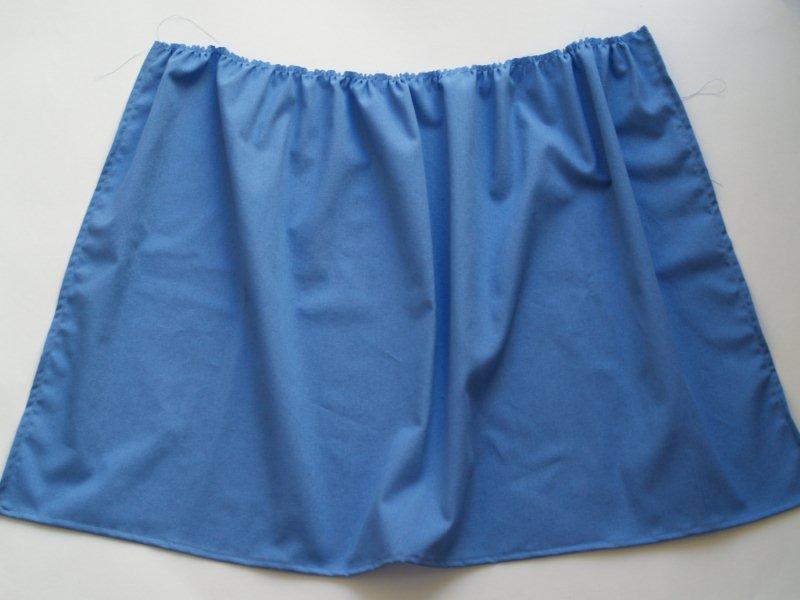
For the underskirt, hem the two sides and the bottom by turning under twice and stitching close to the edge. Run a gathering stitch along the top and pull up the threads so the top measures 17″.
For the over-skirt, draw out the uneven hem with a disappearing ink pen, then trim that bottom edge.
Hem only that bottom edge. Then sew on the trim. Depending on the type of trim you decide on, you might want it on the front of the fabric or the back. I wanted it on the front and I used a medium sized zigzag to sew it on.
Hem the two sides and gather the top to 17″, just like the underskirt.
Mark the center of your waistband ties, then measure out 8 1/2″ on each side. Mark or put pins at these points. Make a sandwich with the right side of one waistband facing up, the underskirt facing up, the over-skirt facing up, and the other waistband piece, wrong side facing up. Pin these together frequently, making sure that the apron pieces are between your two measurement pins. Sew all the pieces together with a 1/2″ seam, starting at one end of the waistband tie and continuing through all apron pieces to the other end.
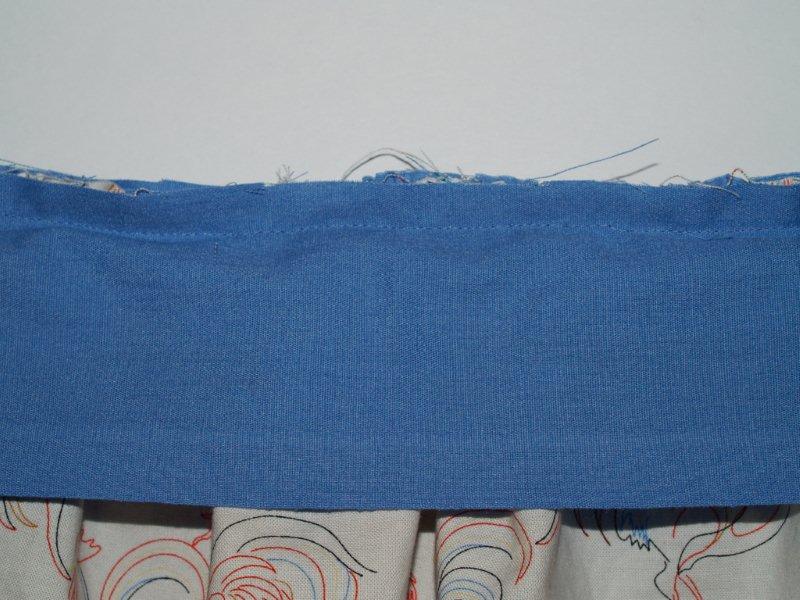
Press the waistband pieces up. Press the top, unsewn edges of both waistband pieces under 1/2″.
Lay the apron top in between the waistband pieces and pin in place. Try it on and see if everything lays nicely. Depending on your bust size, you may want to move down the apron top a bit farther into the waistband. Because the Lord did not see fit to bless me much in that area, I moved the apron top down past the waistband top folds 1″.
Sew the top of the apron to the top waistband piece only.
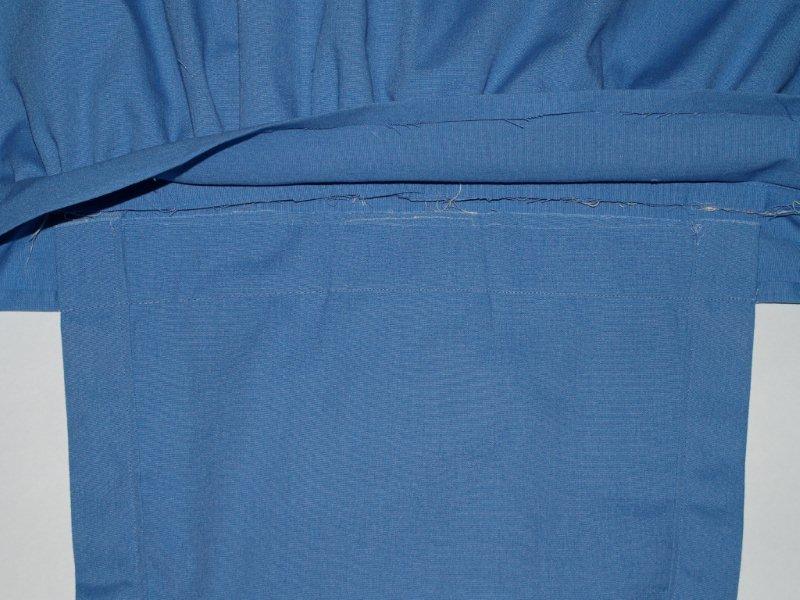
Pin the waistband pieces together, making angled corners again, and sew the top pieces together close to the edge. Continue around the waistband and top stitch the bottom also.
And you’re done! Nice and easy right? I love that there are no open seams on the back – makes it almost as pretty as the front.
And a couple more shots . . .
Including one of me . . . in which I’ve decided that blogging and modeling what I make is an excellent diet incentive. haha.

Wish me luck – I’m off to the fair in the morning! I’ll let you know how it goes. ;)
** Click Here to see what I won. **


BEV! OH.MY! Seriously, cutest apron ever. Ever!
OH MY GOSH, I absolutely love it. Blue ribbon for sure!
That Apron is adorable I love the crocheted trim. Thanks for the tutorial too.
this is so cute. you should totally win
totally totally cute!!
Very cute apron!
I found your post very interesting, I think you are a brilliant writer. I added your blog to my bookmarks and will return in the future. I want to encourage you to continue that marvelous work, have a great daytime!
Cute!!
Good Luck!
Super Cute! Thanks for joining us for Anything Related #14!! ~Bridgette
I love the rooster fabric!!! So cute!
That is fabulous….You made it look so vintage. The rooster fabric is fantastic! I will send you a blue ribbon!
This has so much attention to detail. You did a wonderful job. I’m sorry you didn’t win a ribbon. I’d love if you linked this to Fabric Fun Thursday.
I loved it, but I’m sorry you didn’t get a ribbon. What’s wrong with the judges? I’ve got to learn to crochet!!
Aww, that is so cute! Blue ribbon from me, I love it! That edged front skirt is so pretty. Thanks so much for the details, I’ll be linking.
The placket is the cutest!!
super cute! You did a great job of explaining it–I’m such a slow learner when it comes to sewing, but this post was great!! Thanks!
Wow! YOU are amazing! I will NOT be making one of these…that would surely be a disaster. But, I loved looking at yours! Great job!
this is so cute… it makes me want to try to make it. hope you won!
So cute! Adorable apron, I love it! Thanks for linking up!
OH my goodness! You are so talented!
You should come over and link up to my linking party, every Tuesday!
What a fabulous apron and tutorial! I have to send you a huge thankyou! I loved your apron so much that I decided to make 6 of them (including a kids sized one), in various colours, for christmas presents this year. All the women adored them! So many thanks again. Now I just need to make one for myself one day :)
Hi. I just love the different layers of this great apron. I’m going to make it, I will I really will. thanks for all the ideas. now, for your more well endowed readers I’d like to say, They could cut the bib square and put in darts at the top to more fully cover the bosom. believe me, sometimes you need that. I had a Bib overall that had that and I loved it. After it wore out I took it apart just so I could make another. (still working on that)
I found interests just a few months ago and I love this site. I’m also a apron fanatic and love the tutorials. Your apron deserved a ribbon. Judges were probably men and didn’t know what they were judging. I make aprons and other things to sell here in Humboldt Co. CA. There are a lot of crafts in this small county. I’m just starting my business. I can’t seem to stop sewing. When I’m not sewing I wish I was. I’m hooked for sure. I’ve been sewing for 50 years and never been hooked like this. Now I just need to sell my creations so I can make more.
GREAT WEBSITE.. ..GREAT INFO!!!!!!
Very cute!
Hello! I just wanted to say I just finished making this apron for a friend and they LOVED it!