Well it’s time again for our adventures in “Making-Cute-Dishtowels-For-A-Lot-Less-Money-Than-Anthropologie”. You didn’t know we were doing that? Well now you do. :)
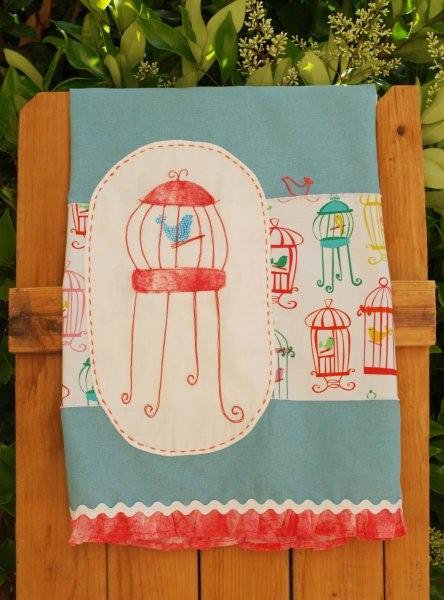
Here’s my latest:
(I’m on a birdie kick. But then so is everyone else so I’m in good company :)
I’ve had the birdcage fabric (Tweet Tweet by Michael Miller) for a little while now, and I just knew it was destined to be a dishtowel. I took one of the cages I liked and redrew it onto muslin and machine stitched over the lines. I don’t think that counts as machine embroidery, does it?
Want to make one too?
Here’s the supply list:
Dishtowel
Birdcage Fabric (about 1/4 yard)
Muslin (just enough for the birdcage applique x 2)
Scraps of fabric for the top and bottom of the birdcage and ruffle
Scrap for Birdie
Ric-rac
Coordinating Embroidery Floss
Alrighty then. I started with a piece of muslin and cut it larger than I needed. (At the time I wasn’t sure how big I wanted the birdcage.) I picked out a cage I liked and redrew it on the muslin with a disappearing ink fabric marker. I made a little mistake on that left arc, but the beauty of disappearing ink is that it all goes away anyway. Sweet!
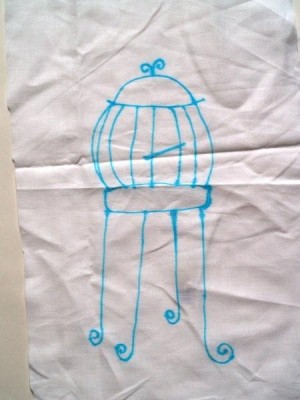
(I promise to get better about ironing. Sheesh.)
We want to sew the items on in the right order so that the layers are in the right place. In other words, you want the birdie to look like he’s in the cage and on the perch and not floating outside it. :)
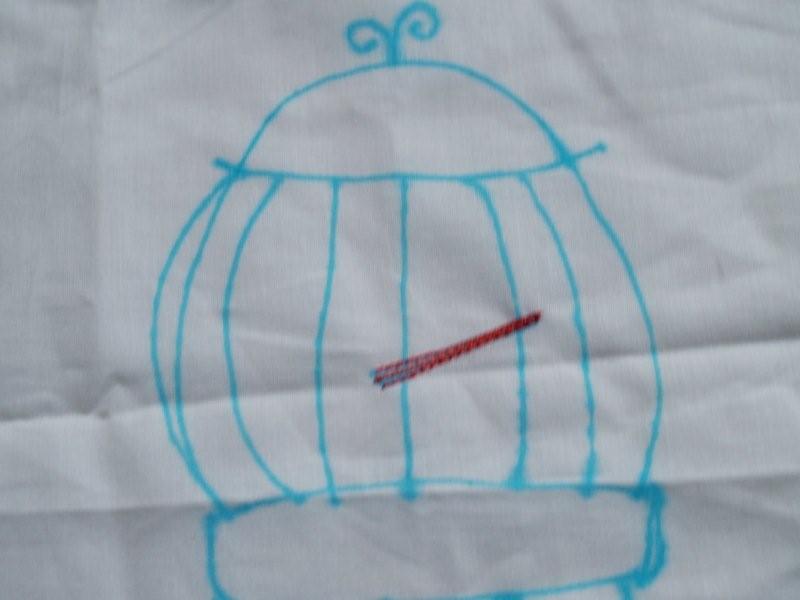
I started with the perch. I just stitched back and forth on the line about 7 or 8 times.
Then I traced and cut out my little Birdie. Awww.
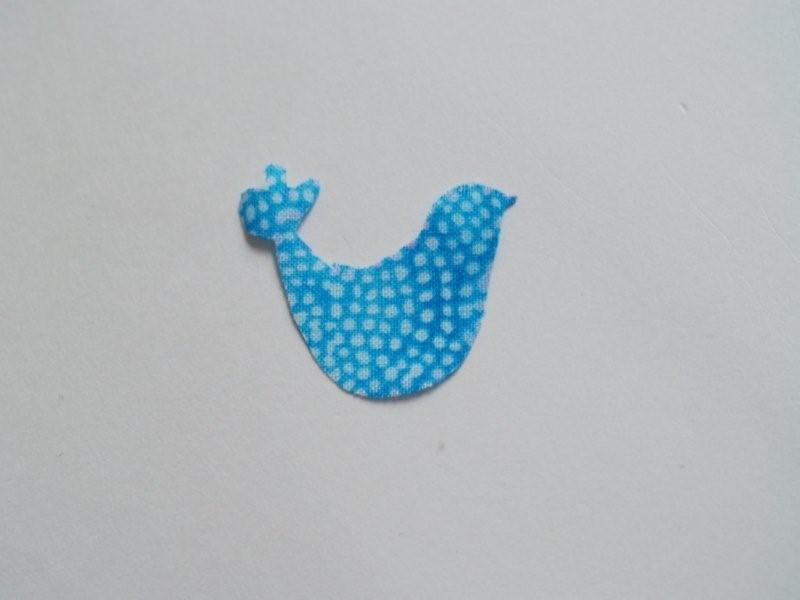
I put him on top of the perch, so it looked like he was resting on it. I used Wonder Under to hold him on, then straight stitched around him.
(Look, not quite as wrinkled!! )
Then I repeated the same process for the top and bottom of the birdcage.

(I think it looks a little like a gumball machine here.)
Then it got late and I forgot to take pictures, sorry! But it’s pretty simple so I think by looking at the finished towel you’ll be able to follow along. :)
Just like with the perch, I sewed over all the blue lines, about 3 or 4 times. On the two right legs, I did 5 passes because I wanted them to be just a bit thicker, for a little dimension.
I decided on my cage applique shape and cut it out, then cut out a backing. I did this because the muslin wasn’t very thick and I didn’t want the background fabric showing through. I sewed most of the way around the oval, then clipped the corners and turned it right side out.
I cut a panel of the birdcage fabric the width of the dishtowel x 8″. I sewed this on – leaving the top and bottom so they would fray and hemmed the sides.
Next I placed the birdcage applique where I wanted it (slightly off center) and sewed it on closely to the edge.
I added a ruffle and ric-rac to the bottom edge. At this point it still seemed like it needed something so I did an embroidery running stitch around the white oval. If I did this over, I’d do this running stitch before sewing it on to the dishtowel. :)
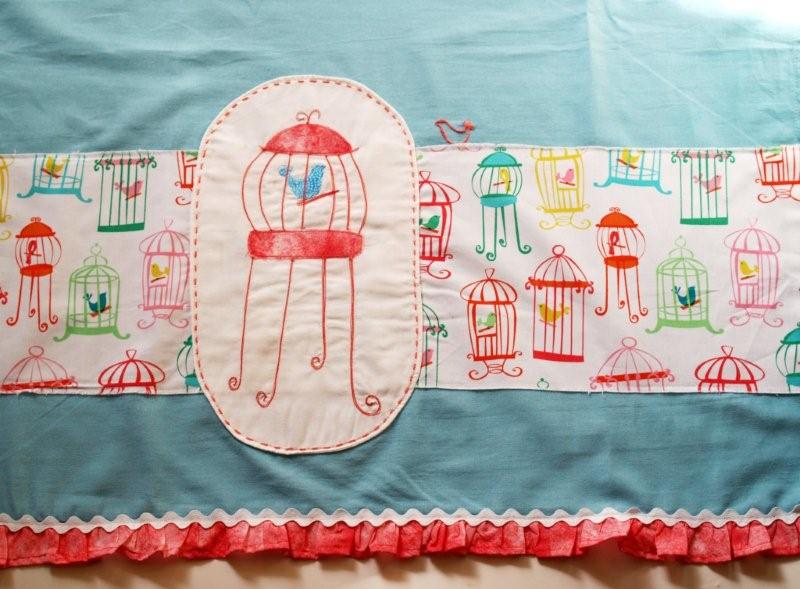
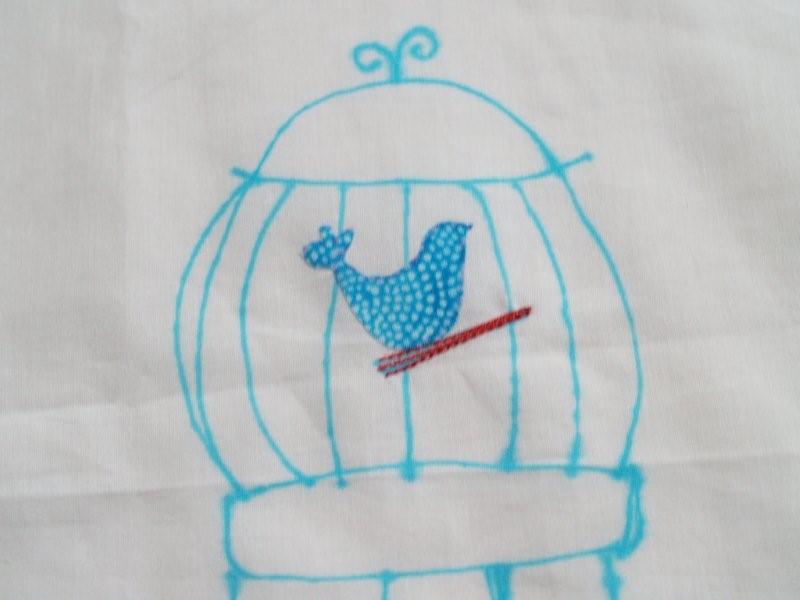
I also added a little embroidered birdie just about the fabric panel.

Here’s a close up. Do you think the birdie outside the cage is mocking or consoling the poor little birdie in the cage? I can’t quite tell.

And the finished towel.
There is more Birdie goodness coming next week. I can hardly wait. :)


Ok, that is just too cute! Have you thought about opening an Etsy shop? I would be tempted to buy one of those dish towels!
This is fabulous! So cute!
Absolutely adorable. I love what you did. The ric rac and ruffle really finish it off nicely! You should sell these!
Hello sweet Bev – I’m tellin’ ya…please, please open a shop soon. You have such creative talent! Love this birdcage towel!
Blessings,
Marie
That is so cute you did an excellent job. I agree you should sell them!
A lot a work for a dishtowel – but absolutely adorable – I don’t think I would wipe dishes with it.
How tweet! Uh, I mean sweet!
That is completely adorable!
Love this! I already bought a pack of flour sack dish towels to embellish and then I got distracted. Love your fabric and design. Too cute! So clever.
I love the birdcage towel, so cute!!
Tania
Well done! I can hardly wait for the next birde project
I love that fabric – would have went perfect in my last kitchen. But I never would have been able to make such a cute dishtowel! It’s adorable!
I really like it. Very nice colors, and the little extras that you added really make it special.
LOVE, LOVE, LOVE this!! Love anything Anthro:) Love your creativity!
My goodness ~ this is adorable! I love the fabric and the little bir cage – super cute! I really want some of these!! Thanks so much for stopping by and joining the Sunday Showcase Party! I greatly appreciate it! Hope you have a great week! ~ Stephanie Lynn
coooooooool post,thank you for sharing
Hi,
I love your site. Love that you have Scripture on it!!
Have been sewing myself all of my life.
I am making pillows for my son and his family. I don’t know how much extra fabric to buy for the piping? I am having a very hard time locating this information on the internet. I know how to make the piping (cutting it on the bias) but don’t know how much extra fabric to buy for the piping.
I love this and I am inspired to do it. So cute, and I love the dessert tray too, I am totally going to do that too! Thanks for inspiring. I just found you through SMS giveaway.
This is so adorable! I really love it. Thanks for entering the contest.
I love the dishtowels from Anthropologie and yours looks just like one! I’m going to make one this week!
So gorgeous! I’ll be linking tomorrow!
xo
jessica
I LOVE LOVE LOVE THIS!!!!
I love bird cages and cute little birdies, so I am loving this dish towel!
Navy Wifey Peters @ The Submarine Sunday Link Party