This summer has been all about travel and adventure! This cute DIY US Map Heart Pillow is so perfect for showing…
Read More
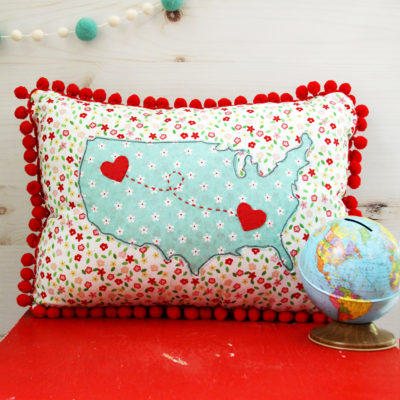
This summer has been all about travel and adventure! This cute DIY US Map Heart Pillow is so perfect for showing…
Read More
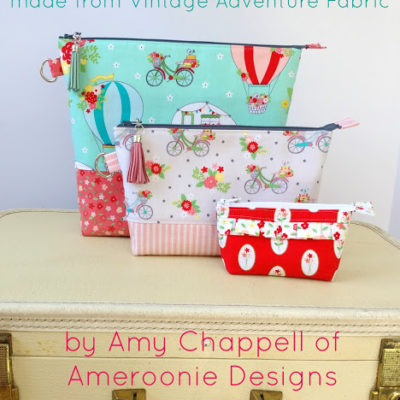
It’s the last week in the Vintage Adventure Fabric blog tour! This week we have the super talented Amy from…
Read More
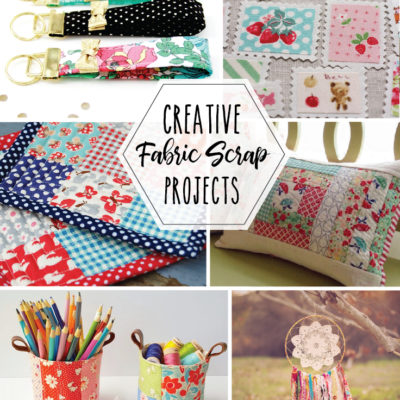
Happy Friday friends! If you love working with fabric then you can’t help but accumulate fabric scraps – and sometimes…
Read More
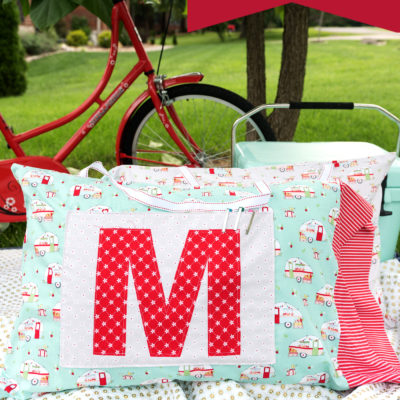
It’s week three in our Vintage Adventure Blog Hop! I’m so excited about all the projects that these super talented…
Read More
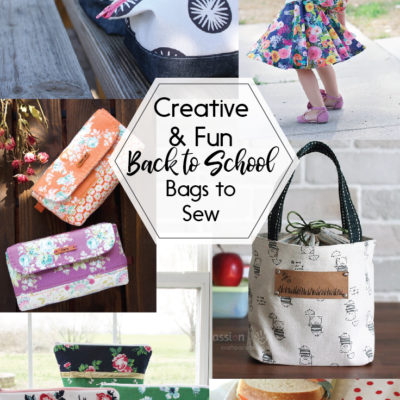
Can you believe Back to School is just around the corner? It seems like summer just started! These Creative and…
Read More
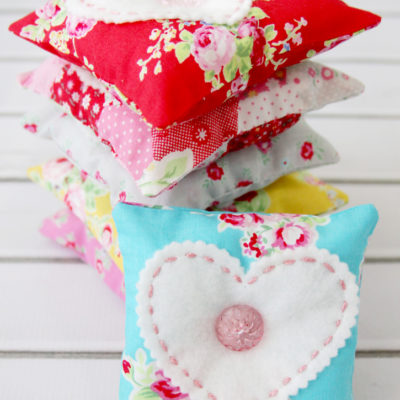
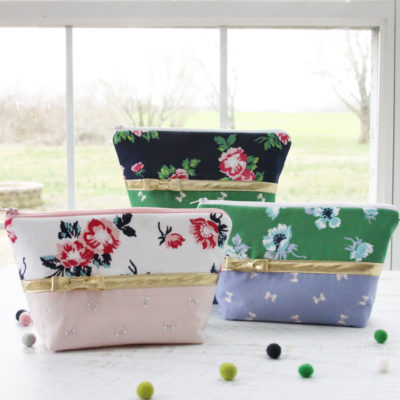
I love having little sachets and other sewn things on had for tucking in gifts or sending to friends out…
Read More
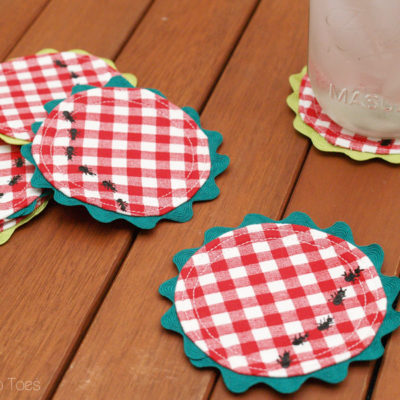
These Easy DIY Gingham Summer Picnic Coasters are perfect for any summer gathering or just to add a fun bit of…
Read More
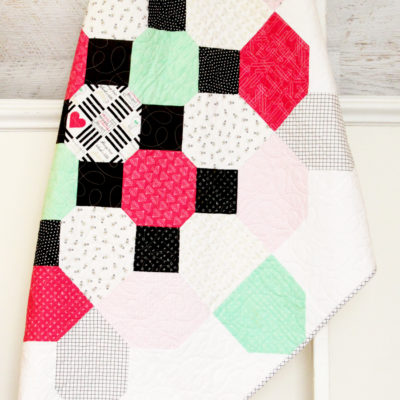
Does it ever take you forever to finish the last step of a project? I’ve had this cute quilt back…
Read More
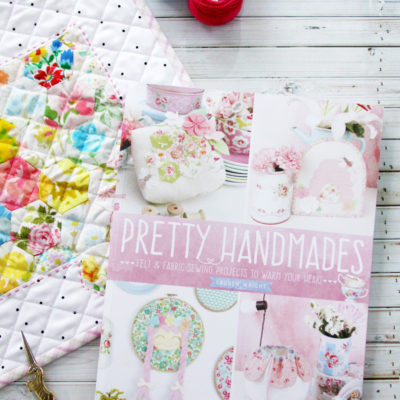
I’m all about vintage style in my kitchen so when I saw Lori Holt’s latest Quilt Sew-A-Long, Let’s Bake, I…
Read More
I have another fun new fabric line to share with you today! You all know that I’m a huge of…
Read More
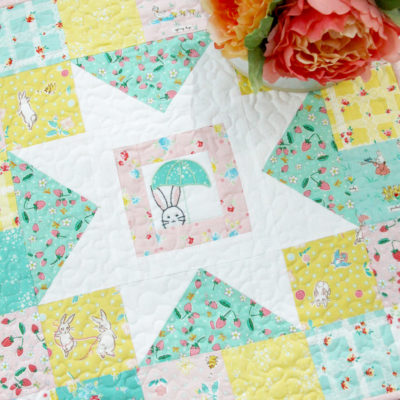
This new Spring Star Mini Quilt made with Bunnies and Blossoms fabric is such a pretty way to decorate for…
Read More
Hello friends! I hope you’ve all had a wonderful holiday season! I’ve been taking some time to rest and spend…
Read More
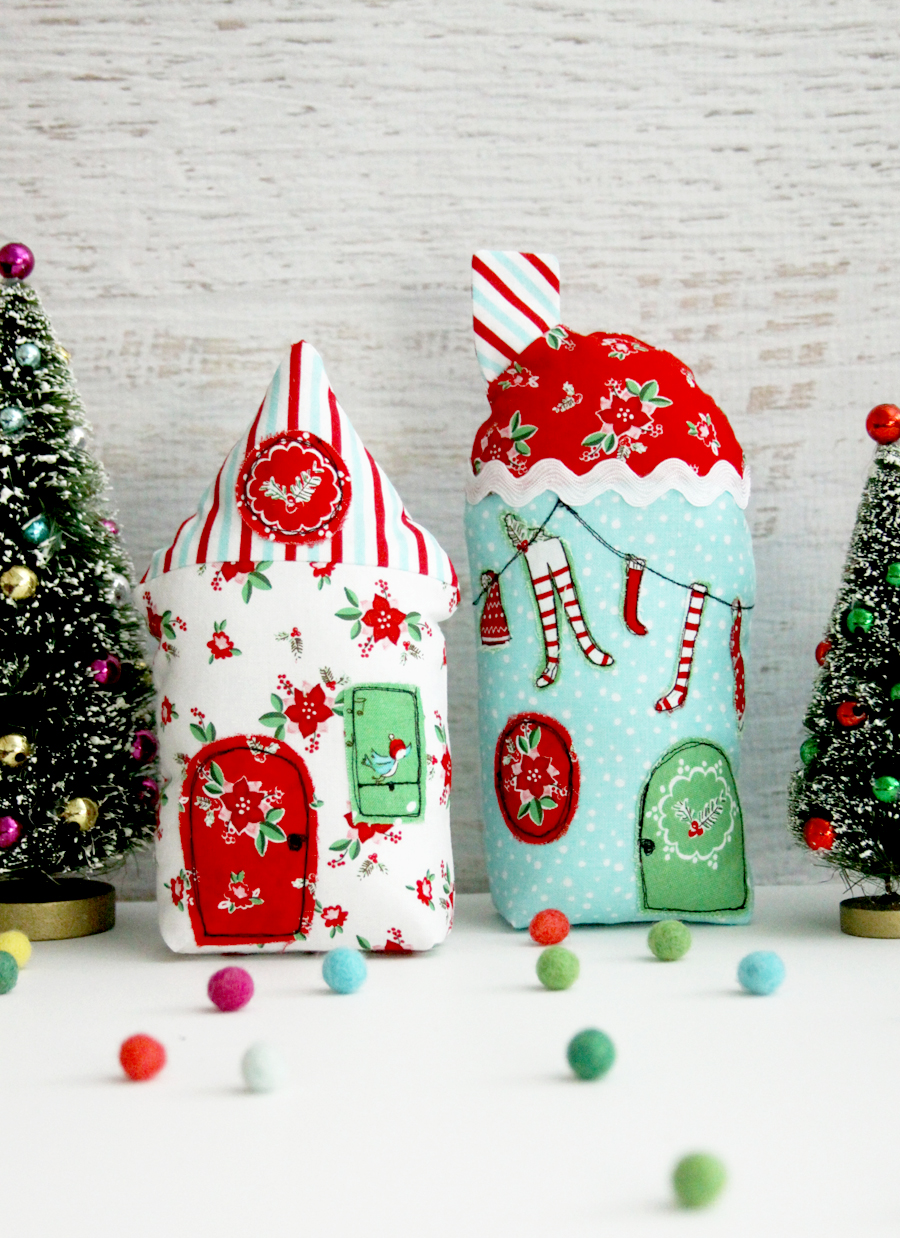
Hello!!! I’m so excited to be here today with this fun and whimsical Christmas Town fabric village! I just love projects…
Read More
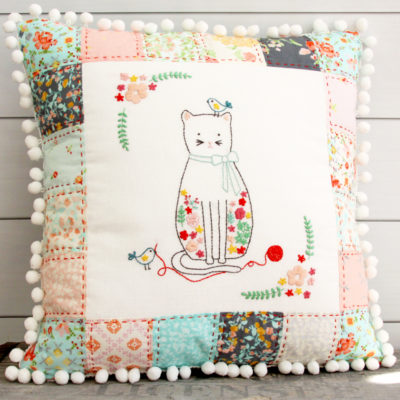
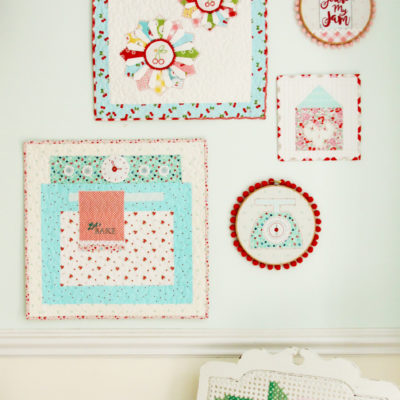
Add some sweet colorful style to your home with this Stitching Friends Embroidered Pillow Pattern! A few months ago I…
Read More

It’s Day 3 of Ornament Week! I hope you are enjoying all the fun ornaments to stitch up. Today we…
Read More
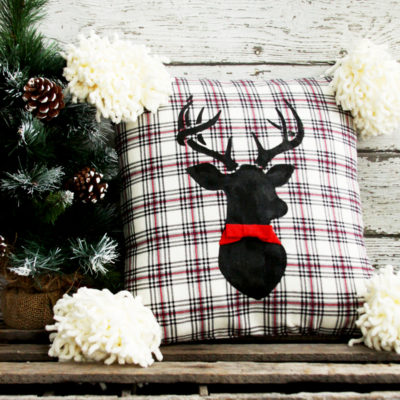
This post is a partnership with Plaid Crafts. All opinions are my own. ;) Are you ready for some great…
Read More
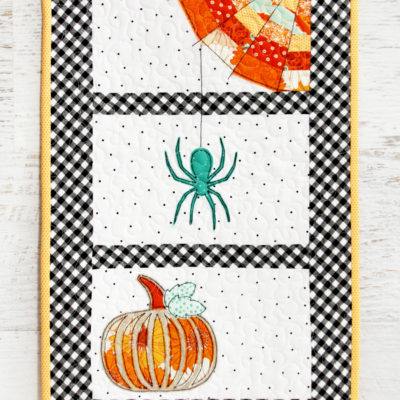
We’re diving into October with a fun new mini quilt! This cute Spinning Spiderwebs Mini Quilt is the perfect little wall quilt or table topper Halloween decoration.
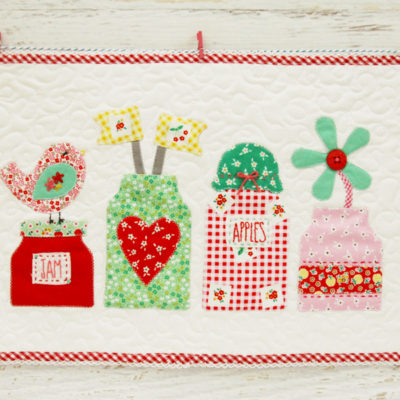
You guys! I learned something new this week and I have this sweet Mason Jars Applique Mini Quilt to show…
Read More
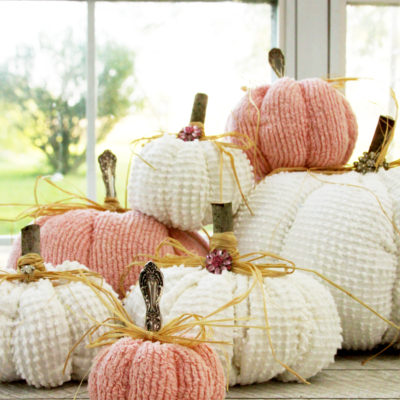
I have had these Chenille Fabric Pumpkins on my to-do list for years – I am so excited to have…
Read More
It’s getting a little Mini Quilt crazy around here – and I’m totally ok with that! I can’t seem to…
Read More
Sewcialites 3 Block 16 is finished! ✨
This week’s block is Florabelle by Heather @ mysewquiltylife and I had so much fun sewing this one. I’m still stitching along with Correspondence and used a sweet blue + pink combo of prints for this block. 💙🩷
We’re officially just over halfway through the sew along (how did that happen?!) and I’ve loved seeing all these fun blocks come together each week. Every designer brings something so unique and this one feels especially sweet and floral.
My friend @the_tattooed_quilter`s Batik collection is shipping this month! I am honored to have my Patchwork Blooms quilt be made up in this gorgeous collection😍 Keep your eye out for Christopher`s Holiday Happiness this month!!
You can shop Patchwork Blooms in my shop🪡🌸
My friend @the_tattooed_quilter`s Batik collection is shipping this month! I am honored to have my Patchwork Blooms quilt be made up in this gorgeous collection😍 Keep your eye out for Christopher`s Holiday Happiness this month!!
You can shop Patchwork Blooms in my shop🪡🌸
I hope your June is off to a lovely start! A new month means a new $5 pattern 🌟 This month only you can snag my Starlight pattern for $5!
I hope your June is off to a lovely start! A new month means a new $5 pattern 🌟 This month only you can snag my Starlight pattern for $5!
We`ve finished our Sunday strolls on Main Street! 15 Sundays, 15 stops, 15 lovely little shops❤️
And yes, we do have a bundle😉 Shop all the Main Street Needle Minders in the shop!
Tell me your top three favorites!
We`ve finished our Sunday strolls on Main Street! 15 Sundays, 15 stops, 15 lovely little shops❤️
And yes, we do have a bundle😉 Shop all the Main Street Needle Minders in the shop!
Tell me your top three favorites!
A new cheater print and two widebacks for Correspondence 💕💌
What do you think?! I hope you guys love these. You can find Correspondence at your favorite quilt shops and in my shop!
A new cheater print and two widebacks for Correspondence 💕💌
What do you think?! I hope you guys love these. You can find Correspondence at your favorite quilt shops and in my shop!
✨ Sewcialites 3 Block 15 ✨
This week’s block is the Split Star Block by Lissa @modalissa and I’m still happily sewing along with my Correspondence collection! 💌🌸
I paired the prints with Dainty Daisy Vintage Pastels on Cloud for the background and I love how soft and sweet it makes the block feel. The angles in this star are so fun—and those little lace prints might be my favorite part! 😊
My Correspondence Machine Embroidery USB is now available!
This is my first collaboration with @rbdandme and I am so excited! I hope you all love these projects as much as I do 💕
My Correspondence Machine Embroidery USB is now available!
This is my first collaboration with @rbdandme and I am so excited! I hope you all love these projects as much as I do 💕
I hope your May was full of fresh cut blooms!
Delighted to share this beautiful bunch with you for the May Needle Minder of the Month unboxing💐
I hope your May was full of fresh cut blooms!
Delighted to share this beautiful bunch with you for the May Needle Minder of the Month unboxing💐
