I’ve been having a blast getting the house ready for Easter in the last week – and I’m excited to show off some of the things I’ve been making!
It’s kind of nice that Easter’s so early this year – and since I usually get my Easter decorations up about a week before, I feel like I’m really ahead of the game this year lol.
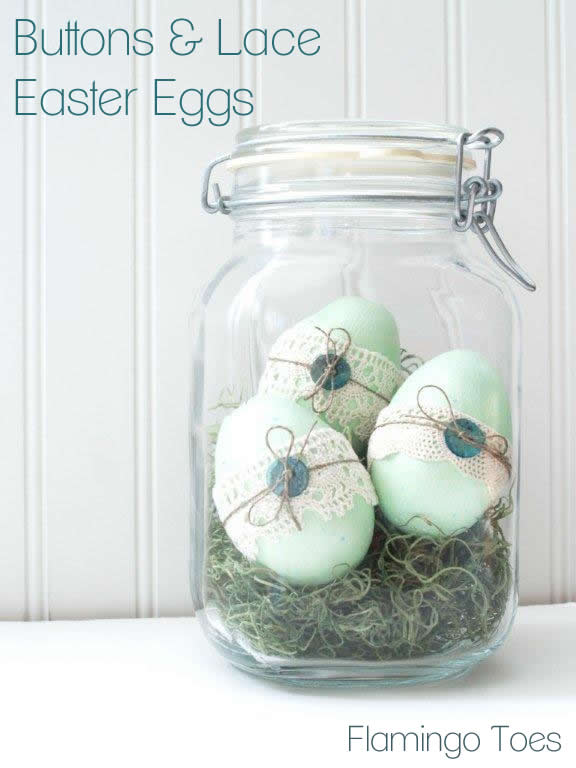
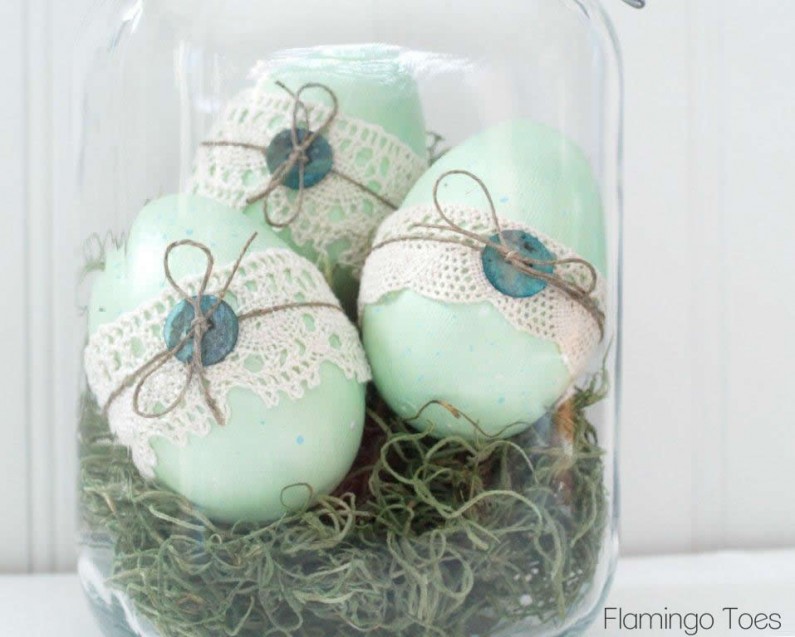
So up first I have these really sweet and simple Buttons and Lace Easter Eggs!

These are so easy to do – and reallllly cheap too!
All you need are some plastic easter eggs, paint and some trims to dress them up!
Here’s what you’ll need to make your own:
- Plastic Easter Eggs – these are a little large than the regular eggs – I found them at Joann’s but you can make yours any size.
- Paint
- Lace
- Twine
- Buttons
- Hot Glue
- Primer (optional)
Start by Priming your eggs if you want. I think you could skip this step, but I thought the paint would stay on the plastic better if they were primed.
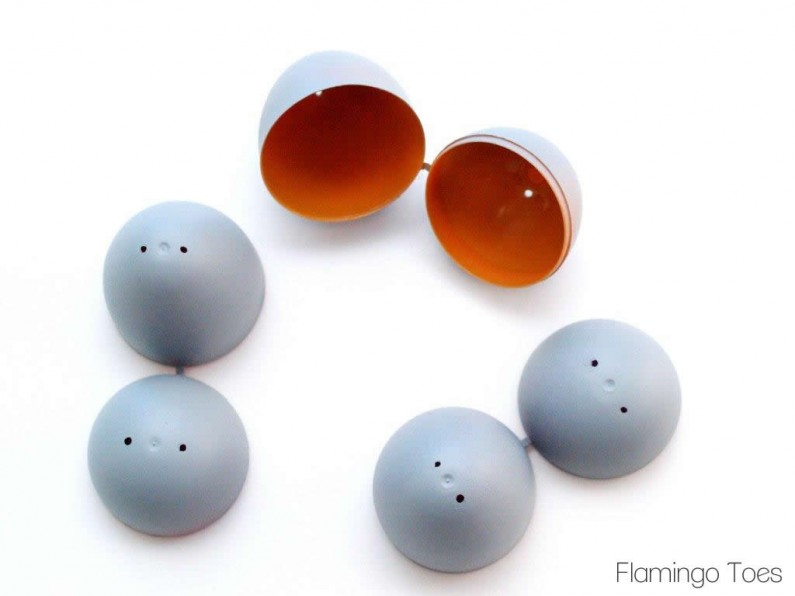
Now you can see my egg had some little holes. I wanted to try and make these as subtle as possible – so I added a piece of duct tape to the inside of the egg. This kept the paint from dripping all the way through.

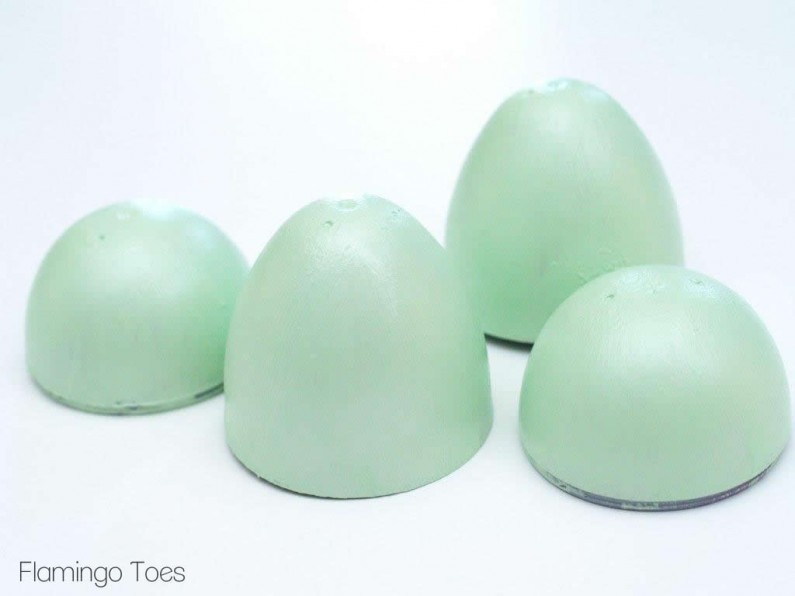
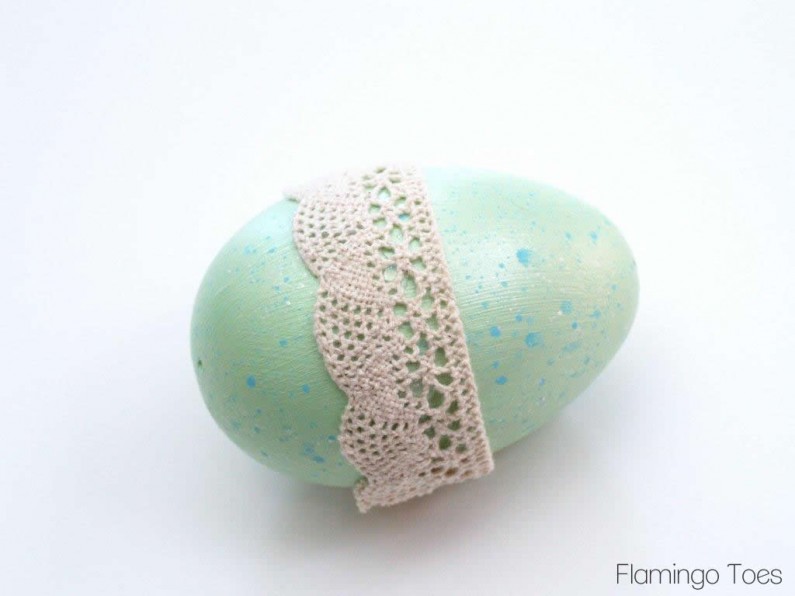
Paint the eggs whatever color you like. You could use spray paint and they would have a nice smooth finish. I wanted mine to be a light pearly green, so I mixed mint green with Martha Stewart’s pearl.
I did about 3 coats of paint on the eggs. I kind of like the textured look that painting them by hand gives them.
To speckle the eggs, water down a contrasting color of paint just a bit. Dip a toothbrush in the paint and run your thumb across the bristles – away from you and towards the eggs.
This will speckle the eggs just a bit. I used turquoise blue and pearl paints.
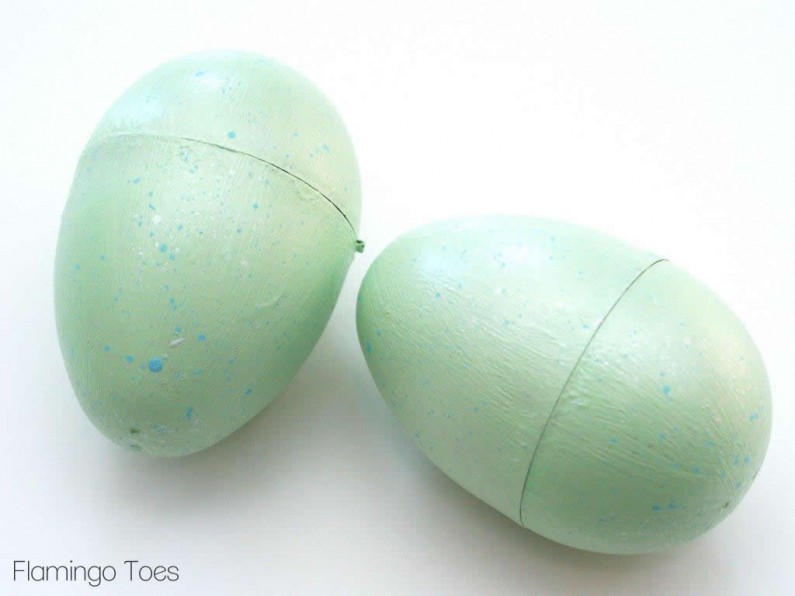
Now we’re going to cover up those seams. Pick out some pretty crochet lace or trim and hot glue it around the egg, making sure to cover the seam.
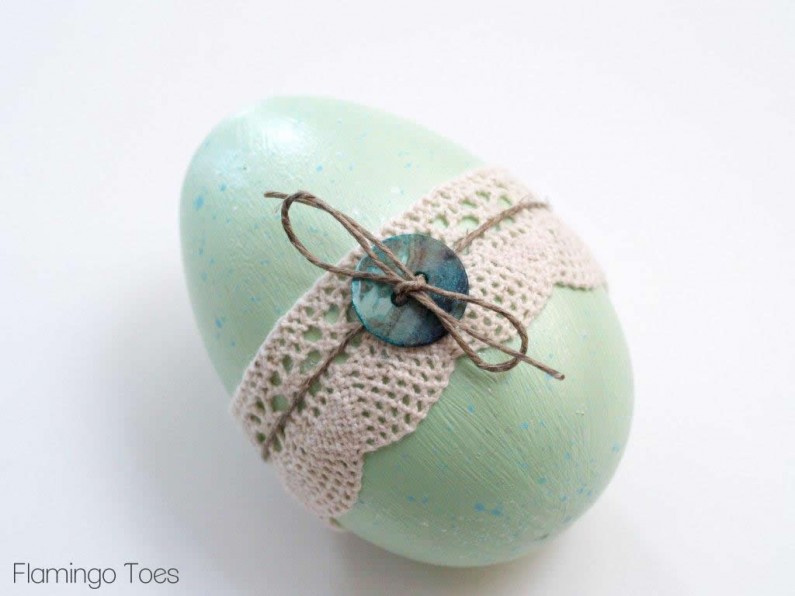
Cut a long length of twine and glue it to the back of the egg with just a spot of glue. Feed the ends of the twine through a button and tie a little bow. You can add a little bit of glue to hold the blow in place.
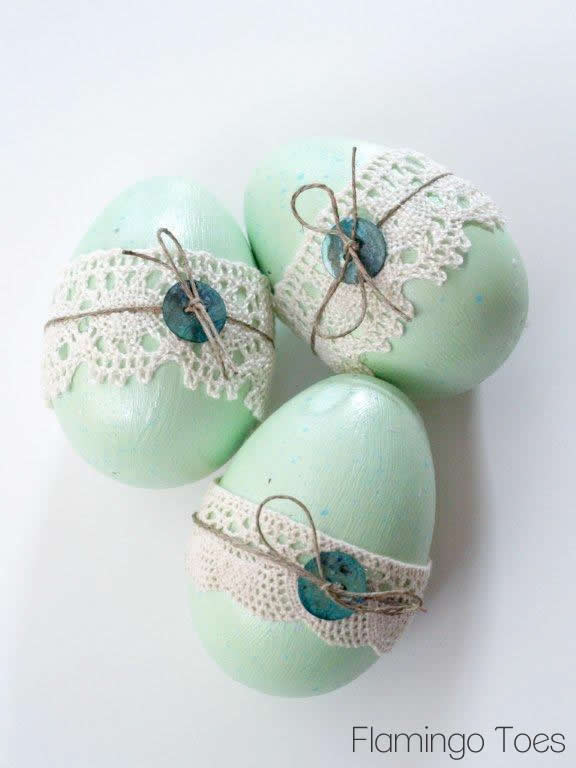
Repeat for your other eggs. You can change up your lace a bit, or your buttons, whatever you want!
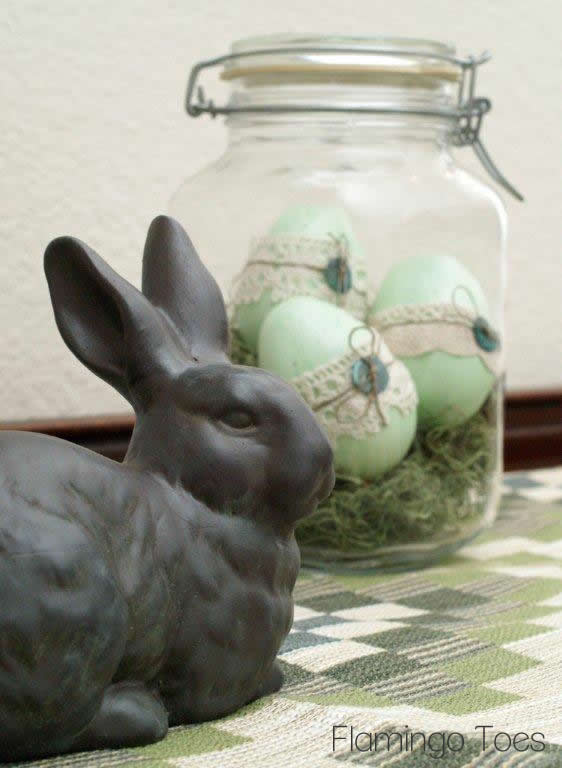
These would look so sweet in a little basket or bowl. I put mine into some big mason jars I have with some green spanish moss.
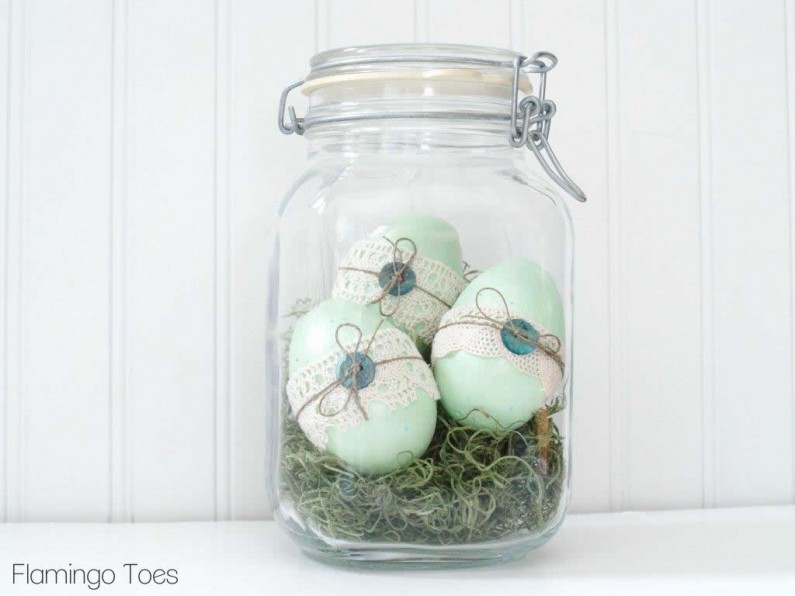
Aren’t they cute in there?
Here’s a little sneak peek of part of the dining room – I’ll be sharing how I’ll decorate my Easter table this year tomorrow!
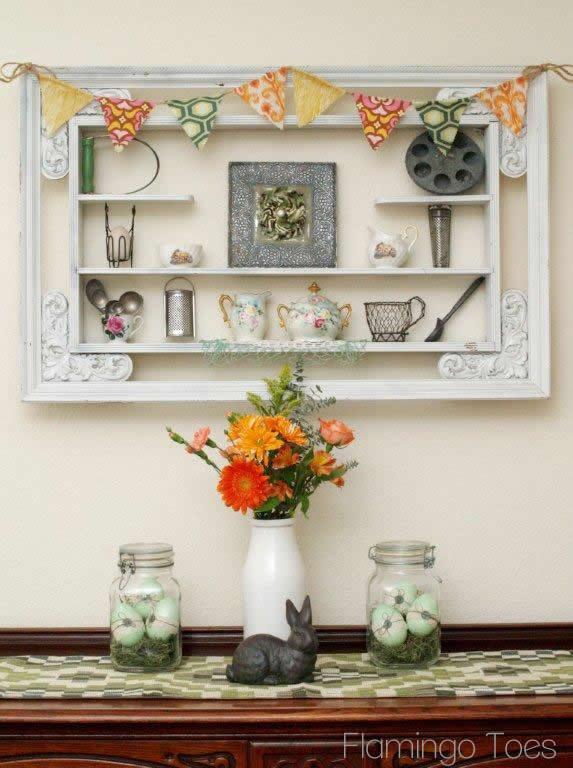
I’ve got some antique kitchen items up on my little shelf, along with a pretty bunting I made to go with the Easter decorations this year. I think my new eggs look so sweet on the buffet with my little bunny!
So cute!!
Linking up at Sunday Scoop, Today’s Creative Blog, Met Monday, Tutorials & Tips Tuesday, Shabby Creek Cottage, My Repurposed Life, 504 Main, and the other fabulous parties on the party page – make sure you check them out!


Bev – they are beautiful! I love the color and buttons and lace are surely two of my favorite things,,,I( may have to make some!
These are so lovely! I’m having to restrain myself from decorating as we are selling our house and keeping it very plain as per realtors advice and common sense. But I may have to make these for my daughters’ homes! love the tutorial.
Oh Bev, these are adorable!
I really love these eggs. The colors are great and they look fantastic in the mason jar. :)
Beautiful. So soft and sweet.
Oh my goodness, Bev, these are just darling! And I love how you have displayed them in the jar. LOVELY!
And can we talk about that shelf for a minute? I love it!!! :)
Bev,
These eggs are adorable for Easter decor, dear one!
I love finding creative ways to use vintage lace and buttons!!!
Thank you for sharing!!!
Visiting from Susan’s @ MM!
Fondly,
Pat
So simple and pretty!
These are darling Bev! Love your dining room arrangement, and can’t wait to see your table tomorrow! :)
Super cute! Great idea. Love the lace.
So, so cute! And the way you have them displayed: perfect!
I am on a mission to find pretty and decorative ways to use up my some of my ribbon stash… bingo! Thanks Bev!
I love those colors that you chose!! Great project & tutorial Bev!!
Super cute! Love the touch of lace & button! Thanks for sharing :)
is there something wrong with your site? it seems to be so very blah….just words, no picture…..just is not like it used to be
I’m sorry you’re having trouble viewing the site – it seems to be working ok for me. Thanks for letting me know though!
These are so cute. Love the eggs !
http://www.curiositaellya.blogspot.com/
Such pretty photos! Do you use a special lens or a photo ediing software or app? I’m working on improving my blog photos ~ any tips would be appreciated!
~ Megin of VMG206
I love your speckling technique Bev… gotta try it!
These eggs are seriously adorable! They look so cute tucked in that moss in the mason jar. Great idea.
These are so sweet. Love ’em. I featured them on my blog today! http://missloviecreations.blogspot.com/2013/03/12-unique-easter-decorating-ideas.html Have a happy weekend!!
Those are so pretty! I would never have known they started as plastic eggs!
CUTE! They look like carved wood or something with the painting technique you used. Darling. So… vintage-y looking!!
these are beautiful!