Today I’m sharing this sweet – and easy – little Winter Shadowbox Sign!
I have this cute sign sitting by the front door. It always makes me sing as I go by – and think of the movie Elf – one of our absolute favorite Christmas movies.
And it’s a bit of a joke because really, Baby, it’s not so cold outside here. Which is just fine with me thank you very much.
Winter temps in the low 60’s are about as low as I can go without getting seriously whiny.
But I love the sign – and the song – either way.
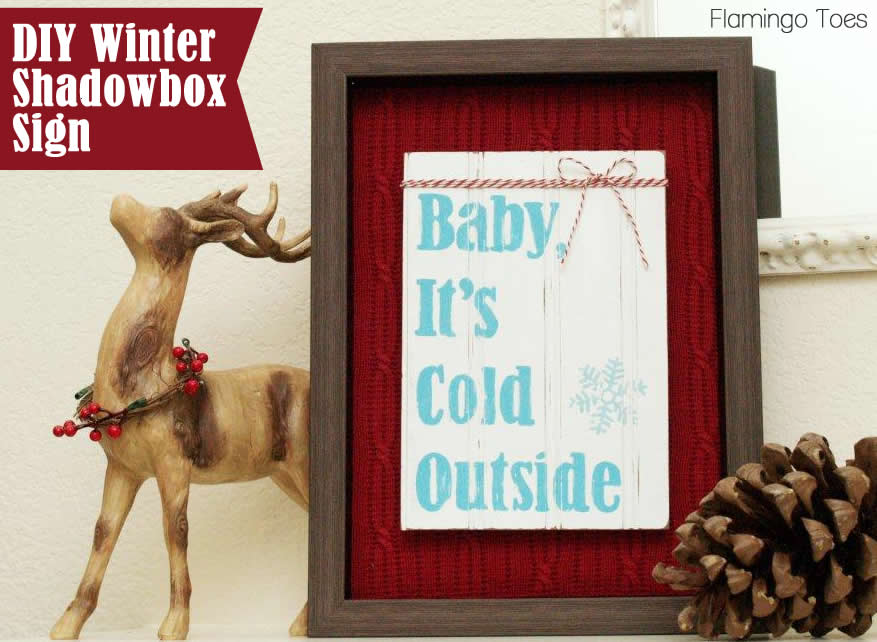
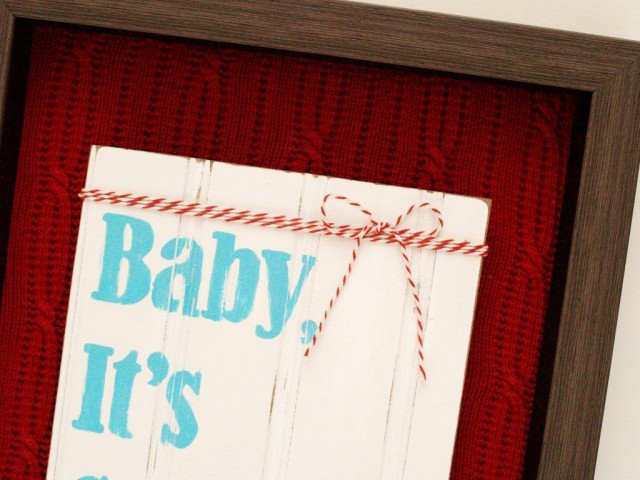
The sign is painted on white beadboard, then distressed and framed over a red sweater backing!

It’s super simple too!
Here’s what you’ll need to make your own:
• 10″ x 7″ piece of beadboard
• Craft Paint (I used two shades of turquoise)
• Sweater for backing
• 15″ x 11″ Shadowbox Frame
• Piece of cardboard the size of frame
• sandpaper
• 4 wooden beads
• Sign Pattern
• Hot Glue
Print out your sign pattern. You can definitely do this with a cutting machine and make a stencil, but I didn’t use one for this sign.
This method is how I learned to paint signs ages ago and it still works pretty great!
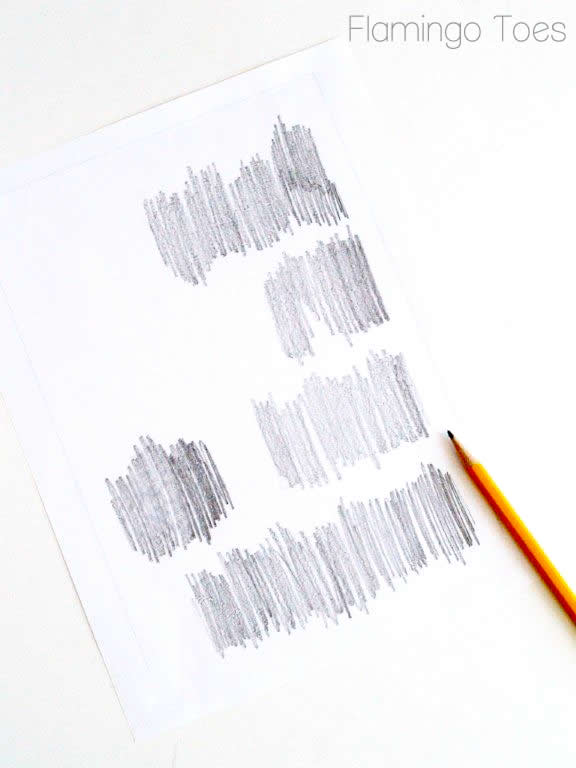
Scribble the back of the sign pattern with a pencil where the letters and snowflake are. Cover the area pretty well.
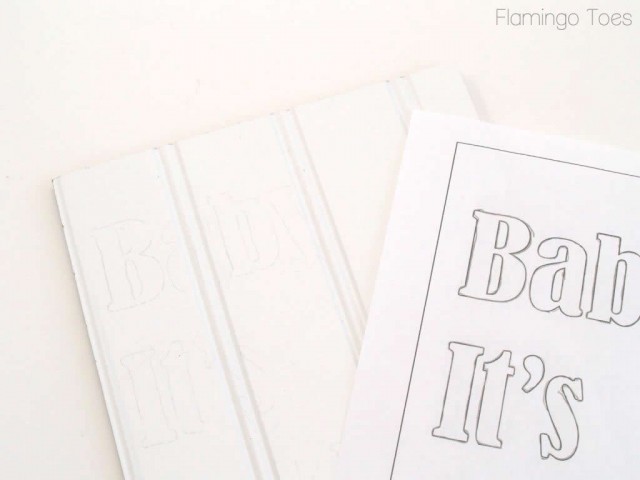
Flip the pattern over and line up the square on the pattern with the piece of beadboard. Trace over the letter outlines and the snowflake with a pencil.
This will transfer a light outline onto your beadboard.
(It looks pretty light in the photo but it’s really easier to see than this.)
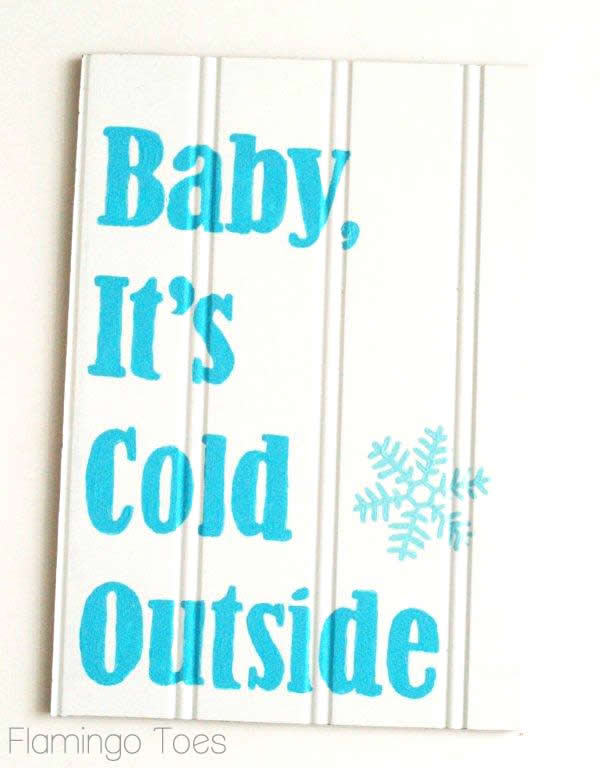
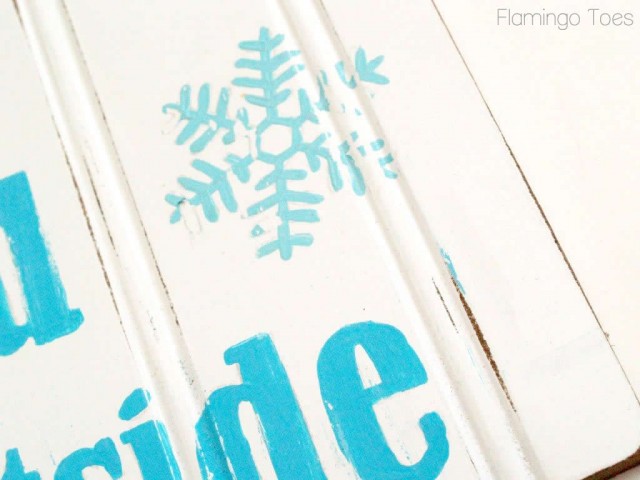
Start painting in your letters. I used a medium turquoise for the letters and a light turquoise for the snowflake.

Go ahead and paint a comma on there after “Baby” if, like me, your husband looks up the song title and says that it really needs to have a comma to be accurate.
(Anyone else have a hubby that likes to add their two cents to projects? No? Just lucky me then. ;)
Oh that’s much better. (ahem.)
Distress your sign just a bit by sanding the edges, then over the letters just a little. This will help it look older, plus it will hide any not-so-perfect painting.
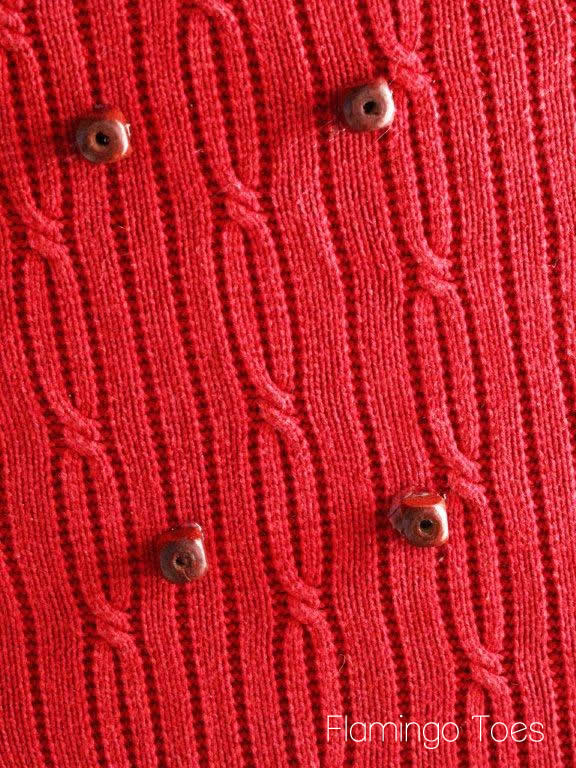
Cut out a piece of cardboard to just under the size of the frame. Cover the cardboard with a piece of an old or thrifted sweater.
I used hot glue on the back side to hold the sweater on.

Glue four small beads onto the center of the sweater, making sure the hot glue goes down through the sweater a little, into the cardboard below.
Glue your sign onto the wooden beads. This will give it a little of a 3-d look in the shadowbox. Pop the design into your shadowbox and you’re almost finished!
Tie a little bit of baker’s twine or other trim around the top of the sign for a fun little extra bit of color.
And that’s it! Super easy but really fun to do!

This would make such a sweet gift too – and it would be super easy to personalize it with another color scheme or phrase.
I hope you like it!
(This was originally a guest post over at Tatertots & Jello)
Linking up at Sunday Scoop, Today’s Creative Blog, Met Monday, Tutorials & Tips Tuesday, Quilt Story, Shabby Creek Cottage, My Repurposed Life, 504 Main, Positively Splendid, and the other fabulous parties on the party page – make sure you check them out!


LOVE it – especially the sweater behind. Really cute :)
Oh my gosh Bev, I love it! The sweater behind, the beadboard, the twine, all of it. So stinkin’ cute! And yay for “helpful” husbands. ;)
I adore this project to the moon and back!!!! It’s perfect :)
I love this! That is so cute, you always have the best ideas!
I absolutely LOVE, LOVE, LOVE this sign! It has that vintage vibe I adore and I can totally see it hanging above a hot cocoa bar this Christmas. Thanks for the inspiration!