**If you haven’t entered the Pellon Giveaway for all the Stabilizer awesomeness – head over and enter – but check out the tutorial first. ;) **
I am kind of all about Freehand Stitching right now.
It sounds scary – but it’s soooo not!
You start out thinking you are doing it wrong. And that it’s a disaster. But then you keep going and it’s magically transformed into something cool and sketchy and awesome.
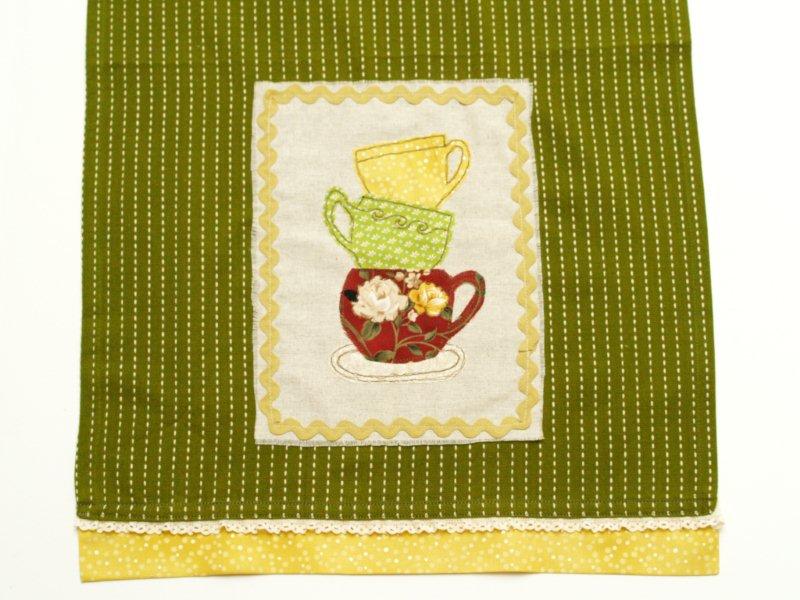
I wanted a new project to make with some freehand stitching – so I made another dishtowel. Shocker.

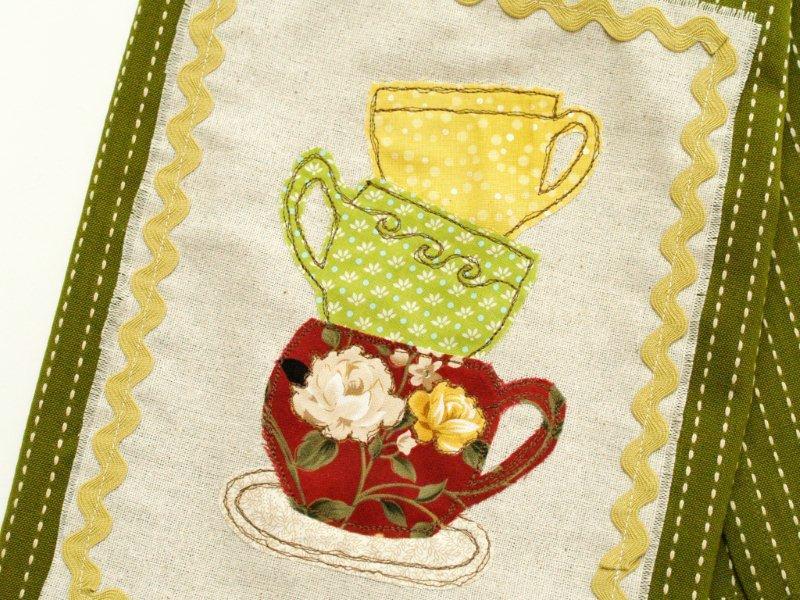
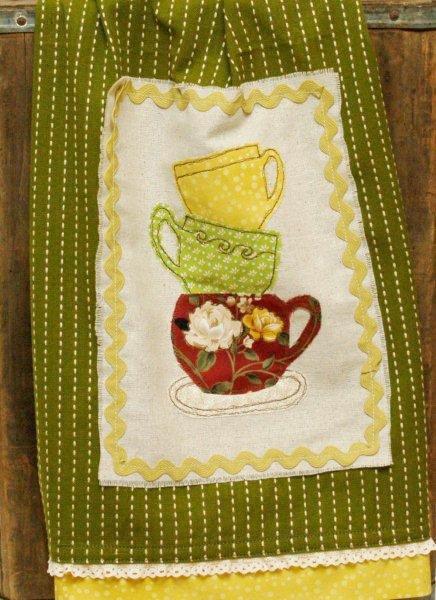
This towel has cute stacked teacups – and they are sewn on with this yummy freeform stitching.
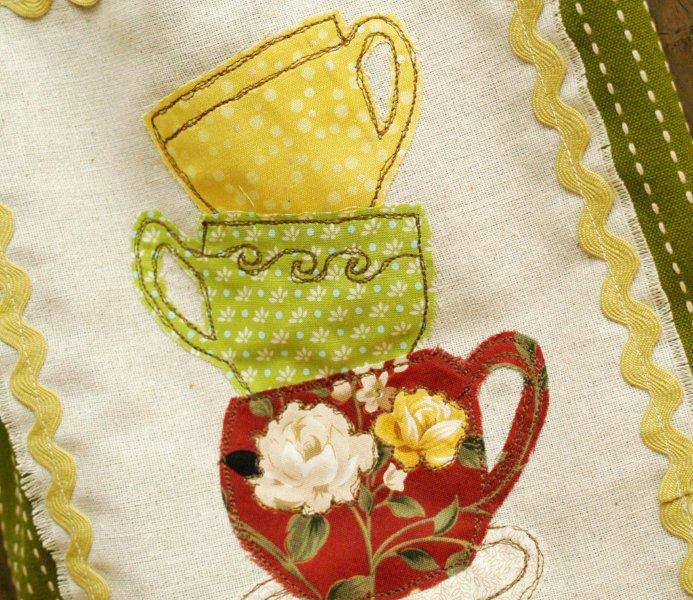
I love how it looks “drawn” on! It’s so forgiving too – if you sew on a wonky line – you can just correct it on the next pass around and it looks like you did it on purpose!!
Here’s what you’ll need to make your own:
Store-bought dishtowel (or you can make one)
Linen for base fabric – 8 1/2″ x 11″
Scraps of fabric for teacups and saucer
Fabric for tab trim on bottom – 5″ x width of your dishtowel)
Rick Rack and Lace Trim
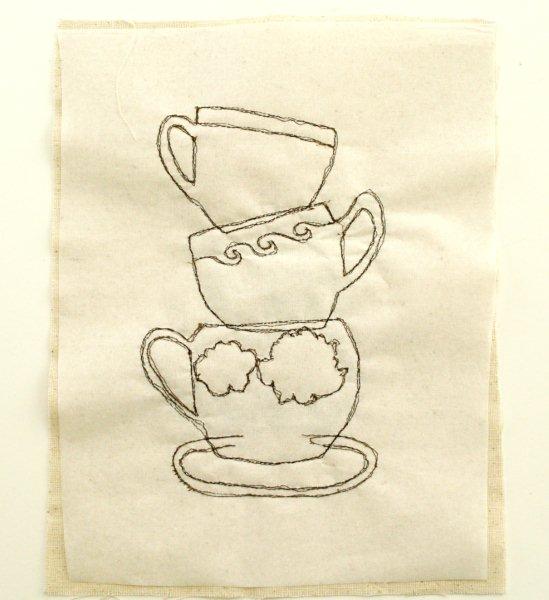
Pattern
Fuse-N-Tear fusible stabilizer
Start by cutting out an 8 1/2″ x 11″ piece of your fusible stabilizer. Iron it to the wrong side of the base fabric.
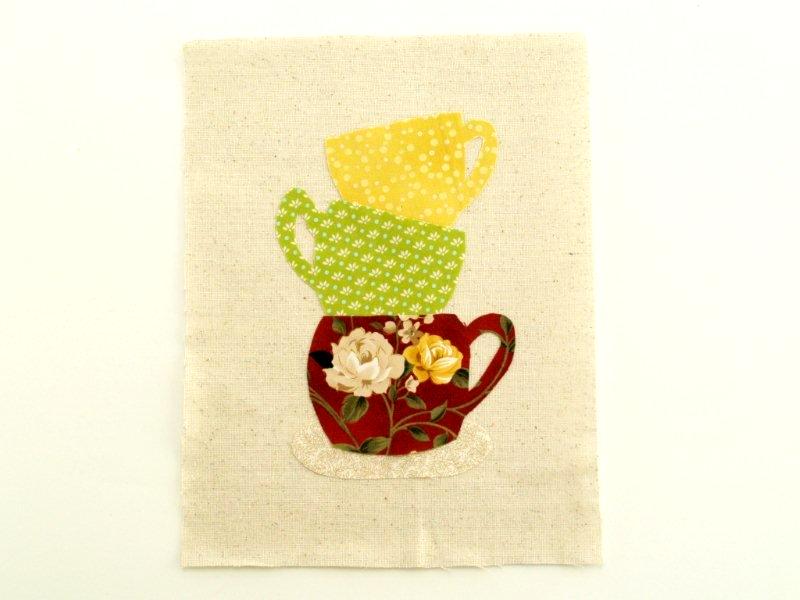
Cut out your teacups and saucer from the pattern. Cut on the dark lines. The dotted lines are there to show you placement.
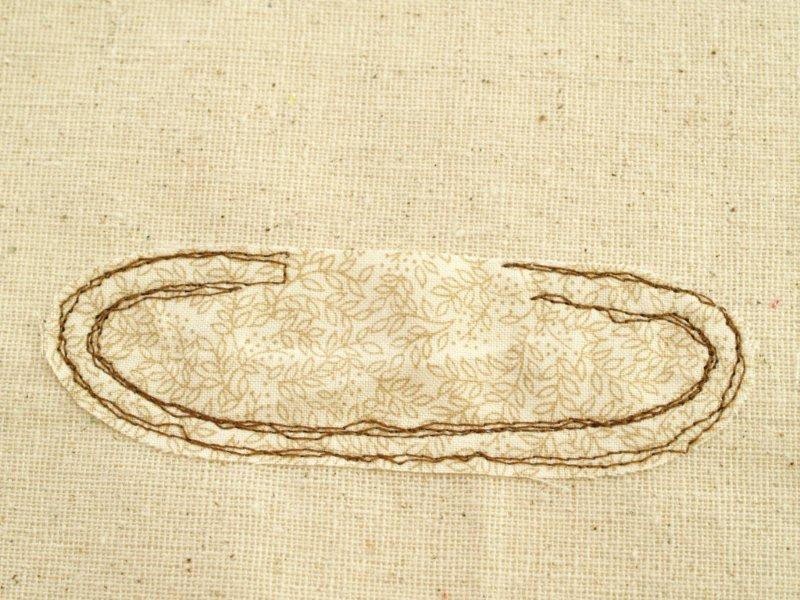
Start with the saucer. You are going to sew it on with a free form stitch. You can either remove your presser foot and sew it that way (for an example, see the Shamrock Specimen Art, or you can lower your feed dogs and use a walking/quilting foot.
Sew the saucer close to the edge with three passes of stitching, then sew another three rows about 1/4″ away. You don’t have to sew all the way around, the top section will be covered with the bottom teacup.
The stabilizer is great for keeping the fabric stable and flat.
Check your placement, then sew on the top teacup. I sewed an extra line as a little decoration about 1/2″ below the top line of stitching.

Sew the second teacup on next. Here are some shots to show you the way the look changes with each line of stitching.
1st Line of Stitching:
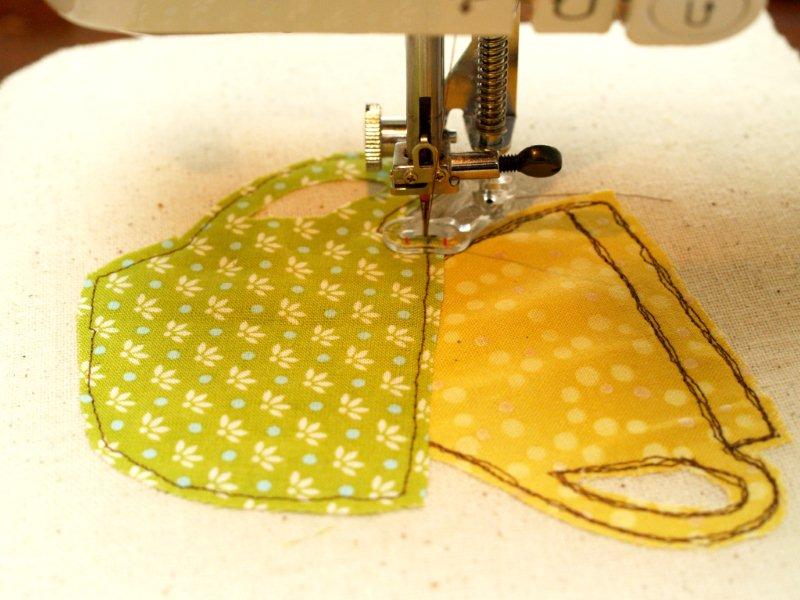
(See how there’s a little bobble at the bottom of the cup? That won’t matter as you go around again, your other lines will cover up all that.)
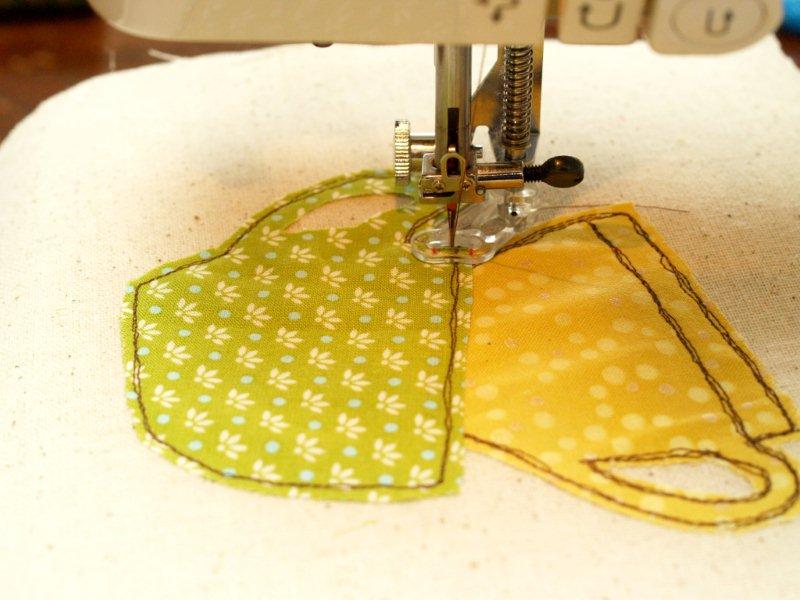
2nd Line of Stitching:
3rd Line of Stitching:
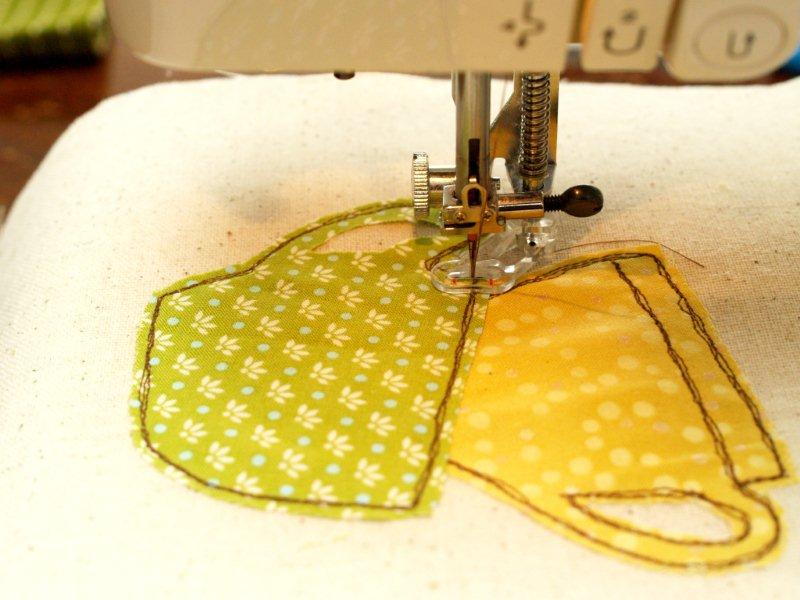
Fun right? I love the sketchy look of the stitching.
On the second cup I sewed some little swoops. Swirls? Swooshes. Whatever.
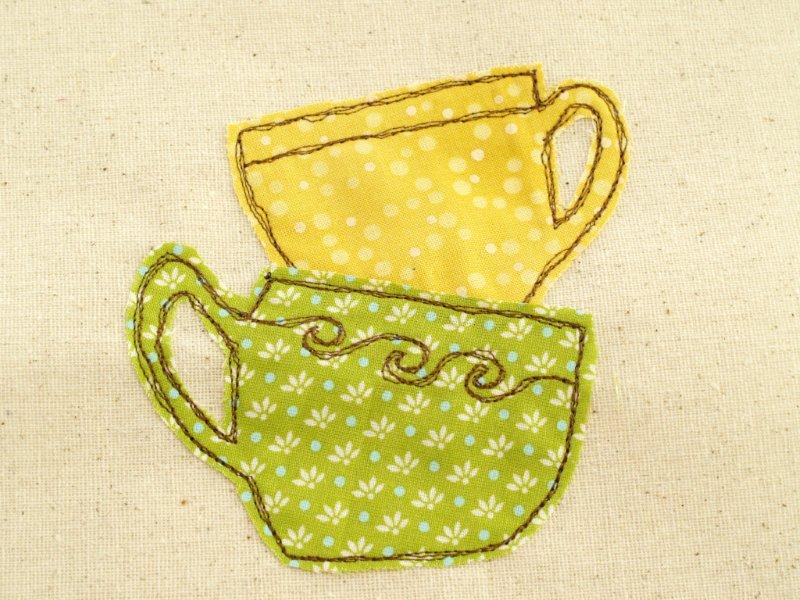
Sew on the third teacup next. For this one, I outlined the two biggest flowers with stitching lines.
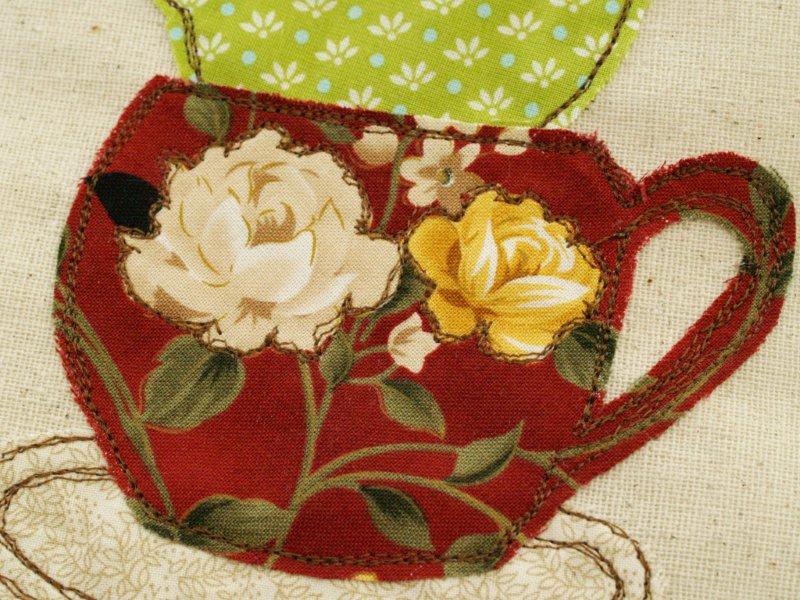
Here’s what the stitching looks like on the back – the stabilizer keeps thing so even.
Remove all the stabilizer. It tears off easily. If you have trouble in the small spots, I found a seam ripper works great to get things started.
Baste the fabric background piece onto the dishtowel, 3/4″ from the edge.
Add your trim over the basting line – I used a coordinating rick rack. Also a shocker. :)

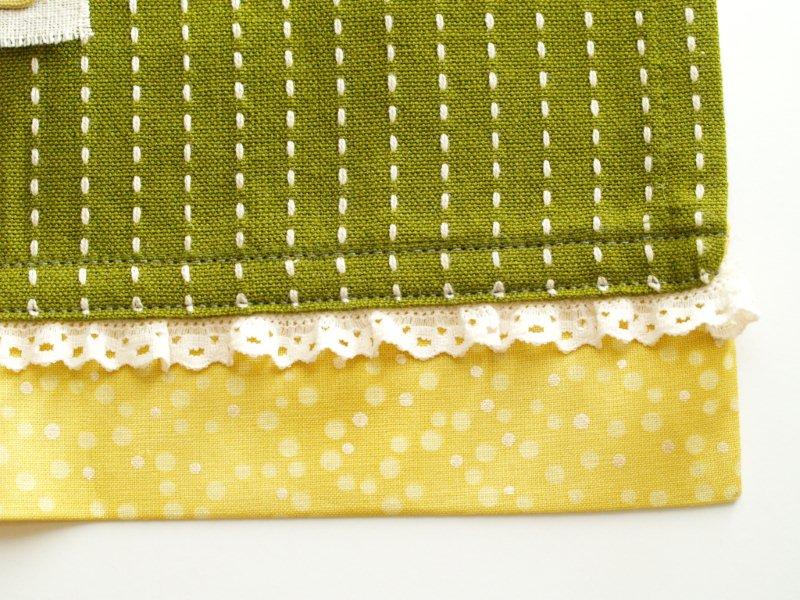
For the base, I made a little band of fabric to sew under the hem of the dishtowel.
Cut a 5″ strip the length of your dishtowel, plus 1″. Fold the fabric in half lengthwise and sew the short ends together, 1/2″ for each raw edge.
Trim off the corners.
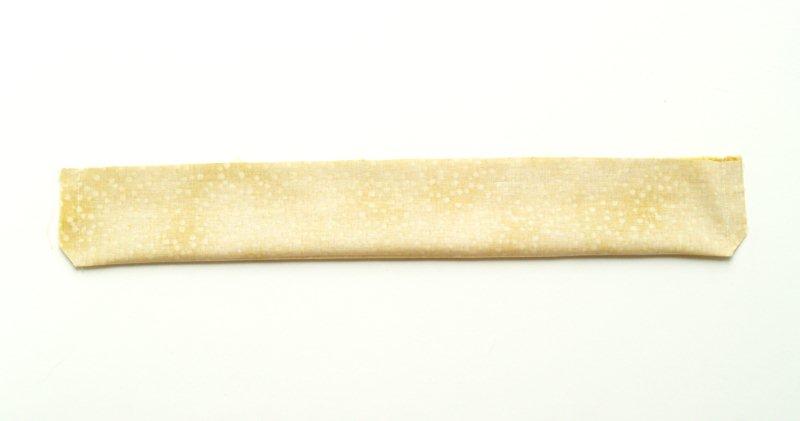
Turn right side out and press. Press under the top raw edges 1/2″.
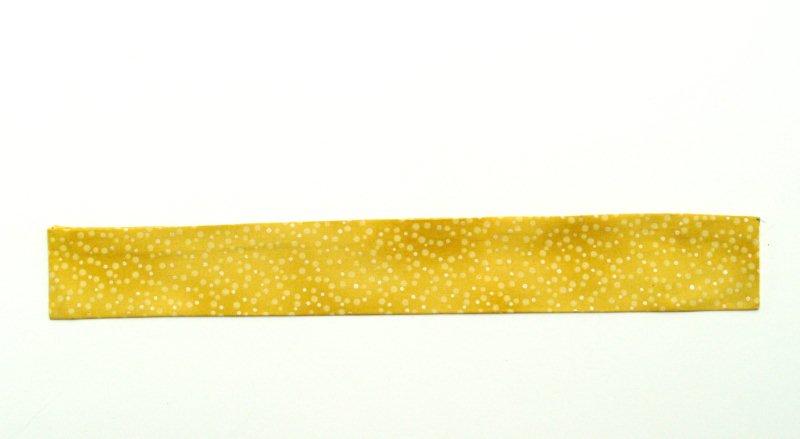
Sew the top opening of the band closed – right along the folded, pressed edge.
Place the band behind the front, hemmed edge of the dishtowel. Tuck some lace trim under the edge, between the hem and band of fabric.
Sew in place right along the hemmed edge of the dishtowel, and again 1/2″ away.
If you would like, treat all your raw edges with Fray Check to keep things from going crazy.
And you’re finished!!
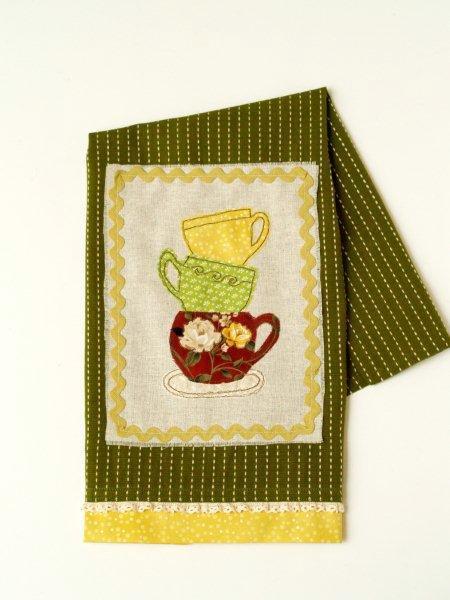
So fun and sketchy looking right?
This little dishtowel is on its way to my sweet mom-in-law – she is a big fan of tea and this will match her kitchen perfectly!
What do you think? I’d love to know!!
I’m linking to Sunday Scoop, Today’s Creative Blog, Met Monday, Skip to my Lou, Tutorials & Tips Tuesday, Funky Junk Interiors, Quilt Story and the other fabulous parties on the sidebar – make sure you check them out!


This is adorable, just like everything you make!
I am a Cup & Saucer collector so I fell in craftLove with this The Shamrock Design was sweet as my Irish TeA. iM 1/3 iRISH. tHANKS FOR SHARING, lol
sUSAN AGAIN question pELLON WOULD BE GOOD FOR THIS YES?????
Oh my goodness that’s so cute!
dp
x
Very nice! Super creative.
Love this, Bev! Its simply adorable. :) I love the haphazardness of the stitching. And great color combo!
So cute and lovely! Thank you for sharing! I love the teacups!
Natalie
http://www.projectdowhatyoulove.wordpress.com
This is so cute! I just love dressing up dish towels! I have a book on vintage towel embroidery and this would fit right in with those designs! 80}
Super cute towel Bev. Great tutorial again. Thank you.
Your towels are adorable! You have convinced me that I can and must make one. What a great way to use scraps of your favorite fabrics. I love the cheery colors you used for this one. If you are interested, show this at my “Your Cozy Home Party”.
I think other ladies would like this project, too. Details on my blog. Hope to see you.————- Shannon
The towel is so cute. I love teacup patterns. Your background towel was a good choice too.
LOVE!! SO need some kitchen towels, thanks for sharing!!
It looks fabulous! I love the fabrics you chose for the teacups and the ric rack looks great framing it. Love it:)
just so cute!
Just got to say “I love your towels!”, they are so cute. I shamelesly use your ideas to make new towels for my kitchen, and for gifts so thank you.
That is so adorable, love it!
That is so cute. I’ve never done that kind of free sewing but sounds fun. I’ll see if I can follow your how to and try it. Your tutorial is great. Thanks so much for sharing.
I’ve got a bunch of vintage tablecloths that have holes, think I’ll see what I can do with them to make some more kitchen teatowels. Hmm, maybe I oughta make some to sell?
So cute Bev. I love the color and fabric combo you used and the design is just too cute!
This is adorable! I especially love the “swoopy” stitches, they remind me of waves :)
Great tutorial, visiting from Whipperberry.
Beautiful towel!
SO CUTE!!! I’m not great with a sewing machine but these are too adorable not to try. Hope I have to patience to finish them :)
I love fancy dish towels! I’ve been trying to come up with ideas for new towels and this may end up being one of them :-) Thanks for the great tutorial!
Truly a tea towel! And a beautiful and creative one at that! I love the colours and patterns you have chosen. Wish list… :-)
Linda at Beautiful Ideas
That would eb the perfect present for my tea drinkers .. are the tea cups raw edge?
Love, love, love, love!!! The stacked cups are just too cute! Great job Bev!! Another one of my Bev favorites!
I love to sew, this is a really cute gift. I LOVE the treats your new friend Emi brought from Japan. I can really get lost down the “rabbit holes” that your website leads me into with luring words “more fun stuff….” That short trip brings me to a question for you. I am looking to buy a new sewing Machine. Without a long drawn out response that might look like an advertisement, what kind of machine are you currently using? Thanks! email me if you like.
That is a cute towel! It has given me some ideas for a bridal shower. Thanks!
Cute ilike
This is sooooo cute! Thanks for sharing! :)
I love you work so much!