You knew it was coming right?
I couldn’t do a bunch of variations on our Simple Clutch pattern and not include yummy ruffles!
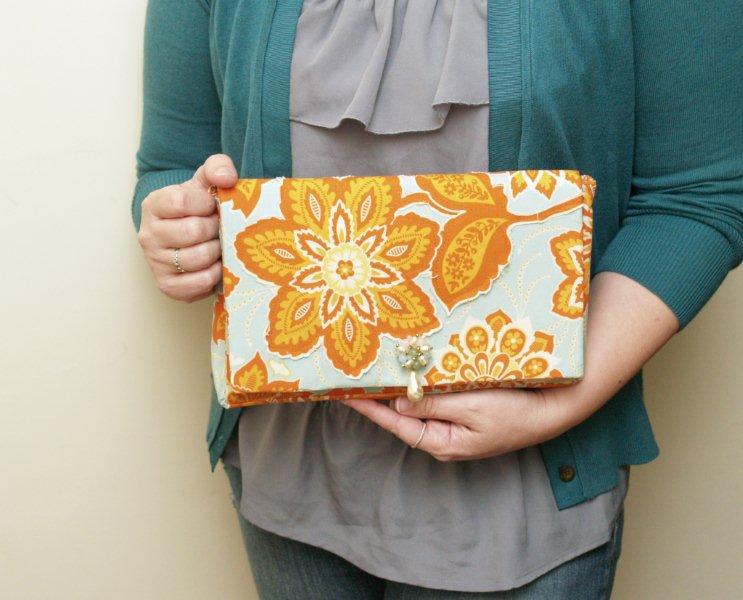
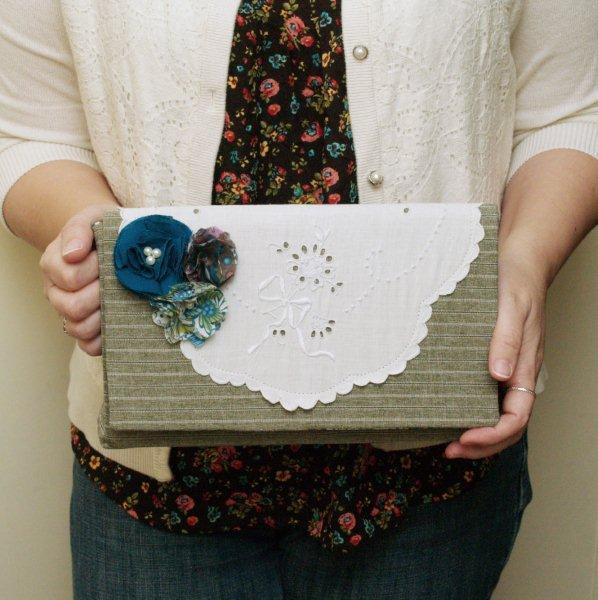
If you’ve missed the previous posts this week – we are taking a Simple Clutch design and changing it up with different styles! The first tutorial includes all the instructions to make the clutch, including how to do a fun patterned Applique on the front section. The second tutorial is a Vintage design and has instructions on how to change up the front piece with vintage lace and some fun flowers.
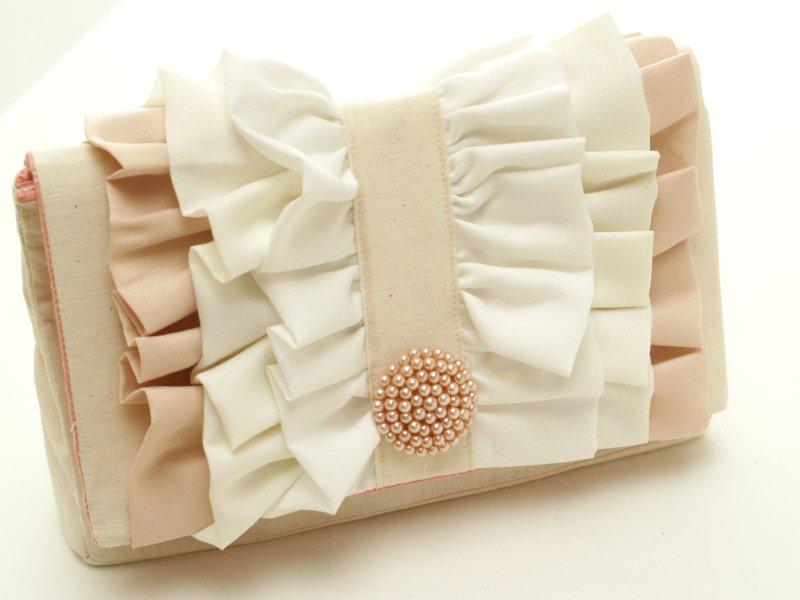
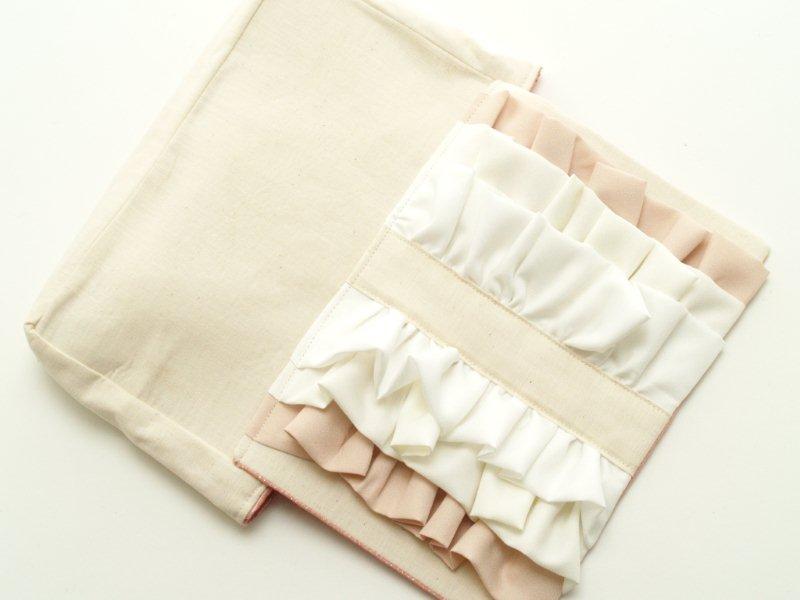
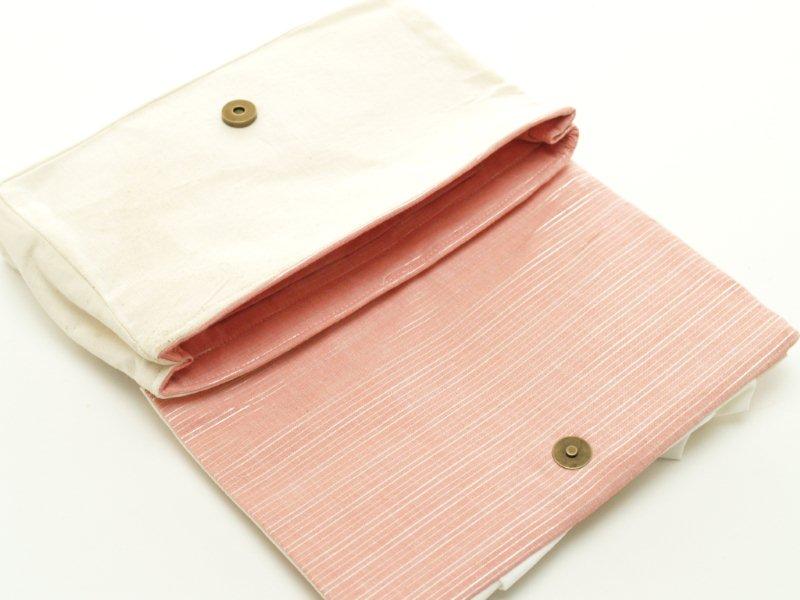
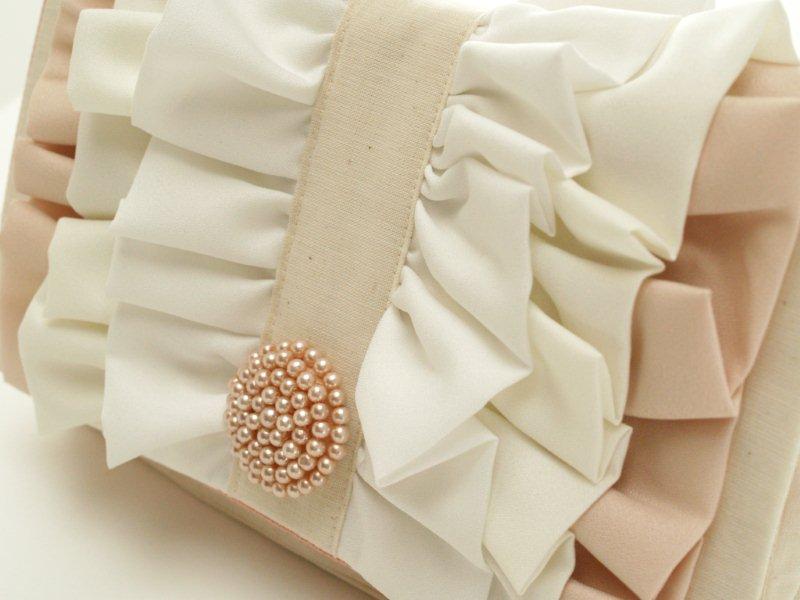
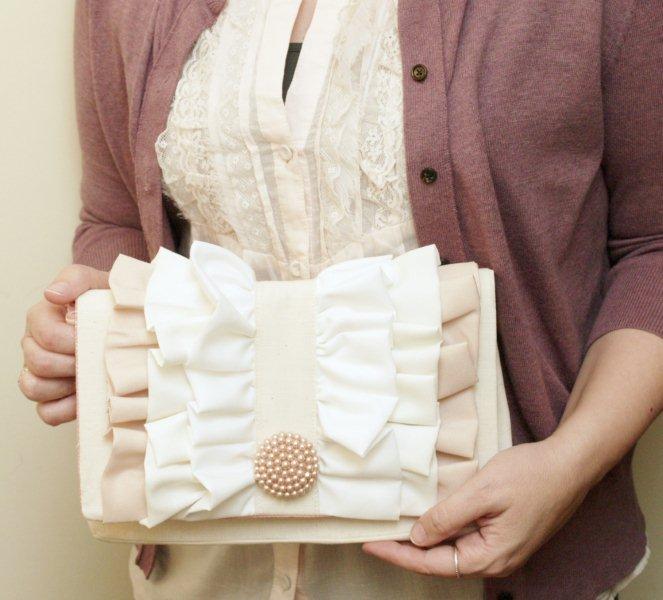
Today we’re adding some ruffles and a pretty pearl decoration. The ruffles darken to a pale pink/champagne color and the inside of the bag is pink with a sparkly silver thread running through it!
Here’s what you’ll need to make this Version:
All the fabric/interfacing/notions requirements for the Original Clutch – along with:
1/4″ yard of three fabrics for ruffles – if you want three different shades of ruffles.
Decorative button or pin
Follow the instructions for the original clutch to make the base section of your clutch.
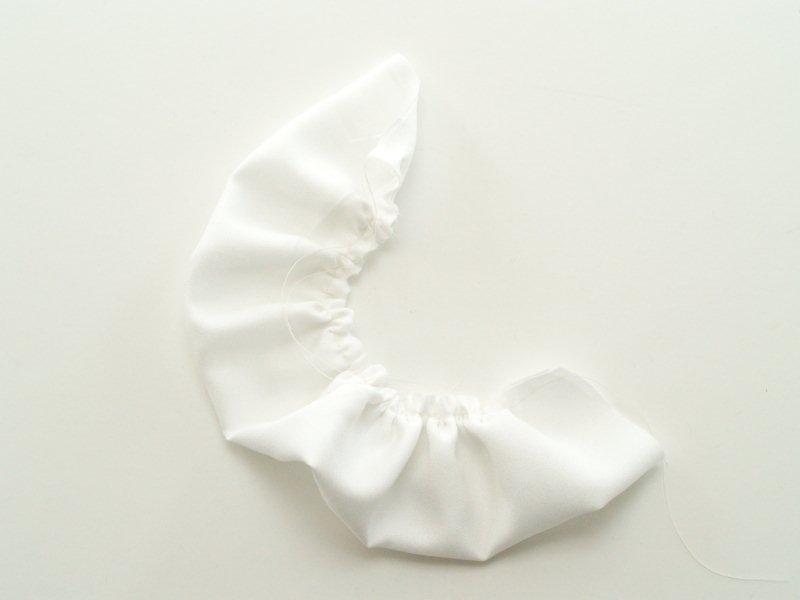
Before you iron on the heavy duty stabilizer onto your front piece, you are going to create all your ruffles.
Cut from each fabric 2 – 5″ x 16″ pieces. Fold each piece in half – long ways – and sew a gathering stitch down the raw edges.
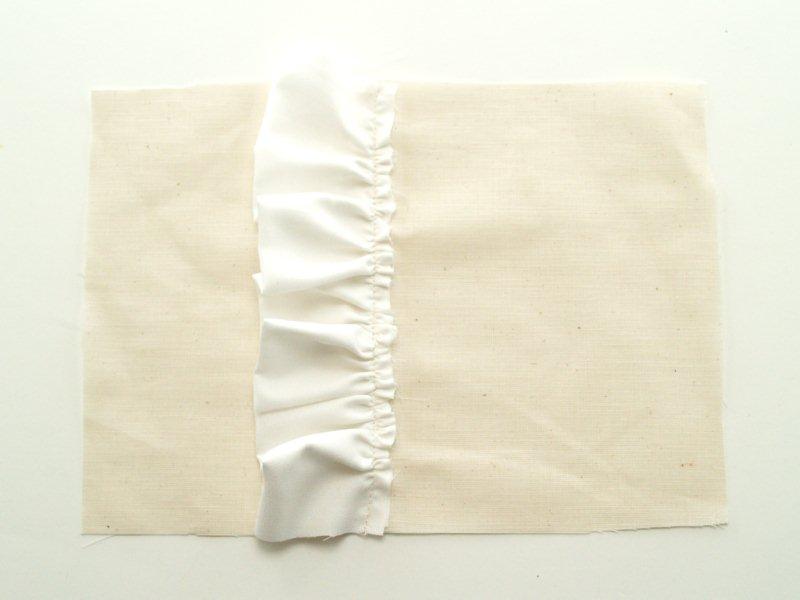
Mark the center of your front piece. I folded mine in half and used my finger to press a crease into the fabric.
Place the raw edges of your lightest color ruffle 1/4″ to the left of the center crease.
Sew in place with a 1/4″ seam allowance.
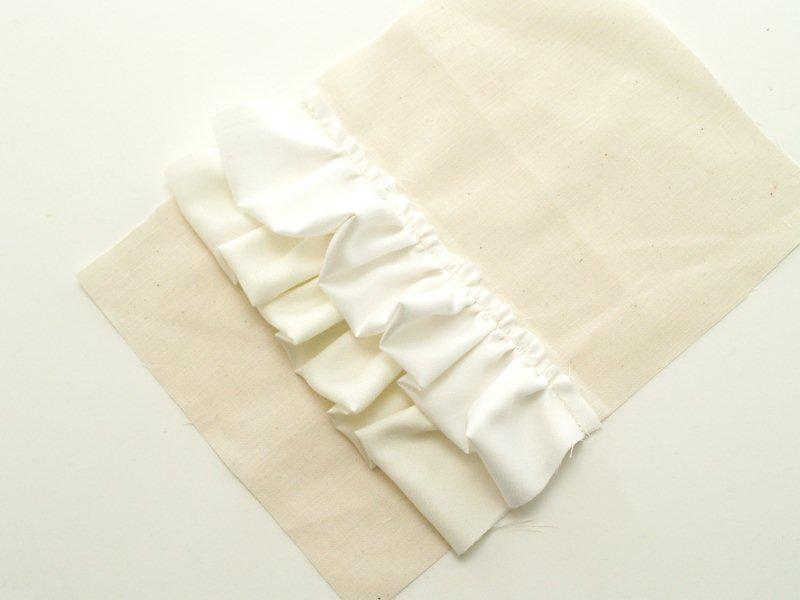
Fold over the first ruffle and pin the second ruffle 5/8″ from the seam. Sew your next lightest ruffle to the left of this ruffle.
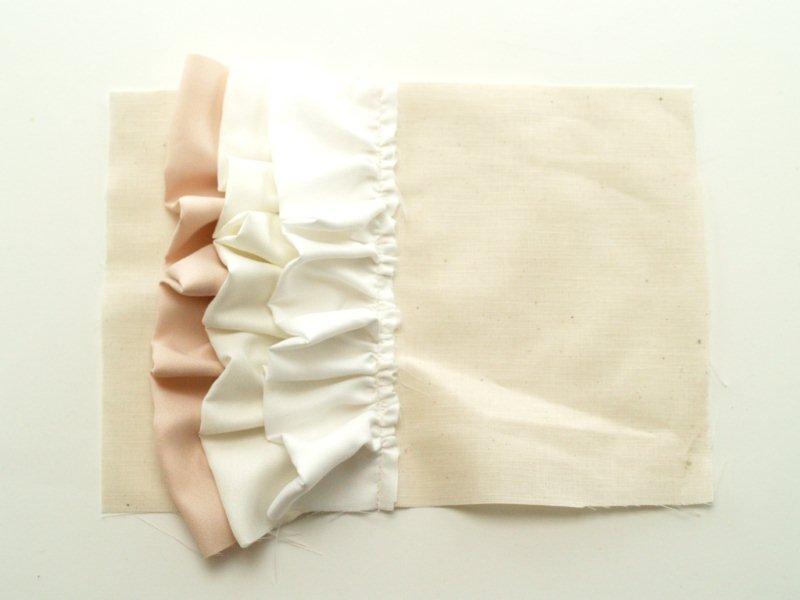
Sew on the last ruffle to the left of the second one, again 5/8″ from the seam of the second ruffle.
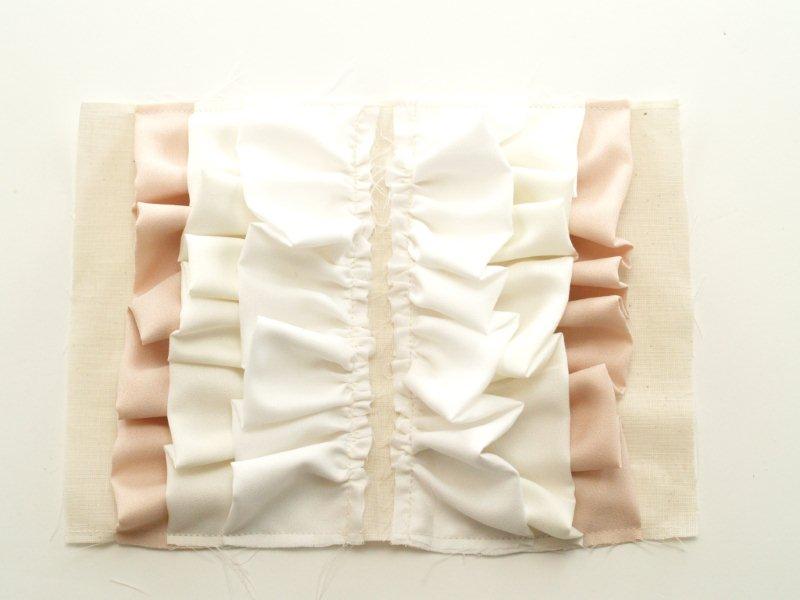
Sew the three ruffles to the right of the crease just like you did the first set.
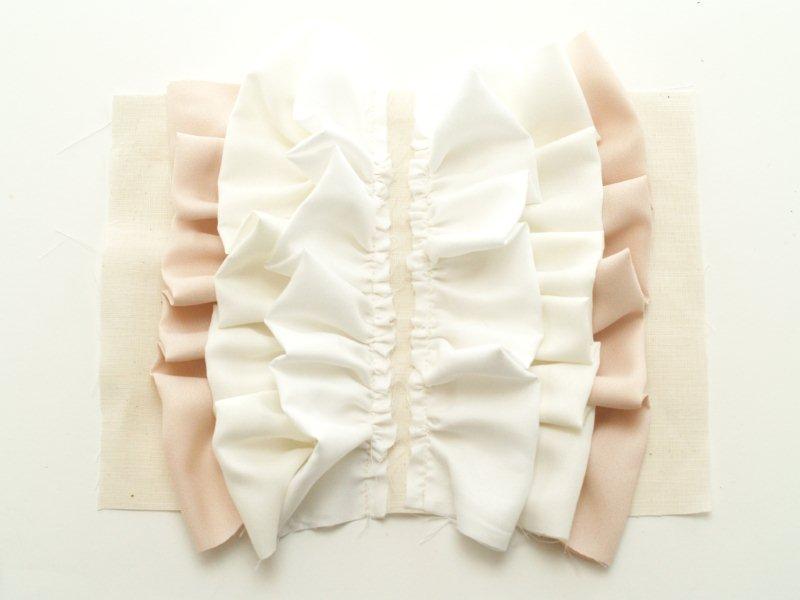
Awww. Cute ruffles. But a little wily.
Baste down the top and bottom of the ruffles with a 1/4″ seam.
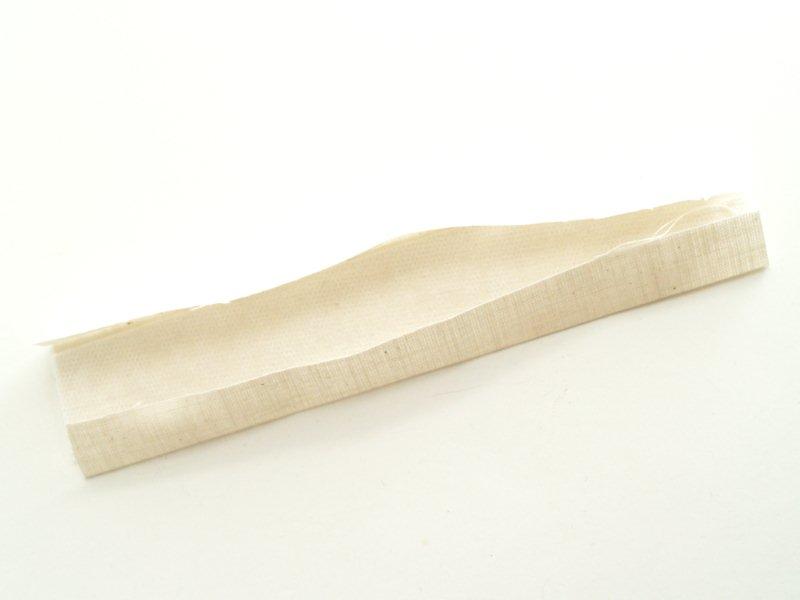
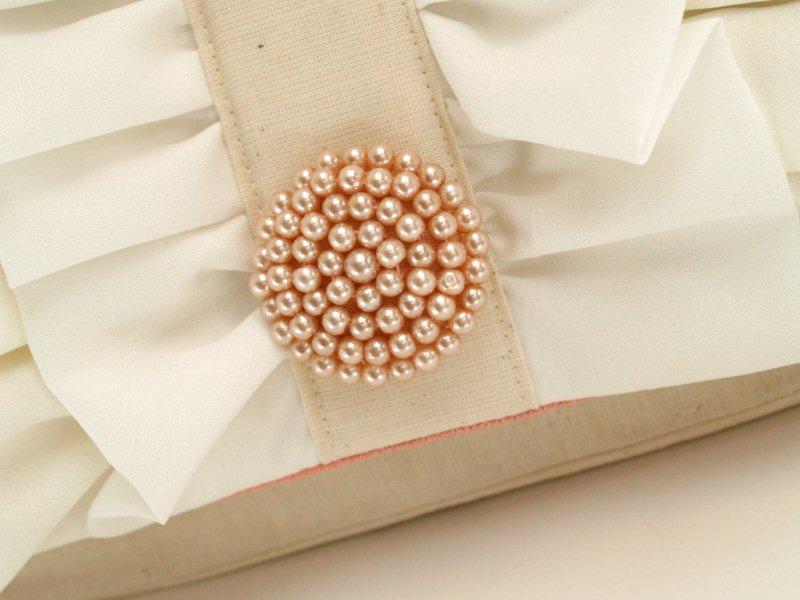
From the same fabric as the outside of your clutch, cut a rectangle 4″ x 8″. Cut a piece of fusible interfacing 1 1/2″ x 8″. Iron the interfacing down the center of the rectangle.
Fold the two sides to the back over the interfacing and press.
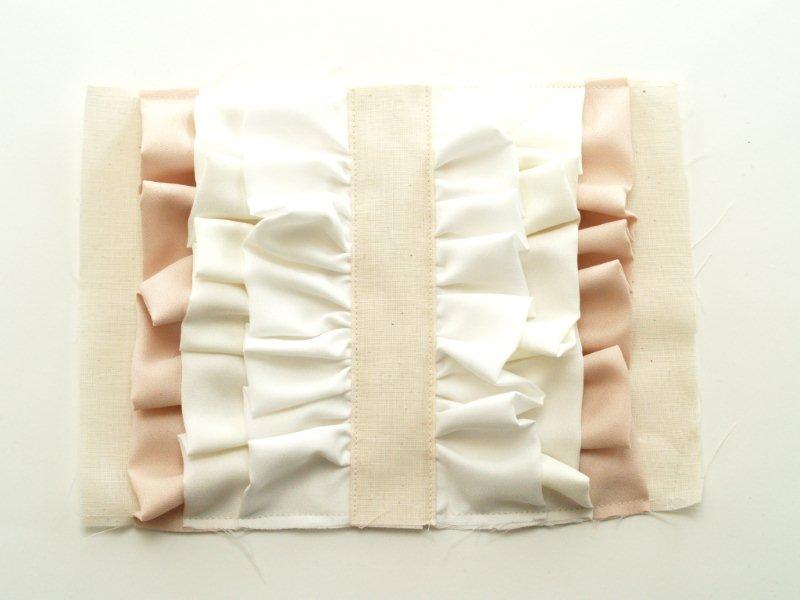
Place the rectangle over the ruffles at the center of the front piece. Sew the piece on with a straight stitch just inside the fold on each side.
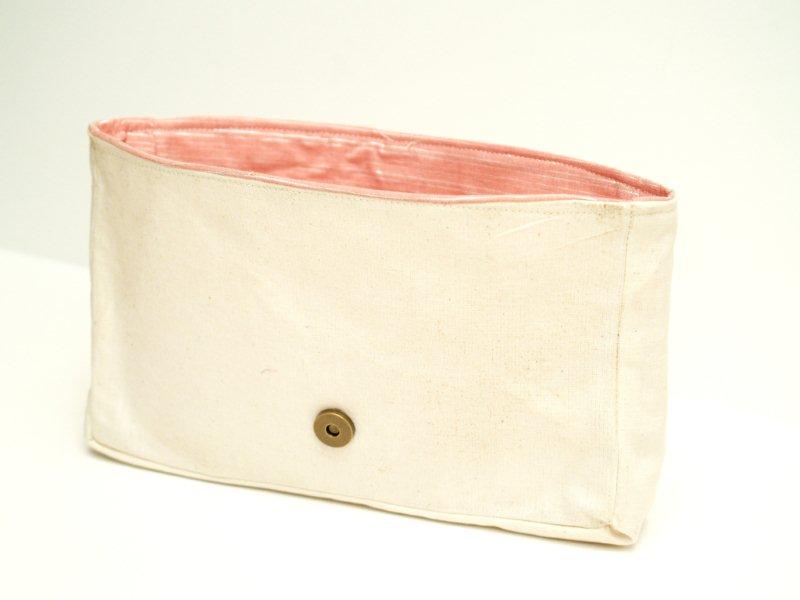
Place your front and lining pieces right sides together and sew around the sides and bottom, leaving the top open for turning.
Make sure you add your inside snap piece to the lining.
Turn right side out and press. Press the seam allowances at the top under as well.
Sew the front flap piece to the back top of the clutch. Remember to check your placement by snapping the pieces together first. It should overlap onto the back piece about 1″.
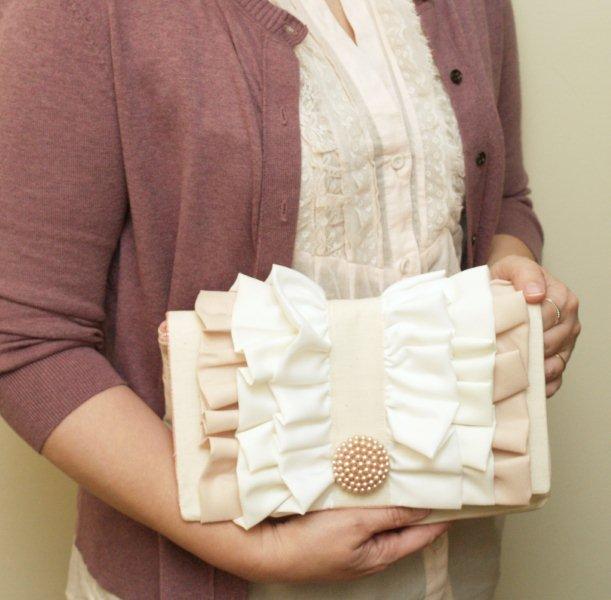
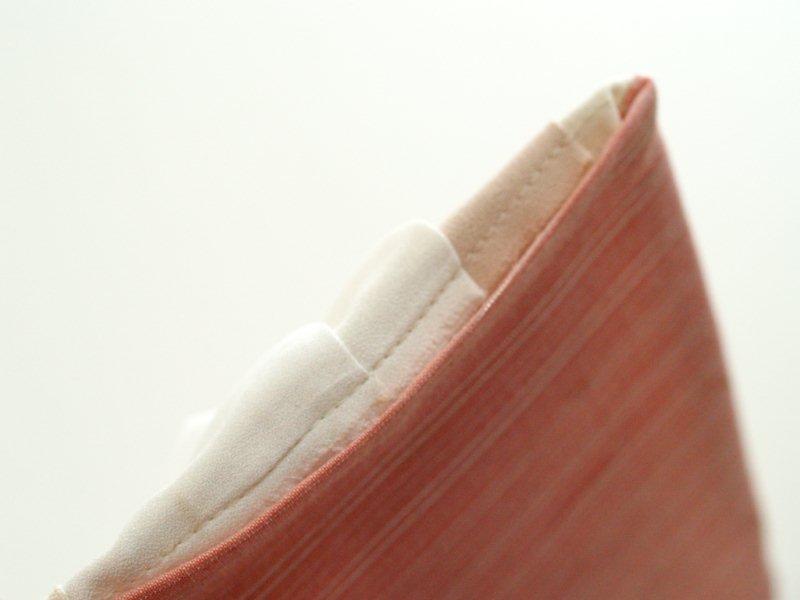
Fold in the top center sections on each side and tack in place to make the little top side pleats.
Add a decorative piece to the front – and you’re all done!
I love the linen look to the fabric on the clutch – it’s similar to muslin but a nice medium weight. And I think it is a great contrast with the softness of the ruffles.
What do you think? Do you have a favorite yet?
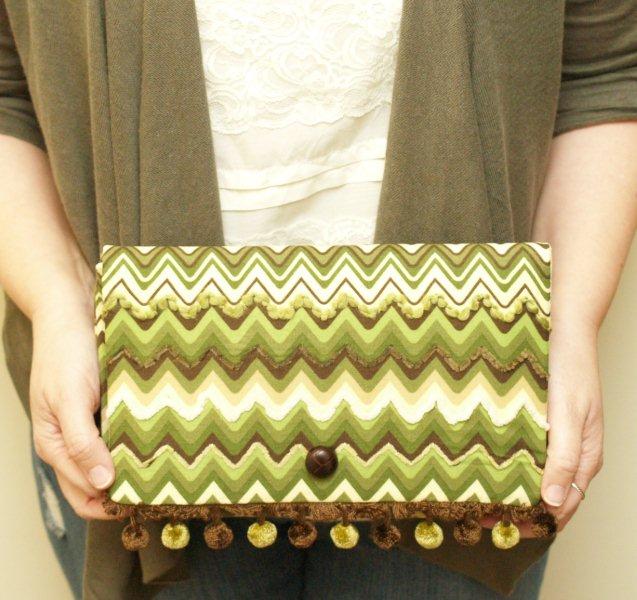
I have one more version for you – I think we’ll have to wait until Monday for that one. I’m excited to show you – it’s kind of wild!
Updated: Here are the three other styles – make sure you check them all out!


This one is my favorite so far! Can’t wait to see the last one…
What a cute idea. I have one laying ignored in my wardrobe, defiantly I will go for that for a transformation like this…I pinned it
Hope you will enjoy a visit at
http://craftaworld.blogspot.com/
With love
Farah
there’s a third?? oh bev.. i love them all. this is darling with the ruffles and i love how you added that extra strip down the middle to cover the edges.. so so so sweet. {& darling shirt & sweater too!!! where’s your pretty face bev — c’mon girl!!!}
I’m so impressed with all the different purses, this is such a great little series.
Thanks for sharing
Hey Bev, its just Lovely! super smart…hmmm
you had me at ruffles! This is my favorite one yet. Just love this series.
So pretty and elegant. I love it!!
This is the cutest one!
Oh Bev, this is absolutely beautiful.
How wonderful of you to share.
I love love love this clutch Bev! the ruffles are absolutely fantastic! In fact, I just finished making a clutch myself a week ago using sequins, was an interesting material to work with! – HA! Look forward to showing it off soon :), yours have been incredible!!! I think this one may be my favorite so far :)
Just lovely. My favorite (so far), well not really, I have loved all of them. Plan on selling any? Maybe? Please?
I think this is my favorite! This bag is so fun and sophisticated. I think the pearl decorative piece definitely completes the look.
THis is certainly my favorite! Too bad I dont have anywhere fancy to carry it! Thanks for sharing these bev! I love them!
How do you do that? How do you keep topping yourself? lol!! This one is a serious stunner, Bev!! I adore those ruffles. Definitely my fave thus far (I told you yesterday I would be saying that!). ;) We have to wait until MONDAY for the next one??? Can’t wait!
Wow! All of the clutches have been beautiful, but I have to say, I’m a sucker for ruffles! LOVE! Thanks for sharing!
My favorite this week!
Ahhh how gorgeous!!! I absolutely love it! Ruffles just make everything beautiful!
Girl… you are on a clutch making roll!! LOVE them all but the ruffles are fabulous!
Thanks for linking up to this week’s Catch a Glimpse party! I will be featuring this tomorrow!
Oh!! This is so pretty and elegant! I’d love for you to share this at my link party.
Rachel
http://adventuresofadiymom.blogspot.com/2012/02/terrific-tuesday-2-and-features.html
Came across your blog today and I’m completely bowled over by your creativity. Thank you for all the tutorials. You have so many good ideas that I don’t know which one to tackle first!
So, adorable! Love the broach that you added too, it fits perfectly:)
This turned out so cute Bev!! I love the ruffles!!!
The ruffle purse is classic!
Mrs. Delightful
ourdelightfulhome.blogspot.com
This is a great idea! I would love if you would share it at my blog party this weekend. Hope you can join in!
I seriously adore your clutch! The color choices and the vintage chic feel is absolutely sweet.
This is amazing – I love it!
Simple but not SIMPLE LOOKING!!! It’s stunning!!! Very elegant!!
Would you PRETTY PLEASE post this on my blog?? PLEASE?!?!
http://thediydreamer.blogspot.com/2012/02/from-dream-to-reality-linky-party-3.html
Absolutely love this idea! I think I’ve found a gift idea for my bridesmaid’s! Thanks!
CUTE, CUTE, CUTE!!
And I pinned it, of course!!
This is soooooo cute! I love it! And it looks like something I could pull off without too much issue! Pinned it :) Added to my to do list!
heronscrafts.blogspot.com
Super super cute!!! What an awesome idea. I love it!! :)
This is my favorite one yet, my friend!! :)
very, very, very beautiful! loved it!
Ótima idéia!!Muito linda!!
Grata.
Oi! Amei esta bolsa! Super charmosa e chique! Linda demais! bjs: Carol Carneiro
I love each and every one of the clutches you designed, Bev, but with the pink, pearls and ruffles, this one is really calling my name!
I L-O-V-E this! I really wish I could make it, and some day I will try it
You are a part of my inspiration page
http://trixih.blogspot.com/p/my-inspiration.html
I bet you would pay a lot for one like it at one of those fancy stores that act like their stuff is better than anything else. I need to check out the other ones too. Love this one
I made two of these ruffle clutches this week to give as gifts. I didn’t take pics of the first one but did of the second one. I changed things up just a bit — instead of using a stiff interfacing I used plastic canvas, which I just cut a bit smaller that your instructions for the interfacing and sitched to the outer shell. I did this for a couple reasons — the plastic canvas gives the purse a nice, sturdy feel, and it is so inexpensive.
I’d love to share a pic with you, if you are interested.
Thank you for posting this tutorial!
Wow! This looks amazing! I HAVE to make this! Thanks – you rock! :oD
Looks fun to sew up for a special nite on the town, such as prom, graduation, valentines or just because with hubby.
Can’t wait to sew up some for my granddaughter.
I am in LOVE with the ruffle one but that is so great you can do it in so many styles!
Sew sweet! I think I might make this for myself… and maybe a mini version for my daughter! Great tutorial!
This clutch is beautiful! I HAVE to make one now!