I have such a treat for you today!!! One of my dear friends Kara, from Mine for the Making is here today to share a super cute tutorial!!
Kara is so talented – she makes the prettiest things. Plus she’s one of the nicest bloggers I know. :)
Here she is!!

Hey there Flamingo Toes readers! I am so excited to be here today! Thanks so much for having me, Bev!

My name is Kara and I am a wife to my best friend and a mommy to a sassy and sweet 3 year old. I am also the blogger behind Mine for the Making where I share crafts, tutorials, recipes, home improvement projects, mommy adventures, printables, frugal decorating, organizational tips, and ideas for teaching. I also create lovely jewelry and hair accessories to sell in my shop. I am a former teacher recently turned stay-at-home-mom and am totally loving it, but am constantly looking for ways to keep busy! Thank goodness for blogland and Pinterest, right? : )Today I am here to share an easy jewelry tutorial. I know. I know. Guest blogging on Flamingo Toes and you chose a jewelry tutorial??
*gasp*
We all know Bev creates gorgeous jewelry and she is the queen of knock-off jewelry.
I think she has inspired many of her readers to make jewelry. Me being one of them.
So without further ado…The Vintage Lace Bangle {tutorial}
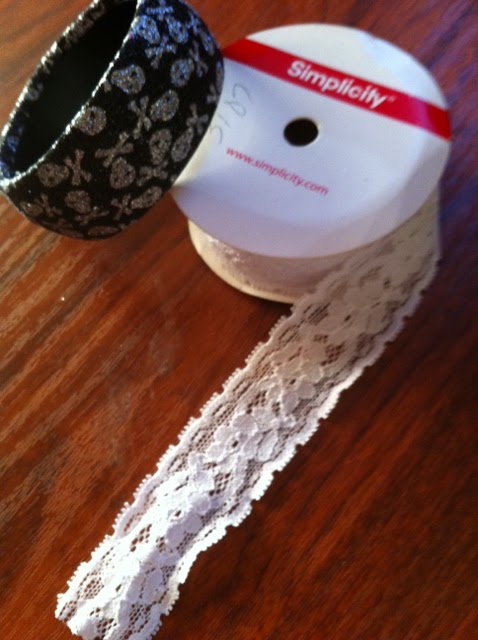
Materials:
-bangle bracelet (found mine in the $1 aisle at JoAnn)
-elastic lace
-embellishments (buttons, pearls, rhinestones, beads, cabochons, chain, charms, etc.)
-hot glue and gun
The bracelet I bought was a sparkly Halloween bracelet. I decided to leave the original bracelet the way it was and wrap the lace around it to see what it would look like. I like that the sparkles peaked through some of the lace so I went with it!
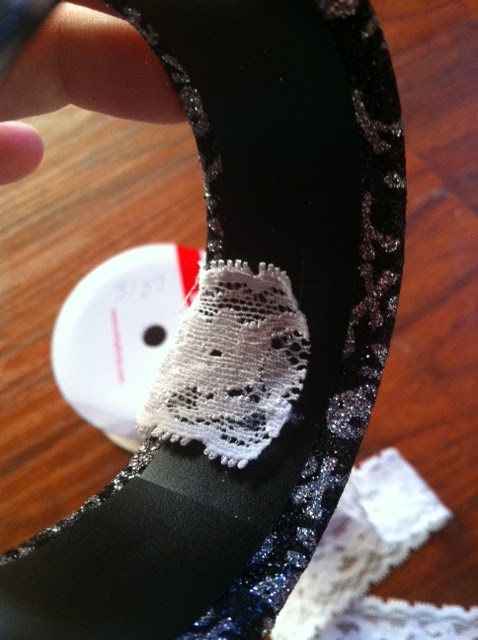
I hot glued one end of the elastic lace to the inside of the bracelet securely.
Then I wrapped the bracelet, slightly overlapping the lace. I used a little less than a yard of elastic lace, but you can use more if you wanted to wrap it more than once.
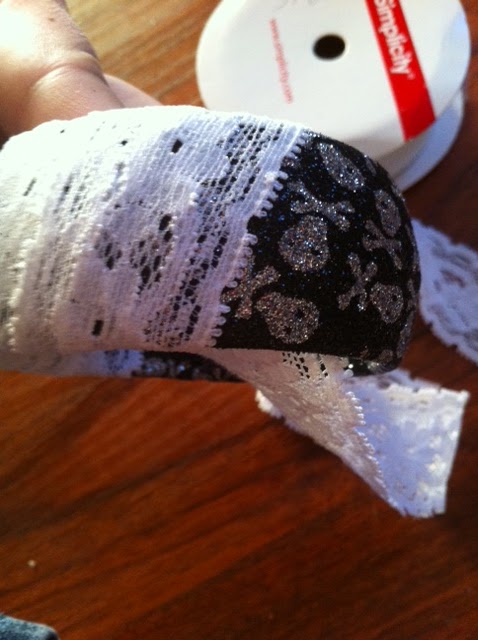
Once I reached the end of the lace, I hot glued the end to the inside of the bracelet.
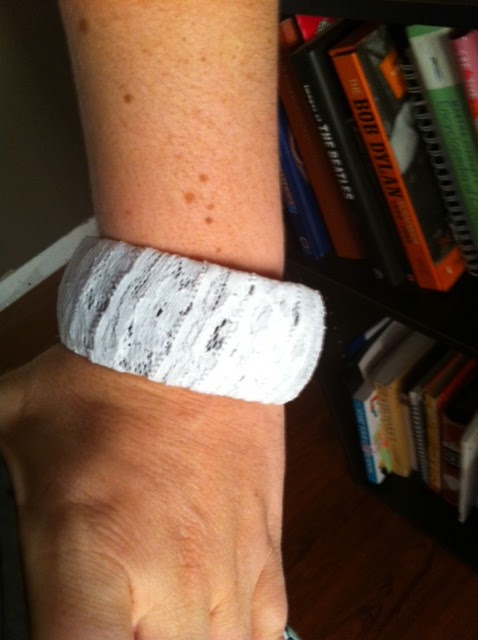
Here is what the bracelet looks like so far. Too boring for me.
So I went through my embellishments in my craft nook and started randomly hot gluing them to the bracelet.
Now the bracelet looks like this…
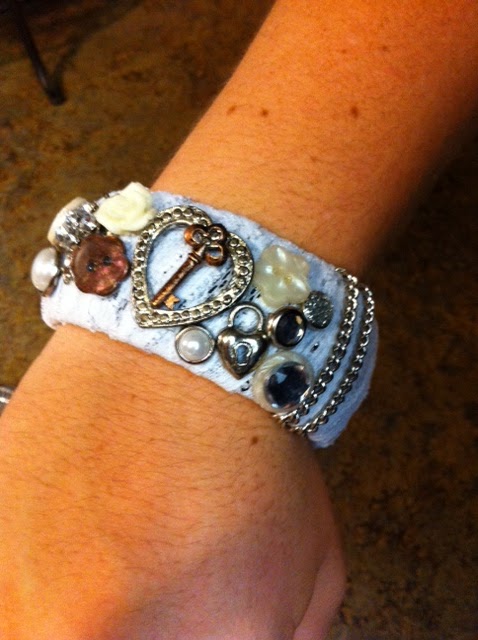
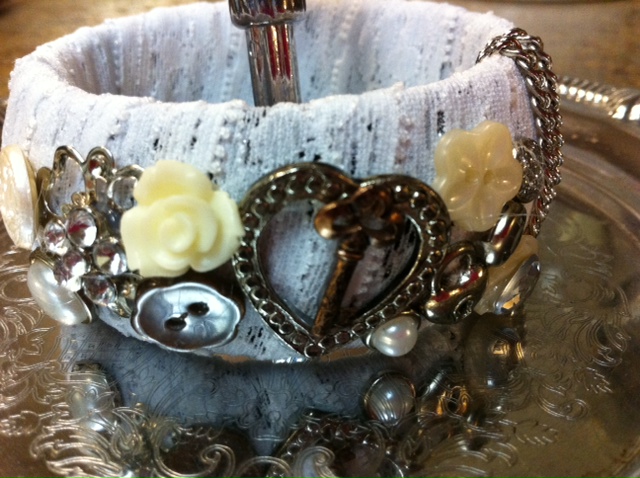
Pretty right?
And frugal and easy and vintage-inspired. Perfect accessory in my opinion.
And there you have it. The Vintage Lace Bangle.
I’d love for you to stop by my place sometime! I ♥ making new bloggy friends!
Thanks to my sweet friend, Bev, for having me over today!

Wow!! I just love it!! The combination of the lace and the little embellishments is soooo pretty!
I’m thinking Christmas Presents . . . . I realllly need to get going on my Christmas crafting and this would be perfect!
Thanks so much for the great tutorial Kara!!!
PS – I’m over at Positively Splendid today sharing a knockoff tutorial that I just love!! It would be a perfect Christmas gift – and it’s quick and easy!!


Gorgeous, Kara! I love it! All those embellishments on it make it super fun.
Very nice!
Cute I love to make jewelry, so this was awesome! Thanx for sharing!
Natalie
http://www.projectdowhatyoulove.wordpress.com
Love, love, love your stuff and your tutorials are so perfect and easy to understand. Following now!!
Thanks for having me over today Bev! Thanks for the sweet comments ladies!
Wow! The little embellishments make a huge difference:) I love it! I want to make one for myself!!
This is fabulous! I am a big fan of Kara! What a great piece!