I was so excited to be a part of the fabulous Holiday Bake Craft And Sew Along!! This is a…
Read More
Archives for September 2011
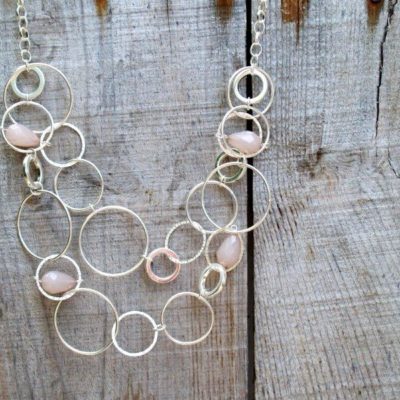
Anthro Shepherd Moon Necklace Tutorial
Ok. So this is my favorite Anthro Necklace. I think I said that here and here. And here. But I really…
Read More
Honeybear Lane Winners
Happy Labor Day! I hope you’re all having a great day today! We have Mr. F.T. home today and so…
Read More

Easy Summer-y Pasta Salad Recipe
I have a weakness for Pasta Salad – of pretty much any sort. This one is light and fun and…
Read More

