So I’m all over the place this week. I warned you. ;) I’m like a blogging Paris Hilton – Only…
Read More
So I’m all over the place this week. I warned you. ;) I’m like a blogging Paris Hilton – Only…
Read More
Hey all – are you recovering from the long weekend? I don’t know about you – but I need a…
Read More
A couple of months ago one of my sweet friends, Michele, from The Scrap Shoppe, needed some guest posts for…
Read More
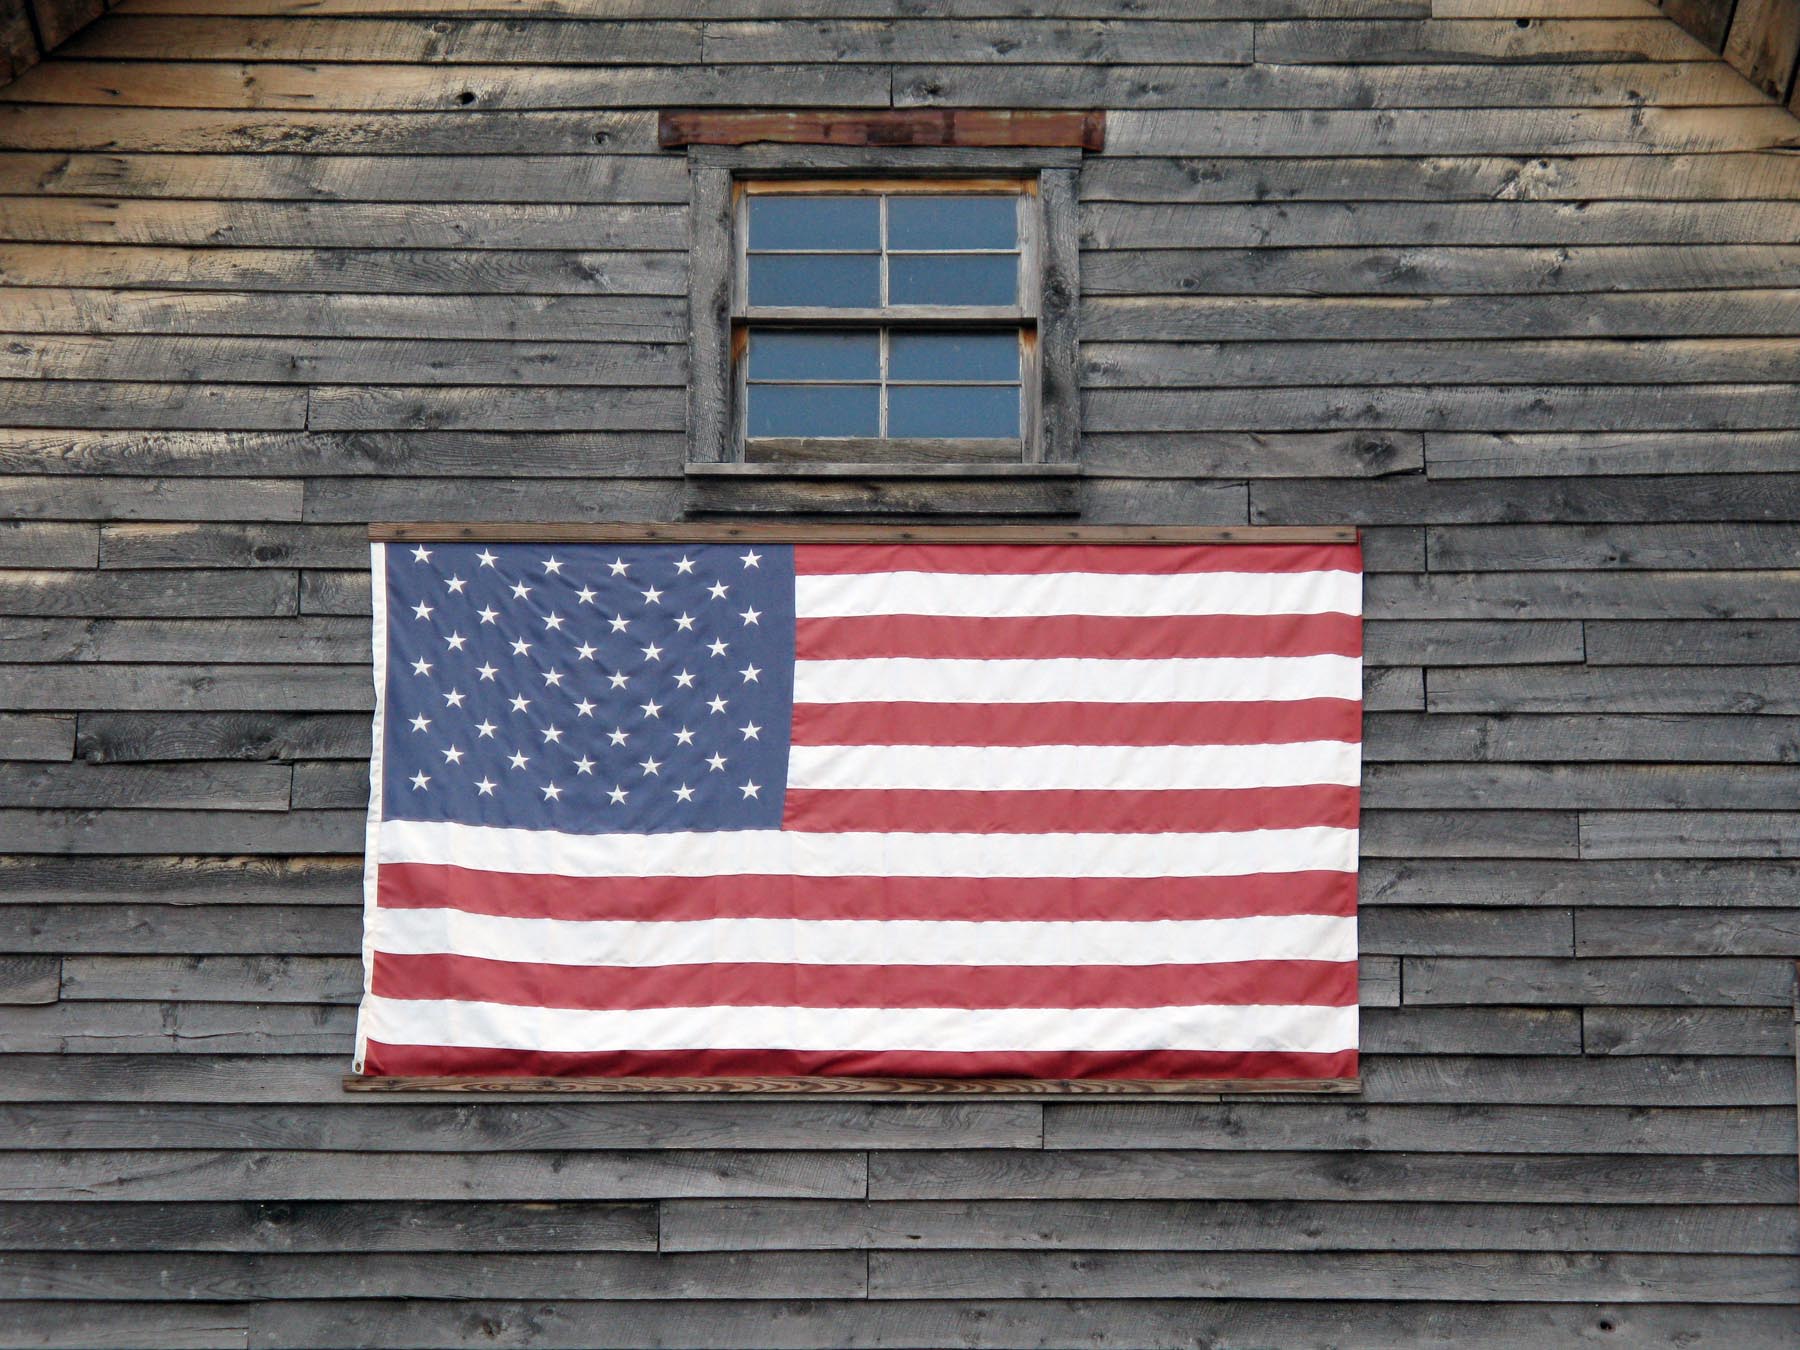
I hope you are all having a wonderful Memorial Day with your family and friends! Thank you so much to…
Read More
So somehow Memorial Day snuck up on me. Seriously – how on earth did we get to the end of…
Read More

We are on Block 13 in the @RileyBlakeDesigns Block Challenge and this week`s sweet block is the Garden Patch from Minki Kim @Zeriano .
It`s such a sweet block and it is so fast and fun to sew!
Click the link in my profile for the free pattern!
We are on the last week of our Vintage Stars Sew Along! This week we are trimming up our quilts and adding borders!
This has been so fun to sew up in my Sweet Freedom fabrics - and even though it`s the last week, you can find the videos on my YouTube channel anytime.
It`s been a little bit since I shared Dainty Daisy so I thought today would be a good day to show you some close ups😍 Thank you for all the love for the new colors we added this year! It`s been so fun seeing my basic out in the wild!
Check with your local quilt shop to see if they have Dainty Daisy🌼
5 Quilts for Springtime🌸✂️ You can find all the pattern names below!
1- Garden Rows from Make it Mini Book
2- Vintage Garden
3- Meadowland
4- Vintage Bouquet from Make it Mini Book
5- Country Fair
All these patterns are available on my website!
Did you see this cute pillow tutorial from @sewbrainy and @rileyblakedesigns last month?! Jamie has a new free pillow pattern on the RBD Blog every month and in March she featured Dainty Daisy! I love the colors and this design. So cute!!
You can find this free pattern from @sewbrainy on the RBD Blog.
We have a new block in the @rileyblakedesigns RBD Block Challenge! This is block 12, called Flip Flopped, and it was designed by @gervaissandy. It`s so clever and I just love how the triangles point in towards the center.
I`m sewing with my Afternoon Tea fabrics and one of my Dainty Daisy low volumes. All the info is on my site!
We are sewing together our Vintage Stars quilt rows this week to make our cute Quilt Tops! I`ll be sharing tips on my video this week - you can join me LIve today at 2 pm on YouTube, or you can catch it anytime later.
I`m sewing along with my Sweet Freedom fabrics but you can join us and sew with anything you`d like!
Raise your hand if stitching brings you joy!🙋♀️🪡🥰
There is something so calming about hand stitching and if you`ve been here for a while then you know I love all things embroidery and cross stitch!
If you`re wanting to learn you can find everything from free tutorials to PDF and paper patterns on my website🪡 Happy Stitching!