It’s Anthro Necklace Week!!!

Have you missed a tutorial? It’s Day 4!!
If you click on the button, it will take you to the Anthro Necklace Week Category. Then you can scroll through and see all the tutorials for this week!
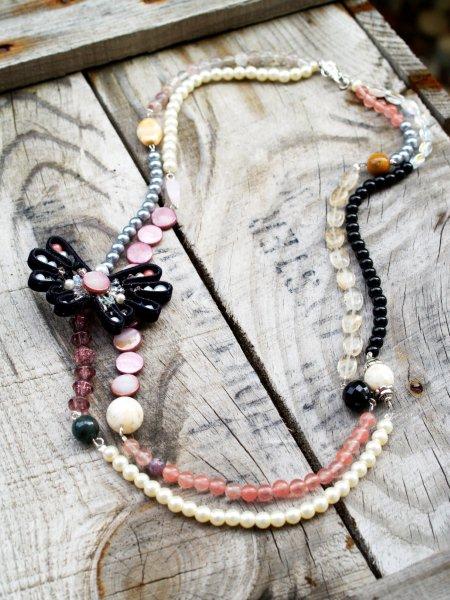
Today we’re doing the Anthro Petalouda Necklace.
(Holly, a sweet reader, sent in a Tutorial Request for this one. It turned out to be a perfect fit for Anthro Necklace Week. Thanks Holly!!)
In another bit of Anthropedia knowledge for you – I looked up Petalouda.
It’s Greek for Butterfly. Cool huh?
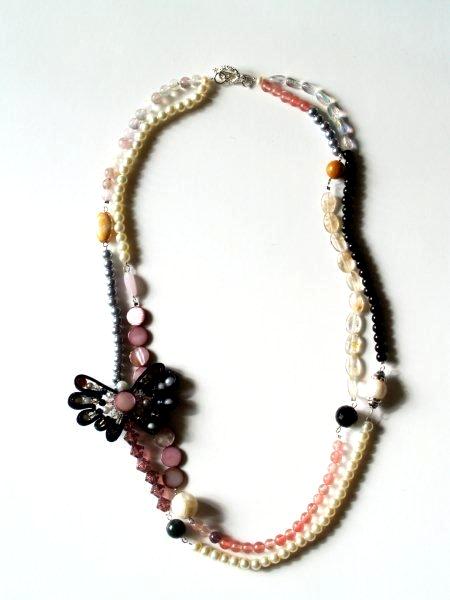
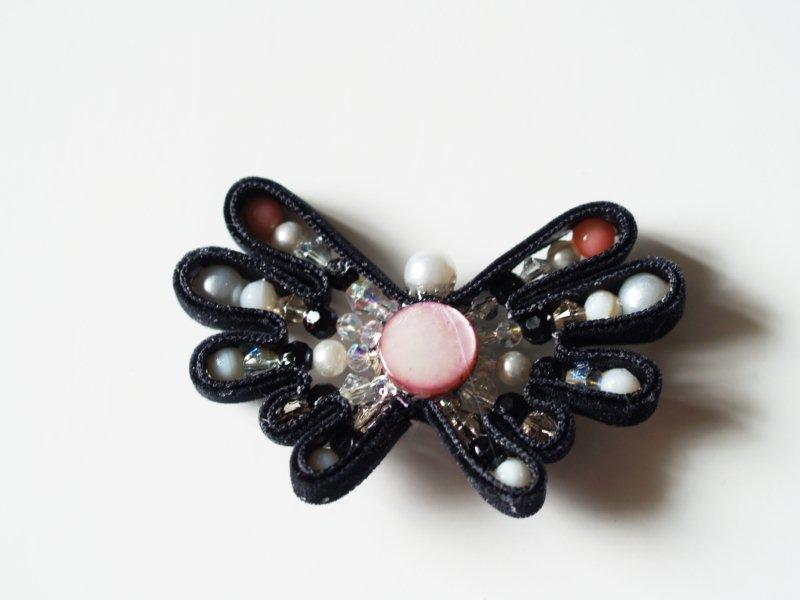
And that’s just perfect because this necklace is dressed up with a little beaded butterfly!
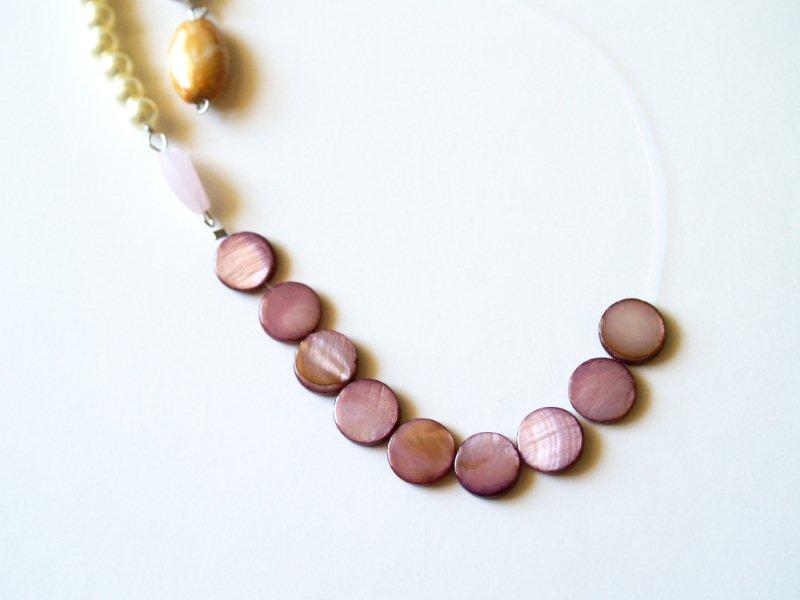
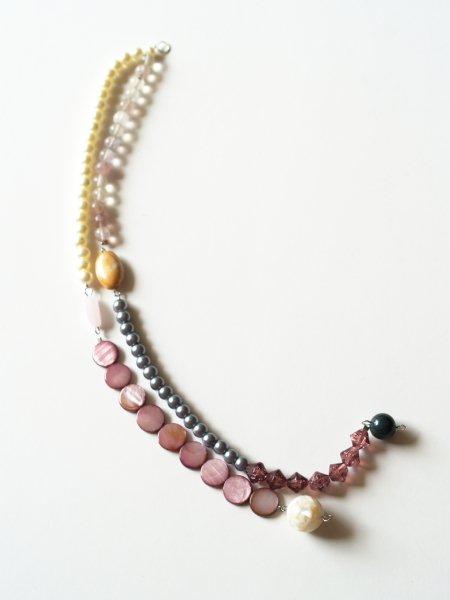
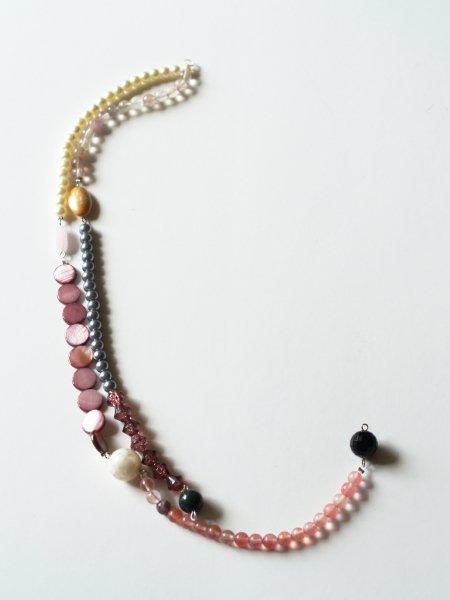
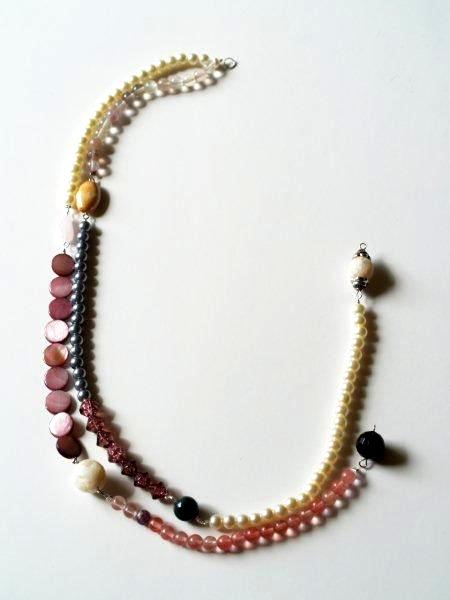
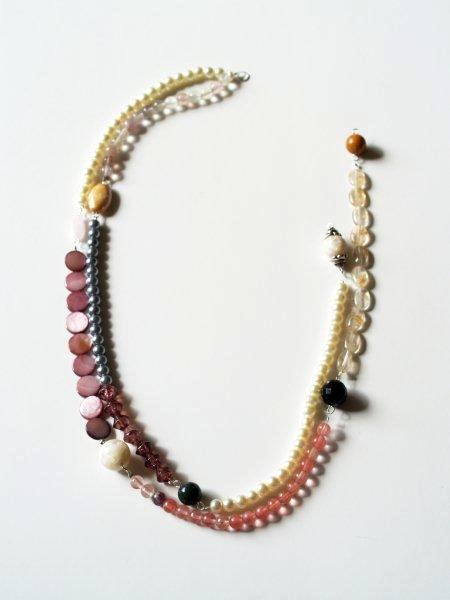
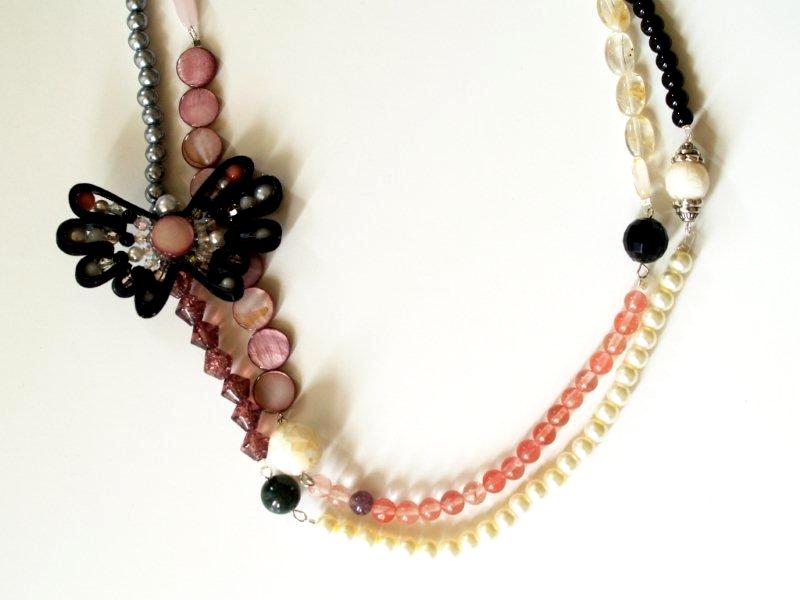
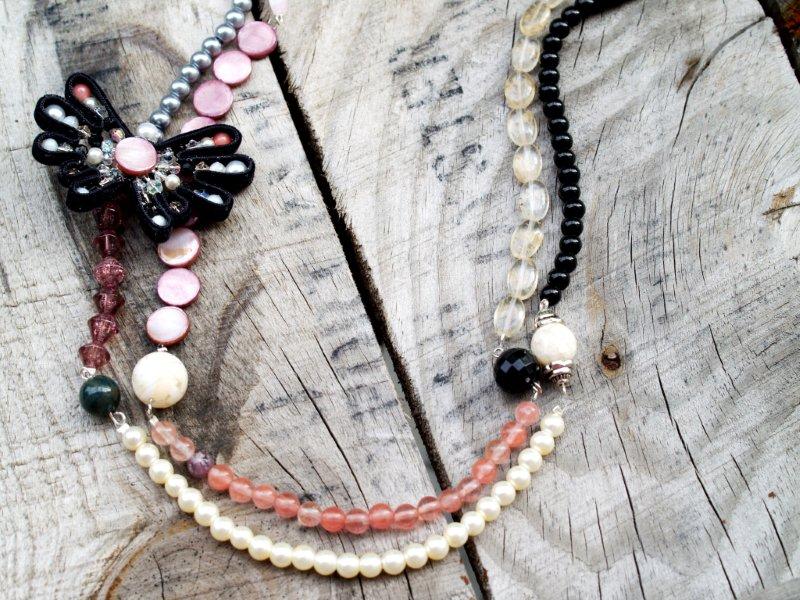
Here’s mine:
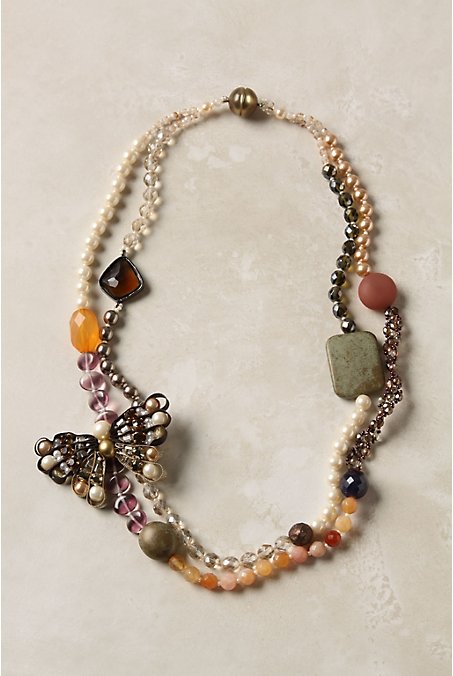
And here’s theirs – for a sparkly $278!!! Ka-ching!
Here’s what you need for you very own Butterfly Necklace:
• Lots of beads. :) Pull from your stash – you need an assortment of sizes and colors.
You’ll need enough for approx. 60″ of beads.
Look for sales – Michael’s often puts their beads on sale for 40-50% off.
• bead cording
• Crimp Beads – at least 16
• eye pins (wire pieces with a loop on one end) – 8
• closure pieces (I used a toggle closure for this one)
• 5 jump rings
• head pins (wire pieces with a flat end) – 10
• bead caps – 2
• 1/4″ wide ribbon
• 1 bail
• glue (I used E-6000)
• small circle of felt
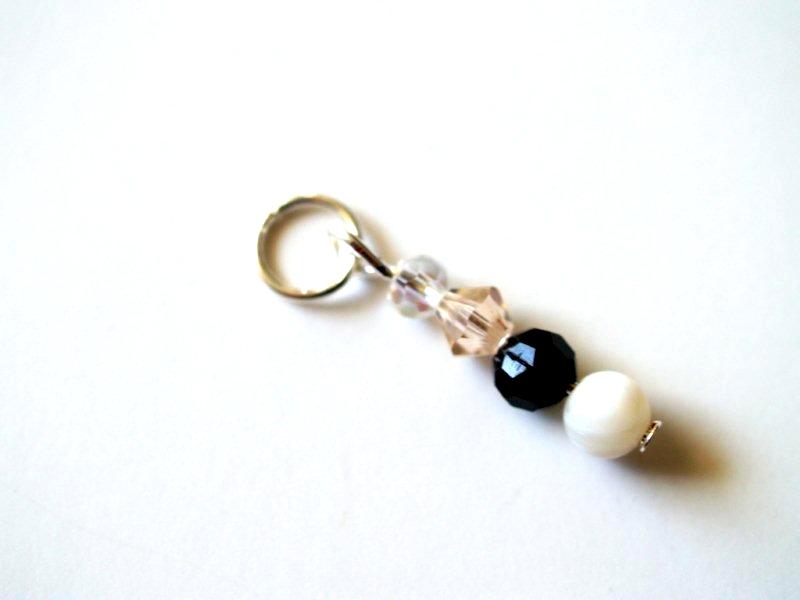
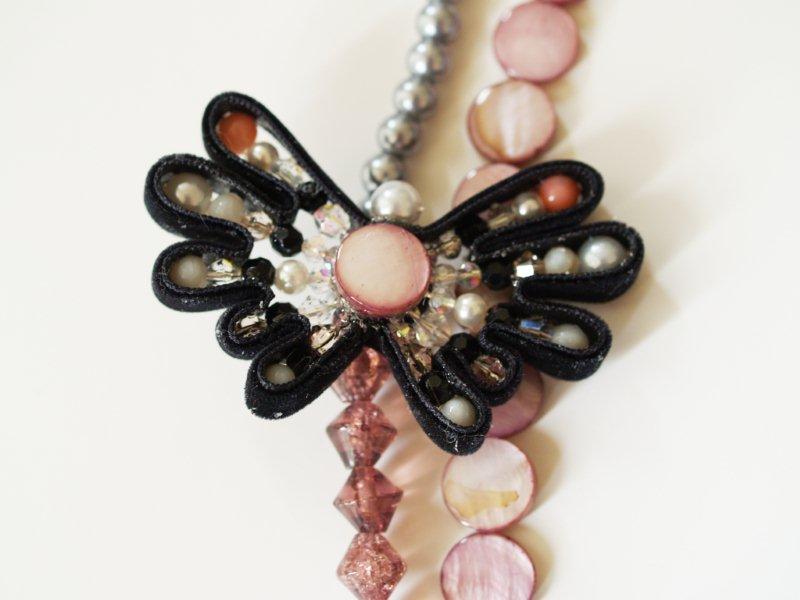
Let’s start with the butterfly ok?
Add some small beads to a head pin. You want this first piece to measure about 3/4″.
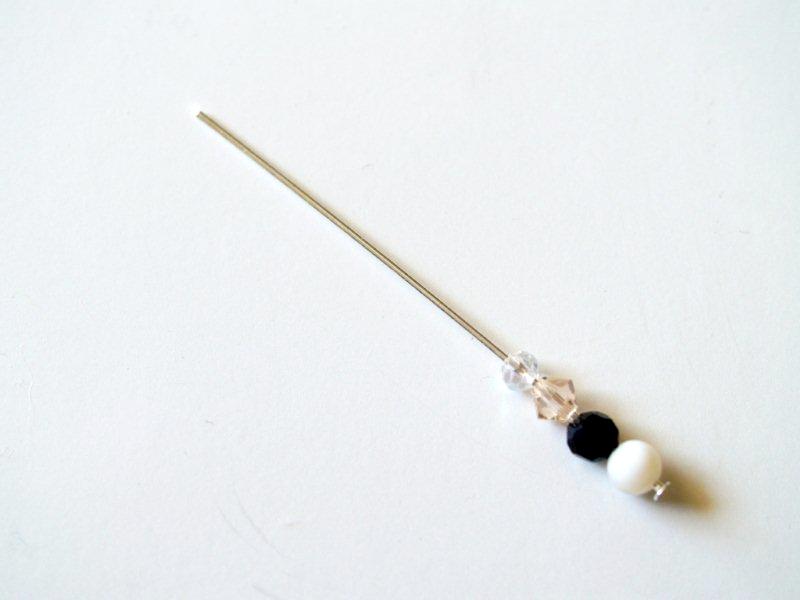
Make a loop at the top of the beads. Hold the wire with round nosed pliers just above the top bead.
Wrap the wire around one side of the pliers and bring it back in front of the beads, to make a loop.
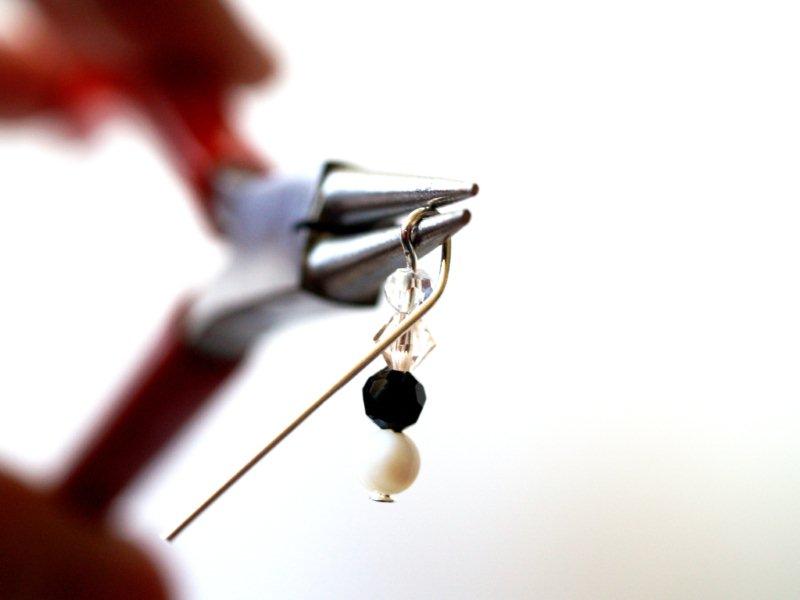
Clip the wire where it meets at the top of the bead. Now you have a loop at the top of this wire.
Add this loop to a jump ring.
Make another beaded wire, just like that one, but a little shorter. Closer to 5/8″.
Add this to the same jump ring, just above the last one.
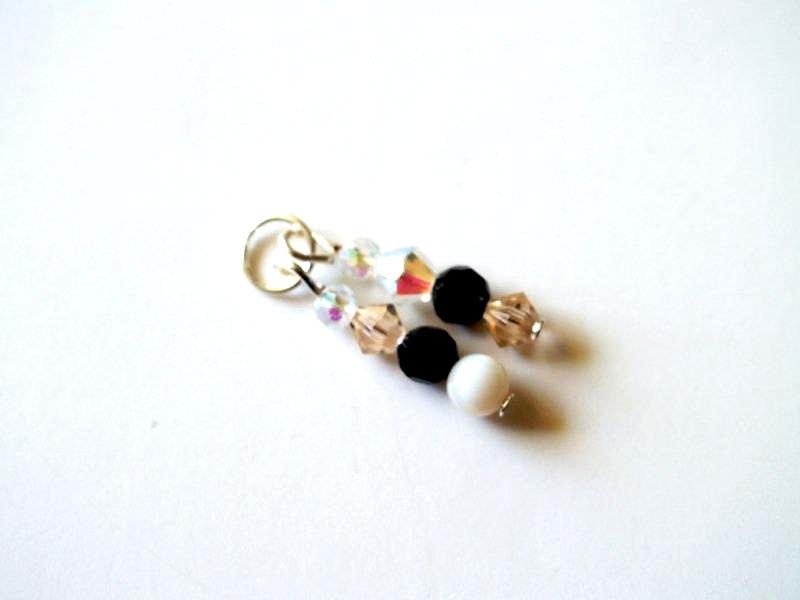
Make another beaded wire, this one about 1″. Add to the jump ring.
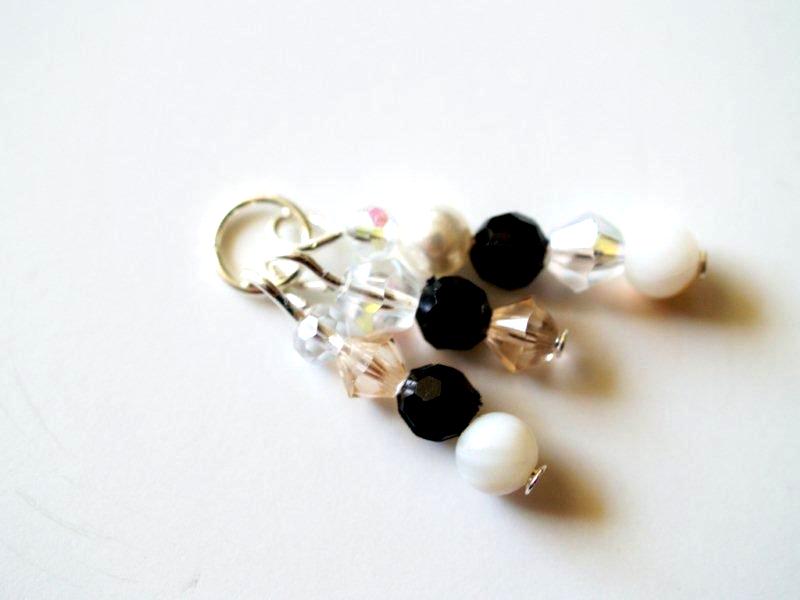
The next beaded wire should be about 1 1/8″.
The last one on this side should be 1″ again.
You don’t have to use these exact measurements, but you want the layout to be similar.
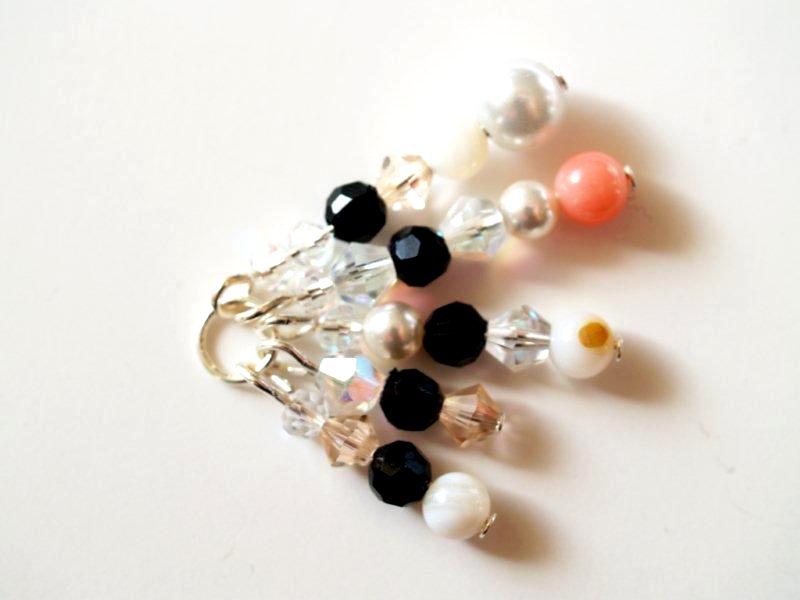
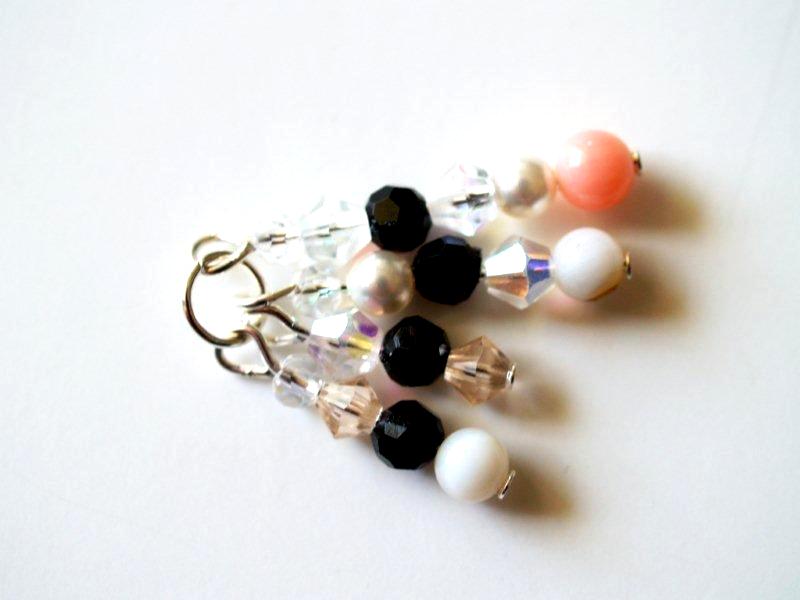
Repeat this pattern with five more beaded wires for the other wing of the butterfly.
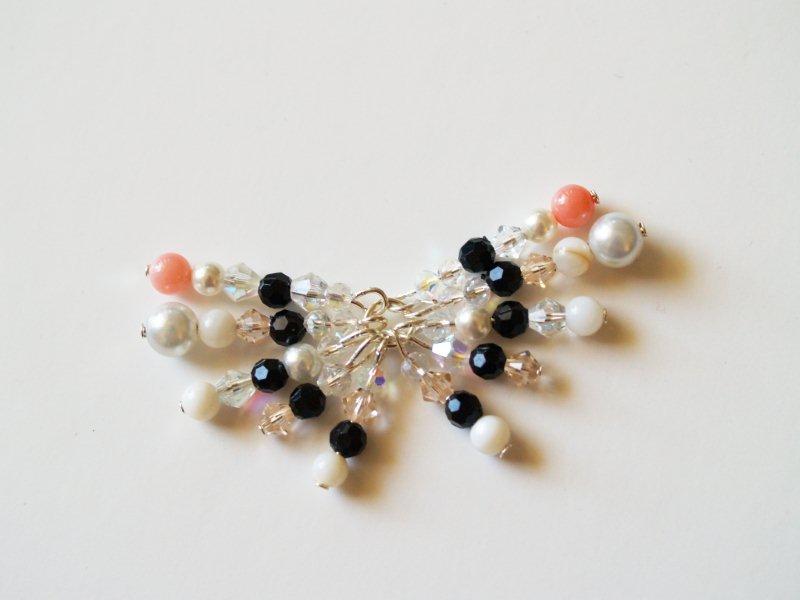
Cut a small circle of felt – about 3/8″ – enough to cover the inside of the butterfly.
Glue the center of the butterfly to the felt circle.
Begin gluing the ribbon around the edges of the beaded wires. Start at the bottom.
Run a line of glue along a section of the ribbon and start with the center and wrap it along the bottom right side.
Tuck the ribbon between the wires as far as it will go without distorting the alignment.
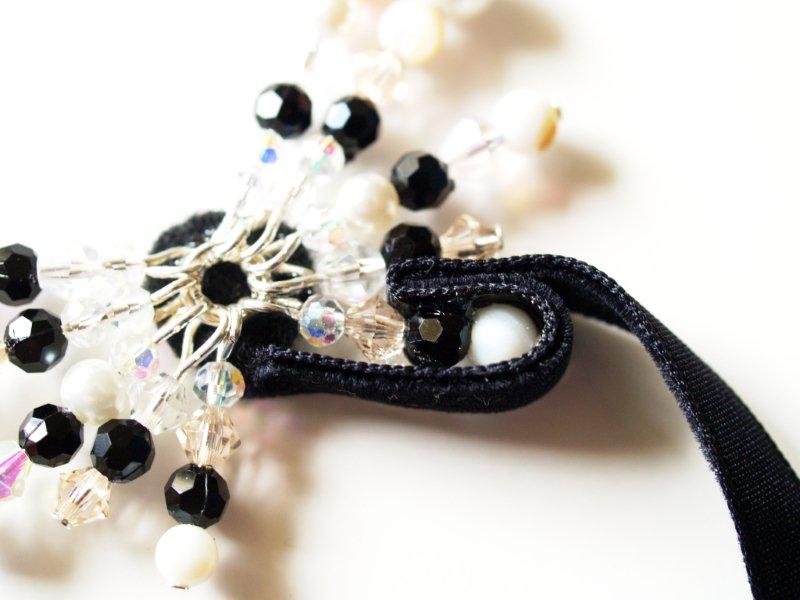
Depending on your glue, you might need to set this aside and let it dry between steps so you don’t pull the ribbon back out as you go.
Continue wrapping the ribbon around the beaded wires on the right side.

Glue the ribbon onto the left side now. Try and make the ribbon layout match the right side.

Once this is all dried, (and yes. I was terrible about waiting for everything to dry so learn from my mistakes.
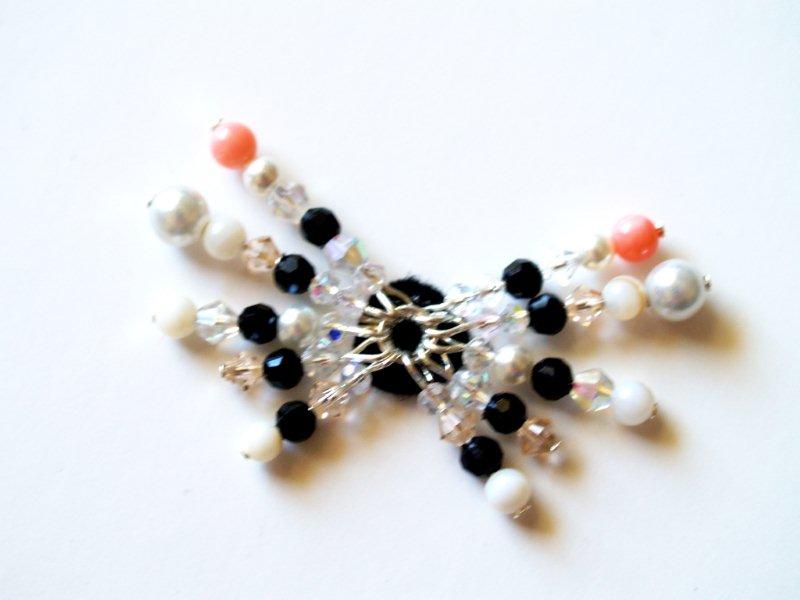
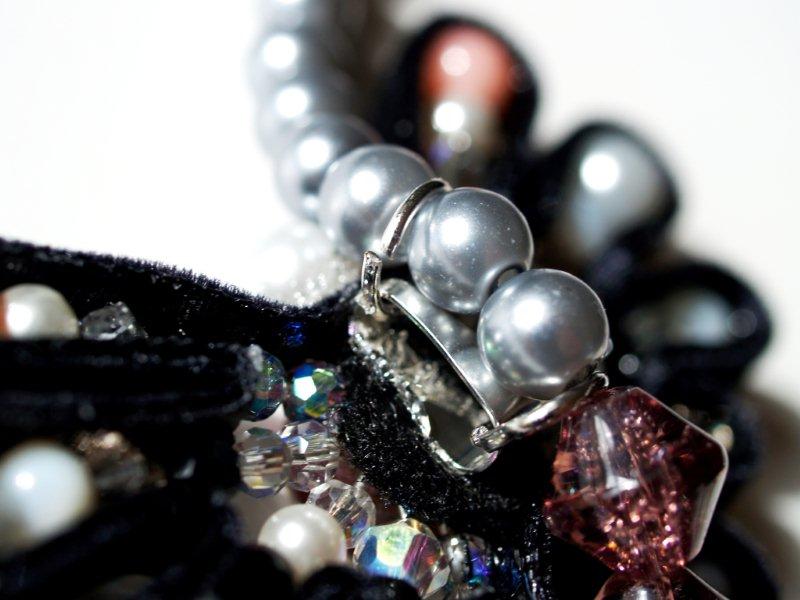
Let. It. Dry. :) glue a bead in the center of the butterfly.
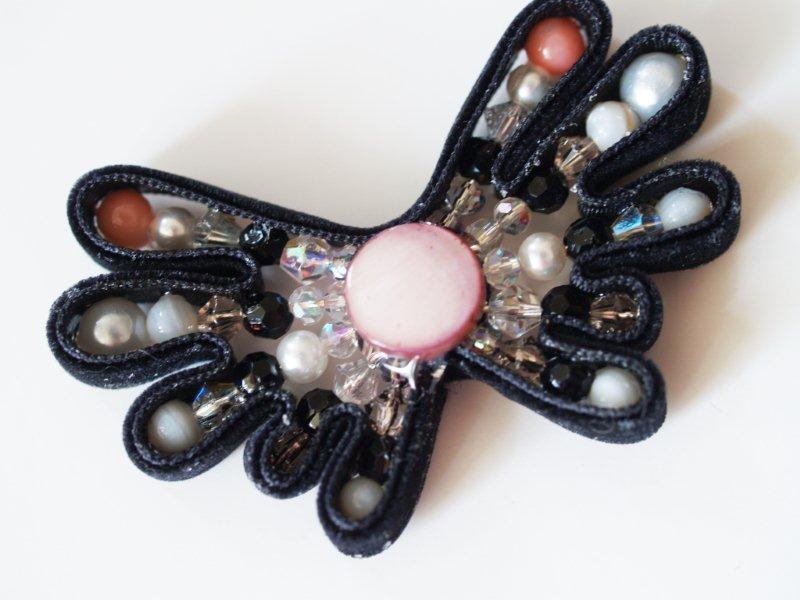
Add a bead above the ribbon. I think that’s the butterfly’s little head. Cute.
Hi little butterfly.
Glue a bail to the back of the felt piece.
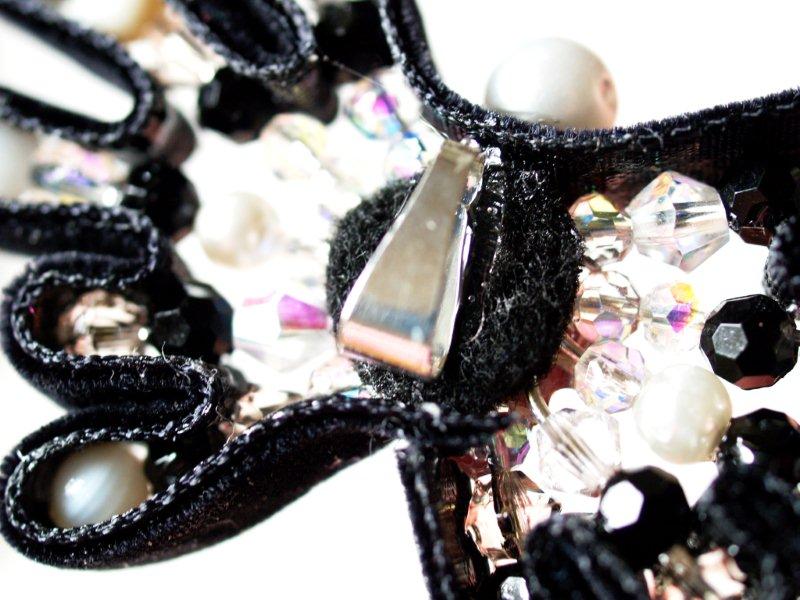
Set your butterfly aside for now. We’ll add it later.
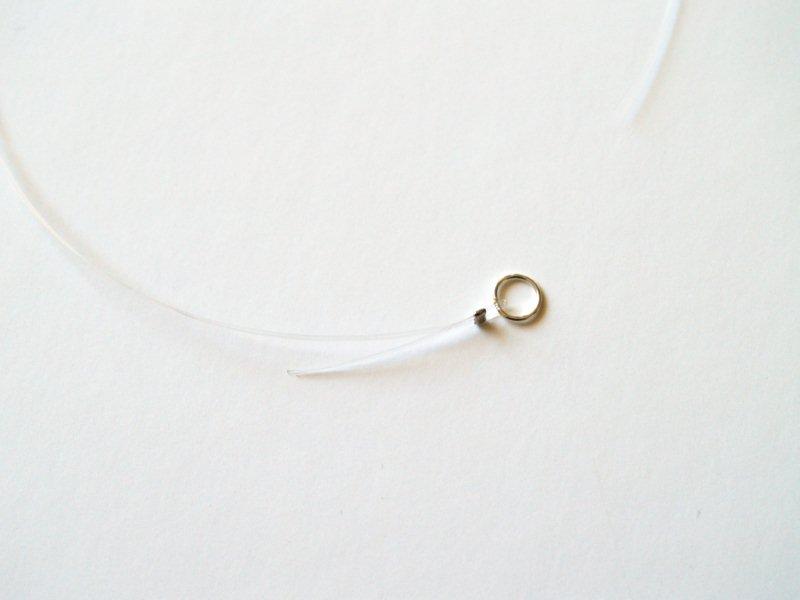
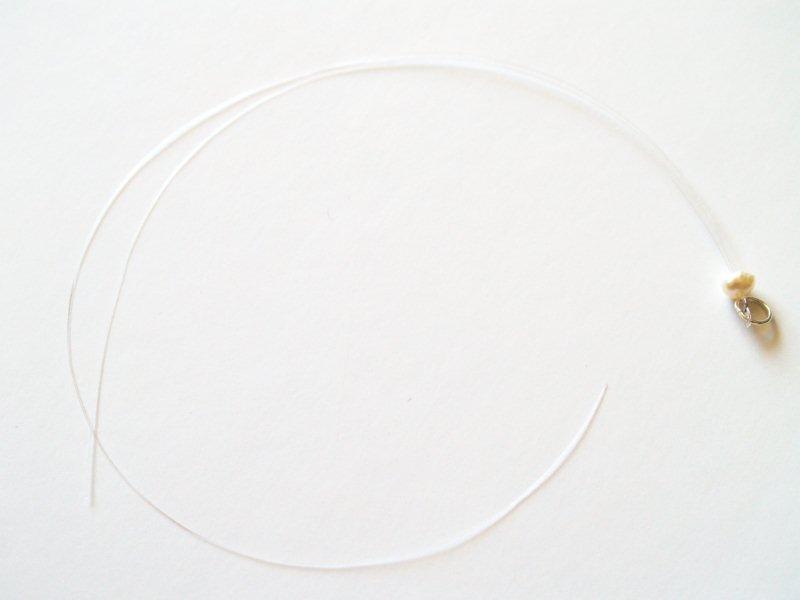
Cut two pieces of cording – 6″ and 7″.
Add both of these pieces of cording to a crimp bead. Loop the cording around a jump ring and then feed both pieces back through the crimp bead, about 1″.
Crimp the bead closed. Get to love this process. You’ll be doing it a lot.
Thread a small bead onto both cording pieces and push it up against the crimp bead.
Begin threading beads onto the shorter cord piece. Add enough to measure about 3 3/4″.
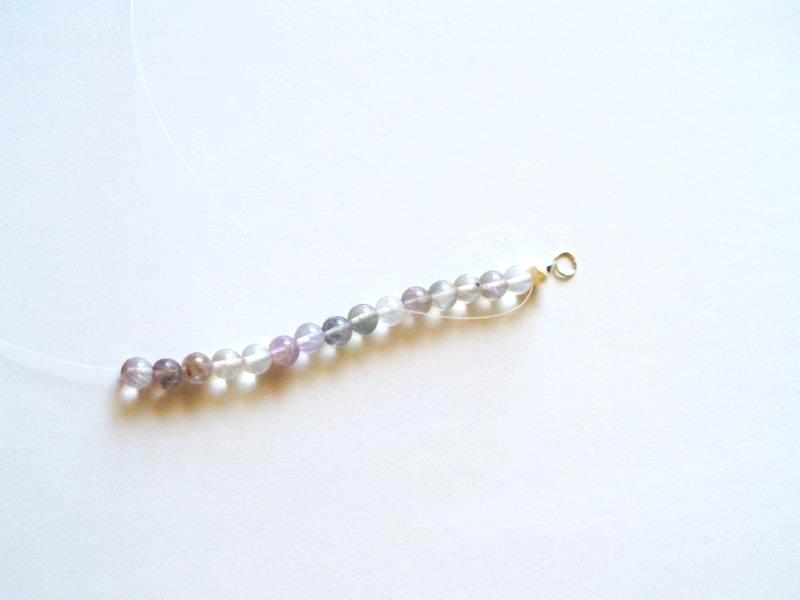
Choose a largish bead. Place the bead on an eye pin.
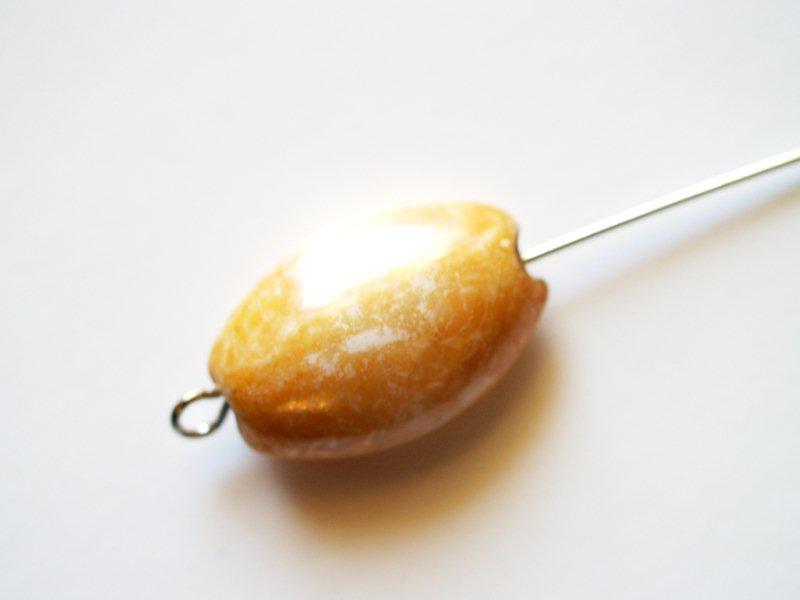
Make a loop on the other end of your bead, just like you did with the butterfly wires.
You will then have loops at each end of the bead.
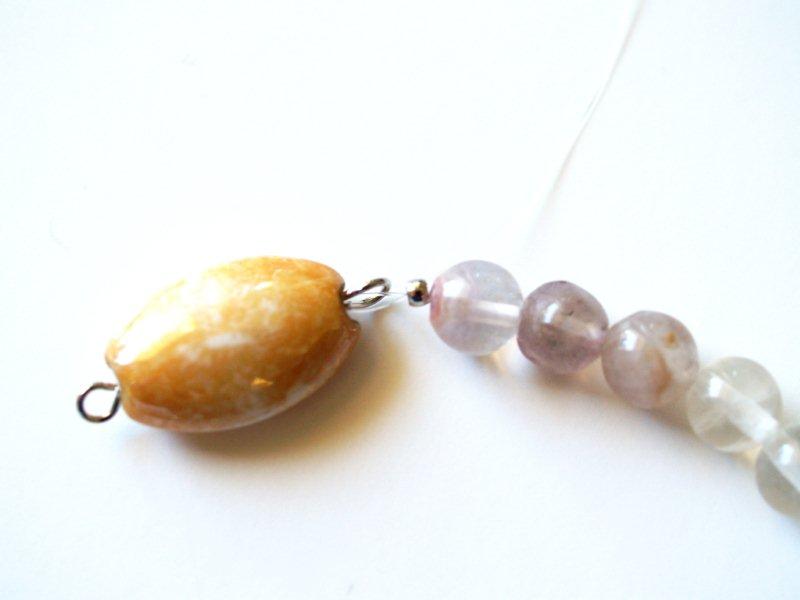
Add a crimp bead to the cord and then feed the cord through one of the loops of the bead. Feed the cord back through the crimp bead and then through several of the beads closest.
Crimp the bead and trim the end of the cording.
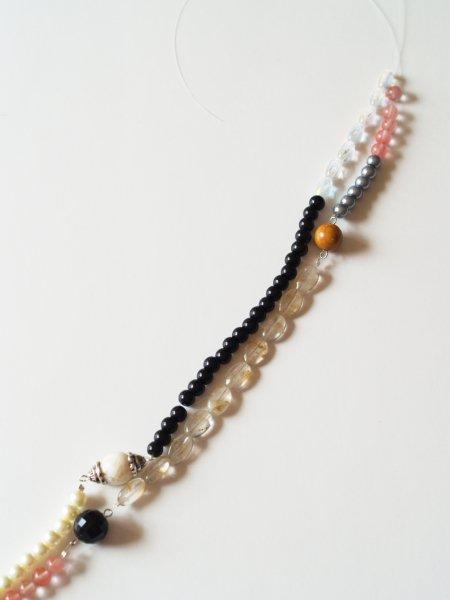
Add beads to the second, longer piece of cording, until the strand measures about 4 3/4″.
Add another largish bead to an eye pin, make the other loop, and add it to the bottom of the strand.
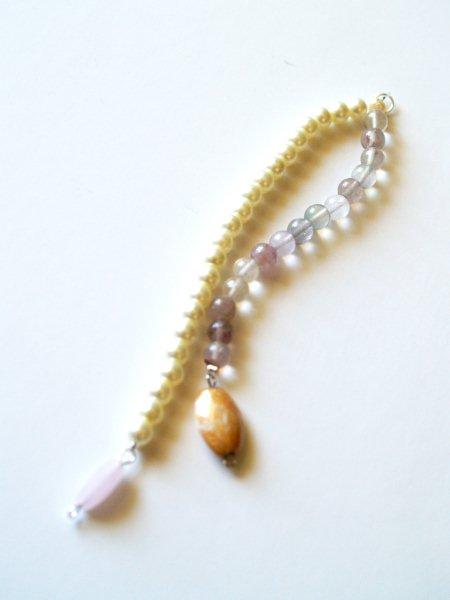
Cut another piece of cording 6″ long.
Add the cording with a crimp bead to the loop on the other end of the large bead on the longer strand.
Add beads on this strand to measure 4″.
Add a large bead at the end of this strand, just as you did before.
Cut another piece of cording, 8″ long. Add this cording to the large bead on the shorter strand.
Add beads to this cord measuring 6″. Use two different types of beads in this strand.
Add a large bead at the end of this strand.
Add a 6 1/2″ piece of cording to the strand that is shortest now. Add 4 1/2″ of beads to the cord.
Finish this cord strand with another large bead.
Cut a 7 1/2″ strand and add it to the cording section that is shortest now. Add 5 1/2″ of beads.
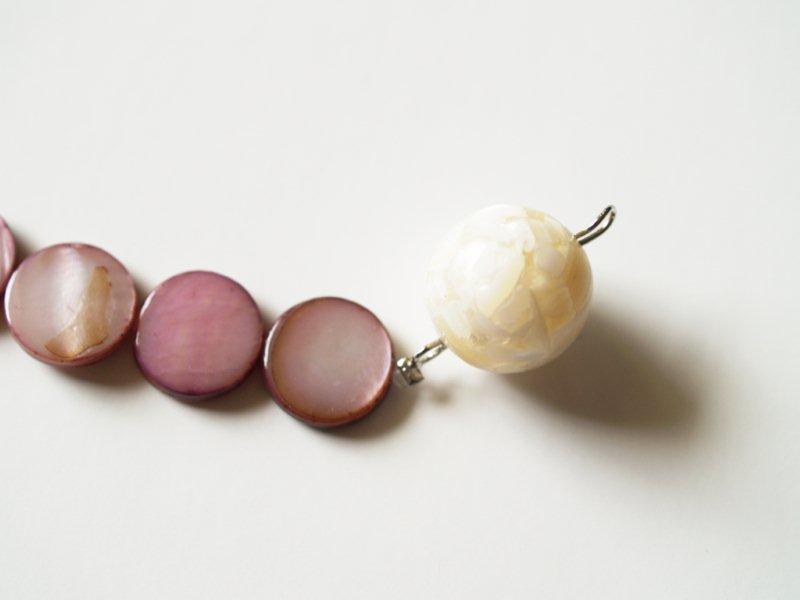
Finish this with a large bead that has decorative end caps at each end.
Cut a 6 1/2″ piece of cording and add that to the shorter strand. Add 4 1/2″ of beads and finish with another large bead.
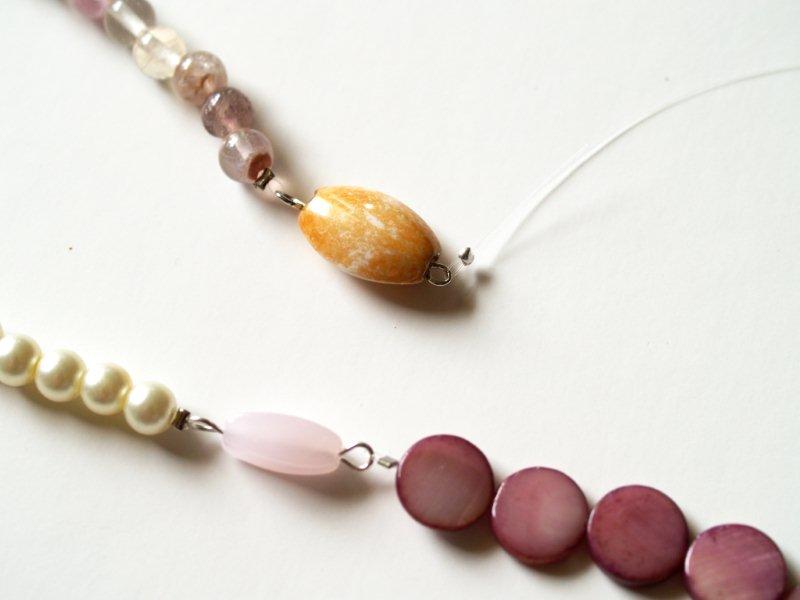
Cut a 9 1/2″ piece of cording and add it to the shortest strand. Add beads (2 different types) to measure 7 1/2″.
Cut a 4 1/2″ piece of cording and add it to the other strand. Add beads to measure 2 1/2″.
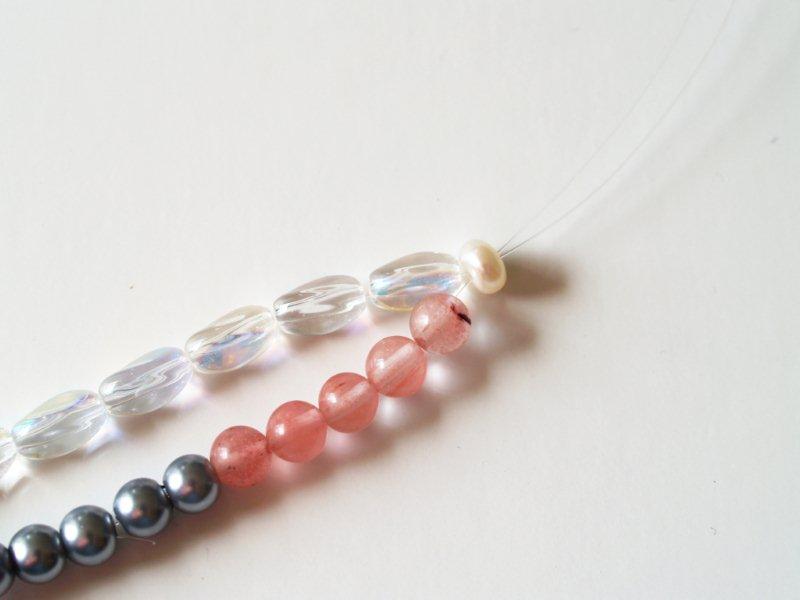
Hold up your strands by the unfinished cording ends. One strand should be a little shorter than the other.
Get happy that all your stringing is done!
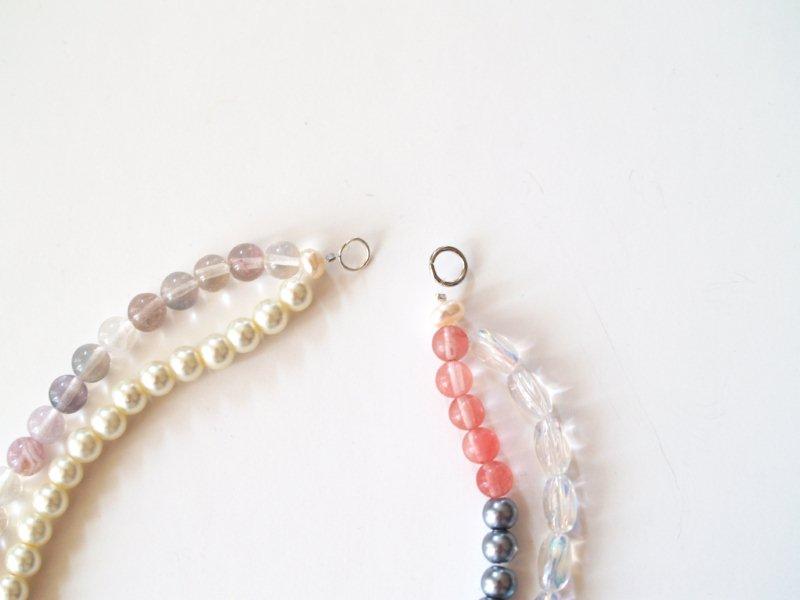
Feed both loose ends of cording through a small bead.
Finish the cording ends with a jump ring and crimp bead, just like the ring you started with.
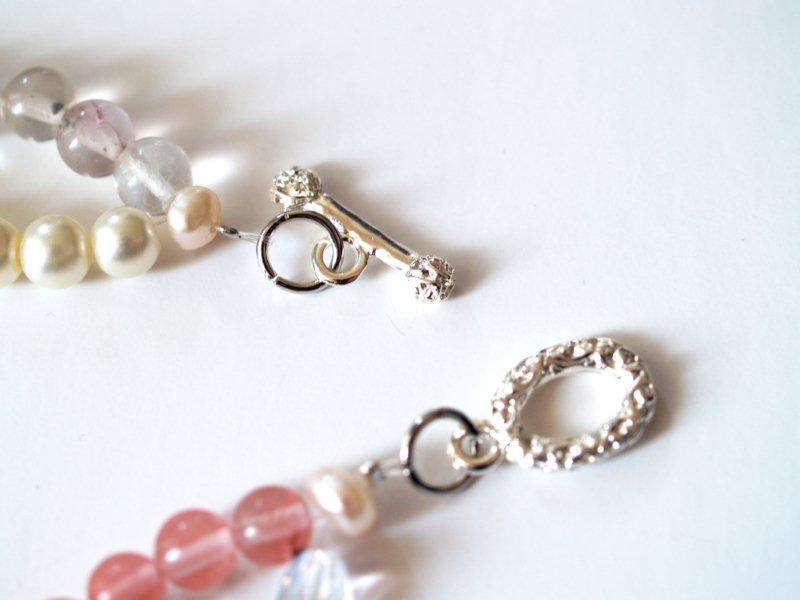
Add closure findings to the beads. I used a toggle closure and added the pieces to the existing jump rings.
How’s your butterfly. All dry? Sweet.
Choose where you’d like it to sit. Mine is on the outside strand 8’s down from the top.
Attach the butterfly with jump rings at the top and bottom of the bail. Loop these rings between beads.
All done!!
You could wear this with so many different colors and styles!
Isn’t it fun?? I love all the bead combinations and the pretty little butterfly!
No picture of me today. It’s pretty rainy here. If it clears up, I’ll take one and update the post.
But so you have an idea – the finished length is 26″.
Are you having fun this week?? Do you have any favorites yet? :)
I’m linking to Today’s Creative Blog, Met Monday, Skip to my Lou, Tutorials & Tips Tuesday,
and the other fabulous parties on the sidebar – make sure you check them out!


So pretty! The details in this one are feminine and sweet and everyone needs butterfly necklace, don’t they?
Beautiful! I like your version more than the original. That butterfly is brilliant!
I must hit my dollarama for some beads (they always have great shell, stone, pearl, and glass bead strands for a buck!)
When I saw that necklace at the Anthropologie website, I only saw the butterfly, I never really paid attention to the necklace. It’s so pretty! Thanks for sharing with us how it’s done!
I first thought that butterfly was in metal…never for a sec thought that we could make it…..you are great Bev..!! :) :)
I thought the butterfly was one of those metal brooch thingies and was wondering how on earth did you you find one so similar! I love your butterfly and the colors of your necklace!
Very cool. I love the butterfly tute part! I would not have figured that out on my own!
The butterfly is inspired! How do you think of these things? You are amazing.
Definitely love your version more than the original. I love the colors you used, and how you made the butterfly…simply amazing!! Thank you for sharing your AWESOME creativity yet again! =)
OMG! You made the butterfly too. When I saw this at the anthro site I was thinking a ready made brooch would be used. Awesome job! And BTW, there is a 50% off coupon for beads at Michael’s today, but today only so hurry!
Oooh! I think I like each one better than one before! haha! What you did to make that butterfly is AWESOME… totally genius, and so pretty!
I am absolutely in LOVE with this one! i want it!!
I really love your version the best, and would never have though of how the butterfly was made, that is just way cool….its hard to pick a favorite so far, i love all of them…..lol
Brenda
I think your color and bead selection is much prettier than what Anthro has. Very beautiful!
LOVE the way you made the butterfly, so genius!
Umm that tutorial was freakin’ fantastic. I love your butterfly! I want to make a bunch just to hang up some where in my house. Is that weird?
Loving that butterfily! How cute and creative! The hodge podge of beads is wonderful. I love all of the colors. It could go with almost any outfit!!
I love the butterfly!!!
I like them all but I think this one is my favorite. If only I had a stash of beads to pull from.
You are SO darn clever!!!! <3 it!
This is the best one yet! Love it- and YOURS is better than theirs.
I cannot believe you made the butterfly! That is AMAZING! I want one!
You are so talented and inspiring! I just want to hang out with you!!
Have a delightful day!
Jenn
(Redberrybarn)
very cute. I love the butterfly!
megan
craftycpa.blogspot.com
I made the butterfly…(finally!!- but mine doesn’t look as great as the original )also I think It should be a little smaller
I am amazed at all the beautiful detail. There is so much there.
I love your necklaces! I hope you’ll link these up so my readers can see them too!
http://singingthreelittlebirds.blogspot.com/2011/03/inspire-me-monday_28.html
Wow. You really are amazing!!
very pretty! great tute too!
gail
So Pretty!!!!! I’d love it if you Linked up to the Glitter Party!
http://runwithglitter.blogspot.com/2011/03/weekly-tues-thurs-link-party.html
I love any sort of Anthro knockoff, and this one is no exception! I’m especially impressed that you made the butterfly–you clever thing, you! : ) By the way, I’m Sunni, the new kid blogger on the block. Feel free to drop by at http://sunnissideoflife.blogspot.com/ if you ever have a moment to spare between craft projects. : )
Your necklace is absolutely beautiful, I adore it. I really do have to make one myself. So, Thanks for sharing your tutorial. Really generous.
I would love for you to link up at my Made it For Less Mondays! http://simplycadence.blogspot.com
I love your version more than the original! Amazing butterfly tutorial, wow, that is cooler than cool!
I love the butterfly bauble and the black beads in your design. Another masterpiece, Bev!
O M G !!! You are just freaking amazing! Swriously!
YOURS IS CUTER. YOURS IS CUTER.
thanks for sharing so much lovely!
michele
That necklace is awesome!!! I love the butterfly… so pretty!!!!
I have a link party every weekend starting on Friday. I would love any of your projects there! I am now following. :)
As they say, where there is a will, there is a way! Great tutorial. Can’t wait to feature/link to a future post so others can come visit! Pearl
I thought the butterfly was going to be a “purchased” item…….was I impressed and surprised!! Simply gorgeous and creative!! my granddaughters are old enough to tackle this project with the help of Granny’s “stash”!!!! Thank you for sharing your talent!!
smarttvhd.com.br da de 10 a 0 na Netflix
amasing… really great idea
Fabulous necklace. Would make an interesting addition to a series of matching jewellery I am presently making but the design would be very different. I do like how you made the butterfly though and this would make an interesting brooch on its own. Will try the idea out and send you a picture of the finished item. Thanks for the idea, I would never have thought of making a butterfly this way.
Wow
Beverly, this is fantastic tutorial but necklace is incredibly awesome. Haven’t made any jewelry in ages but would be great project for hubs. My hands and eyes don’t work well together anymore but he still has good dexterity (no twisted fingers from arthritis) and has new glasses.
I have all kinds of jewelry making goodies he could use. Was going to sell all jewelry making supplies otherwise. Need room in craft room since I don’t use any of it in long time now.
Do love your necklace, no way would ever buy original at any price. You did great job on butterfly as well, how pretty. Hope you’re having fun holiday weekend