Great News! My Anthro-Inspired Mirror Tutorial is being featured today over at Remodelaholic! Pretty Amazing huh? If you haven’t had…
Read More
Archives for July 2010
Top Five Friday – Cookbooks
Happy Friday! After dinner tonight I mentioned that I had yet to write a Top 5 Friday post. Big mistake. I…
Read More
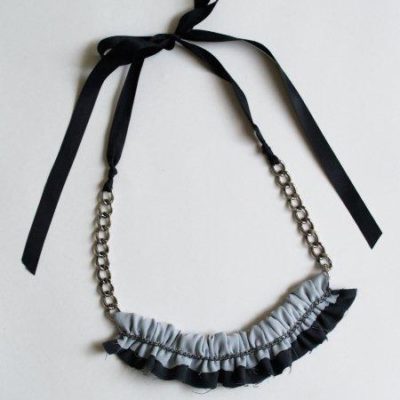
Quick Chiffon Chain Necklace
I love combining things together that initially don’t seem to go together. Embroidery and jute, lace and leather, and in…
Read More
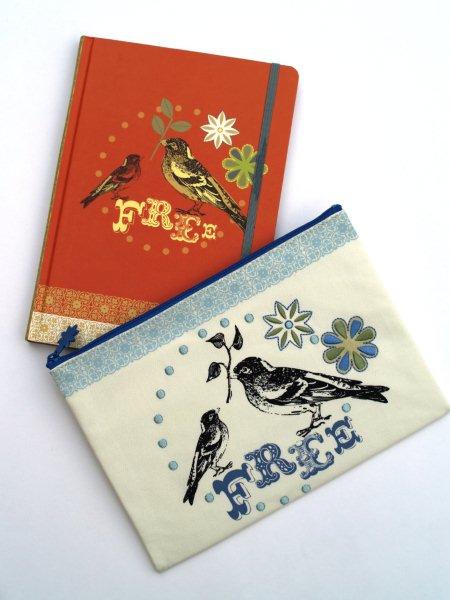
200 Follower Giveaway Part 1
*** This Giveaway is Now Closed. Thank you to everyone who entered! *** Did you see? Maybe you didn’t. Check…
Read More
200 Follower Giveaway Part 2
*** This Giveaway is Now Closed. Thank you to everyone who entered! *** Woohoo! Part 2! (That rhymes. ;) I’m…
Read More

